Advertisement
Quick Links
Download this manual
See also:
User Manual
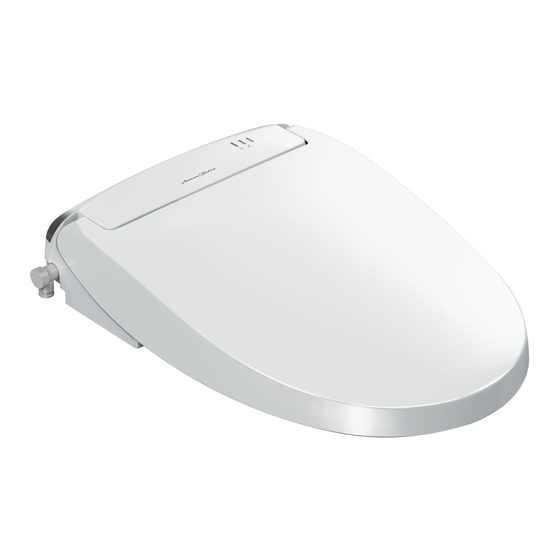
PCW-1361(19010)
Installation Manual
Advanced Clean 3.0 SpaLet
Model: 8018A60GRC
Thank you for purchasing this product.
● Carefully read this
installation manual to install
this product correctly.
CAUTION
● Be sure to test operation
after installation has been
completed.
Installation Procedure
1 Check the "Installation Requirements" ........................................ P.6
2 Install the junction fitting ............................................................. P.11
3 Installation of water supply hose to the SpaLet
5 Install the water supply hose (junction fitting side) .................. P.14
6 Positioning and Mounting the Remote Control ......................... P.15
7 Test Operation .............................................................................. P.17
↓
↓
↓
↓
↓
↓
®
Bidet Seat
®
-1 - EN-
®
seat .............. P.12
760296-100EN
Advertisement

Related Manuals for American Standard Advanced Clean 3.0 SpaLet


Summary of Contents for American Standard Advanced Clean 3.0 SpaLet
-
Page 1: Table Of Contents
PCW-1361(19010) Installation Manual ® Advanced Clean 3.0 SpaLet Bidet Seat Model: 8018A60GRC Thank you for purchasing this product. ● Carefully read this installation manual to install this product correctly. CAUTION ● Be sure to test operation after installation has been completed. - Page 2 1. Important Safeguards When using electrical products, especially when children are present, the basic safety precautions should always be observed. READ ALL THE INSTRUCTIONS BEFORE USING THIS PRODUCT The following safety terms are used in this manual to warn against different hazardous situations: DANGER indicates an imminently hazardous situation which, if not avoided, will result in death or serious injury.
- Page 3 Low Temperature Burns A low temperature burn may occur when the skin has been in contact for some time with an object at relatively low temperature (about 104 °F [40 °C]). Susceptibility to burns also depends on an individual's skin sensitivity and other factors.
- Page 4 3. For care of the plastic parts, our company recommends the use of a mild, liquid, all-purpose cleaner. Avoid using abrasive products (such as powdered cleansers) and chlorine-based products (such as bleach), as these products can damage the anti-bacterial properties of the plastic components.
- Page 5 2. Product Description This product incorporates a set of features to improve personal toilet hygiene and comfort. These features include back cleansing, front cleansing, a warm air dryer and a seat heater as well as the required controls for these features. This product includes a SpaLet seat unit (with heated SpaLet seat, seat lid, and power ®...
- Page 6 3. Installing This Product Installation Requirements Before installing this product, ensure that each of the following installation requirements are met. Contents Remove the parts from the box and make sure all the parts in the parts list (below) are present. Inspect the parts carefully to make sure they are in good condition. If any part is damaged or missing, do not install this product.
- Page 7 Ground Fault Circuit Breaker A ground fault circuit breaker must be installed in the circuit that supplies power to this product. Power Supply This product is for use on a nominal AC120 V circuit. Use a AC120 V, 60 Hz power supply. The maximum power consumption is 1300W.
- Page 8 Checking the toilet bowl 1. Measure the size of the toilet bowl. Depending on the size of the toilet bowl, it may 5.51" to 6.18" (140 to 157 mm) not be possible to mount this product on it. Make sure the toilet bowl's dimensions are as shown in the figure on the right.
- Page 9 Illustrated Parts Breakdown Overview Caution label Remote control unit (See page 11) Toilet seat lid Remote control unit (See page 10) Tank Toilet tank Seat lid Junction fitting Marking label Caution label Product model nameplate Seat sensor Junction fitting SpaLet seat unit indicator Filter section (See below.)
- Page 10 Remote Control Bidet Cleansing Stop Spray Strength Transmitter Nozzle Position Transmitter Dryer Water Temp. Power Deodorizer Seat Temp. Power Save Mild Massage Nozzle Cleaning Mounting Plate Mounting plate ® SpaLet seat unit Toilet bowl Lock lever * The mounting plate is used to remove the SpaLet seat unit from the toilet bowl for cleaning and maintenance.
-
Page 11: Install The Junction Fitting
Installation 1. Required tools Have the following tools for installing this product: adjustable end wrench, Phillips head screwdriver, flat-blade screwdriver. 2. Install the junction fitting Bowl Cock Side Box Nut Tank Water Supply Hose (1) Close the toilet water shut-off valve fully. (2) Flush the toilet and empty all the water from the toilet tank. - Page 12 3. Installation of SpaLet seat unit water supply hose to the SpaLet seat ® 1) Remove the protective cover Installation diagram from the end of the SpaLet seat unit water supply hose, and pull out the cap from the water supply connection socket.
-
Page 13: Seat
4. Installation of the SpaLet seat ® (1) Remove the existing seat. Installation diagram Seat mounting bolts 1) Remove the nuts from the seat mounting bolts, Washer the slip washers, and Mounting brackets CAUTION rounded packing. • When installing the SpaLet Mounting plate seat, make sure to use the 2) Raise the seat and... - Page 14 5. Install the SpaLet seat ® Junction unit water supply hose Fitting Clip (junction fitting side) O-ring SpaLet seat unit Water Supply Hose Protective Cover Junction Fitting (1) Remove the protective cover from the end O-ring of the SpaLet seat unit water supply hose, and insert it in the junction fitting.
-
Page 15: Positioning And Mounting The Remote Control
6. Positioning and Mounting the Remote Control ● Remote control installation position ● Sit on the SpaLet seat and ensure the installation [See Note 7-1] position. Install the remote control to a position where the Temporarily install the remote control to the target position, and user can reach and operate it. sit on the SpaLet seat unit and press the [Stop] button Install the remote control in the area shown as “Suggested (ensure to perform a test operation after installation). - Page 16 [Note 7-1] [Note 7-2] ● Ensure to install the batteries in the correct ● Ensure that there is enough space above the remote direction (note the negative and positive). control installation position to allow easy removal ● Do not mix old and new batteries. and mount of the remote control (see the figure ● Use the supplied batteries. below). Remote control space 270 mm 80 mm When multiple SpaLet...
-
Page 17: Test Operation
Test Operation Follow the procedure below after the installation work has been completed. 1. Insert the power plug into the outlet. ® Confirm that the power LED on the SpaLet seat unit is lit. Power plug Power plug Power indicator Power save indicator 2.Check the front and back cleansing spray. - Page 18 3. If the flushing begins to weaken, or if the nozzle spray seems to be getting weaker, clean the filters. (1) Turn the water shut-off valve clockwise to close it. As the water shut-off valve is pre-adjusted, keep track of the turns so that you can return to the original Water Water position.
Need help?
Do you have a question about the Advanced Clean 3.0 SpaLet and is the answer not in the manual?
Questions and answers