Sign In
Upload
Download
Table of Contents
Contents
Add to my manuals
Delete from my manuals
Share
URL of this page:
HTML Link:
Bookmark this page
Add
Manual will be automatically added to "My Manuals"
Print this page
×
Bookmark added
×
Added to my manuals
Manuals
Brands
Vestfrost Manuals
Refrigerator
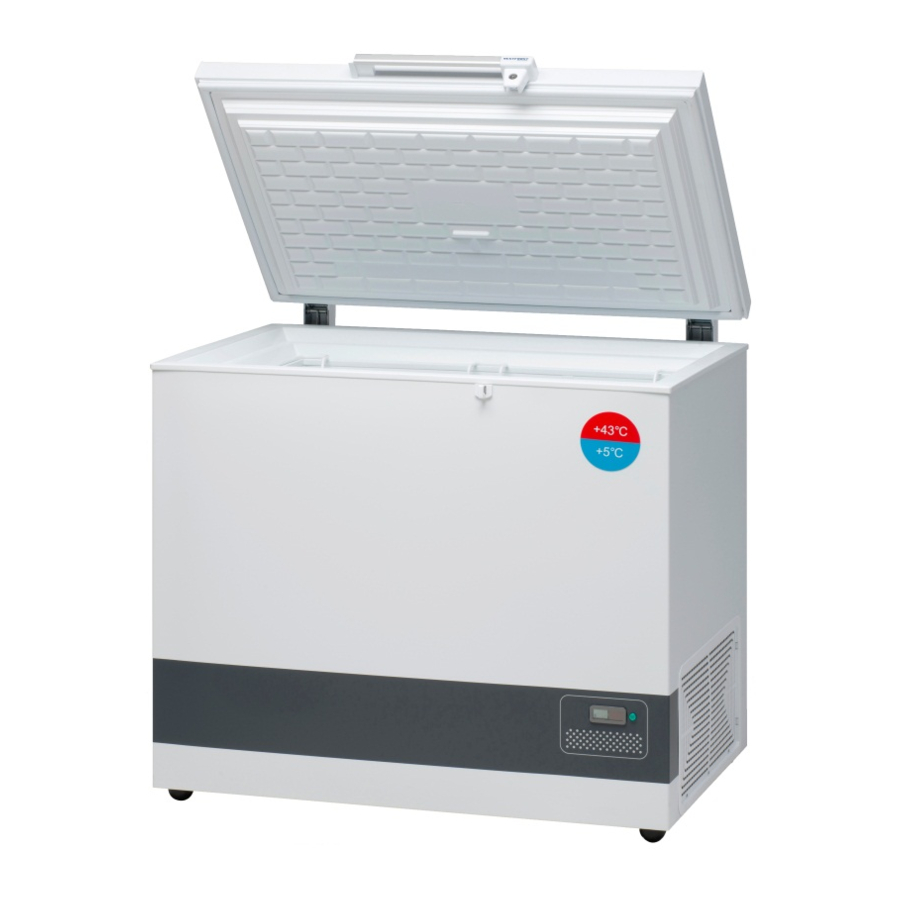
VLS200
Service and maintenance instructions
Vestfrost VLS200 Service And Maintenance Instructions
Hide thumbs
1
2
3
4
5
6
7
8
9
10
11
12
13
14
15
16
17
18
19
20
21
22
23
24
25
26
27
28
29
30
page
of
30
Go
/
30
Contents
Table of Contents
Troubleshooting
Bookmarks
Advertisement
Table of Contents
1
Replacement of Components
2
Thermostat Replacement
3
Thermostat Adjustment
4
Compressor Replacement
5
Troubleshooting
6
Technical Support
Download this manual
Vestfrost Solutions
Service and maintenance instructions: VLS200/300/350/400
CORPORATE PRESENTATION
Table of
Contents
Previous
Page
Next
Page
1
2
3
4
5
Advertisement
Table of Contents
Need help?
Do you have a question about the VLS200 and is the answer not in the manual?
Ask a question
Questions and answers
Related Manuals for Vestfrost VLS200
Refrigerator Vestfrost VLS 054 SDD Instructions For Use Manual
(100 pages)
Refrigerator Vestfrost VLS054 SDD Instructions Manual
Corrective and preventive service (19 pages)
Refrigerator Vestfrost VLS350 Service And Maintenance Instructions
(30 pages)
Refrigerator Vestfrost VLS 204A Instructions For Use Manual
Ilr refrigerator (84 pages)
Refrigerator Vestfrost VLS 064A RF AC Technical Manual
(40 pages)
Refrigerator Vestfrost VLS174A AC Instructions For Use Manual
(96 pages)
Refrigerator Vestfrost VLS174A AC Technical Manual
(44 pages)
Refrigerator Vestfrost VLS 054A SDD Technical Manual
New controller (40 pages)
Refrigerator Vestfrost VLS 026 RF SSD Maintenance And Repair
(36 pages)
Refrigerator Vestfrost VLS 096A RF SDD Technical Manual
(36 pages)
Refrigerator Vestfrost VIC 105177 S User Manual
(93 pages)
Refrigerator Vestfrost VIC 11177 S User Manual
(125 pages)
Refrigerator Vestfrost VCF 10186 User Manual
(108 pages)
Refrigerator Vestfrost VR-BF27952H0S Operation Manual
(104 pages)
Refrigerator Vestfrost VC 20186 User Manual
(80 pages)
Refrigerator Vestfrost VF 2653 E User Manual
(40 pages)
This manual is also suitable for:
Vls300
Vls400
Vls350
Table of Contents
Print
Rename the bookmark
Delete bookmark?
Delete from my manuals?
Login
Sign In
OR
Sign in with Facebook
Sign in with Google
Upload manual
Upload from disk
Upload from URL


Need help?
Do you have a question about the VLS200 and is the answer not in the manual?
Questions and answers