Advertisement
Quick Links
29-1-2019
TriSensor user guide.
Modified on: Tue, 22 Jan, 2019 at 6:17 PM
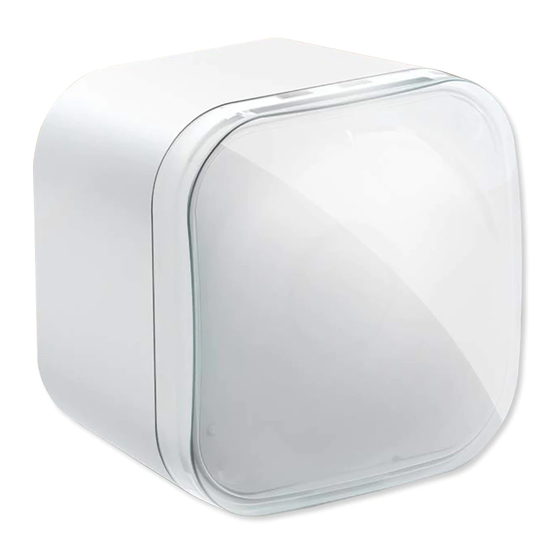
Aeotec TriSensor.
Aeotec TriSensor
(https://aeotec.com/z-wave-motion-sensor)
Wave Plus
(http://aeotec.com/z-wave-plus)
You can find out more about
To see whether TriSensor is known to be compatible with your Z-Wave system or not, please reference our Z-Wave
gateway comparison
(https://aeotec.freshdesk.com/solution/articles/6000195461-trisensor-technical-specification-)
Get to Know your TriSensor.
Your TriSensor comes packaged with a number of accessories that will help with its installation and operation.
Package Contents:
1. TriSensor
2. 1x CR123A Battery (included)
3. Back-Mount Arm
4. Double-sided tape
5. 2x Screws
6. Battery included in TriSensor
Sensor Functions;
1. Motion
2. Temperature
3. Light
https://aeotec.freshdesk.com/support/solutions/articles/6000195459-trisensor-user-guide-
. It is powered by Aeotec's Gen5
TriSensor by following that link
(http://aeotec.com/z-wave-gateways)
TriSensor user guide. : Aeotec
has been crafted to power connected lighting using Z-
(http://aeotec.com/z-wave-gen5)
(https://aeotec.com/z-wave-motion-sensor)
listing. The technical specifications of TriSensor
technology.
.
can be viewed at that link.
1/18
Advertisement

Related Manuals for Aeotec TriSensor


Summary of Contents for Aeotec TriSensor
- Page 1 You can find out more about TriSensor by following that link (https://aeotec.com/z-wave-motion-sensor) To see whether TriSensor is known to be compatible with your Z-Wave system or not, please reference our Z-Wave gateway comparison listing. The technical specifications of TriSensor (http://aeotec.com/z-wave-gateways) can be viewed at that link.
-
Page 2: Button Presses
TriSensor is intended for use in dry locations only. Do not use in damp, moist, and / or wet locations. - Page 3 2. Pull out the CR123A battery and remove the plastic tab. 3. Place the CR123A battery back into its original position. As soon as TriSensor is powered on, it will flash its red LED 4 times to indicate that it is now powered and ready to be paired.
- Page 4 2. Press the Action Button on your TriSensor. The LED on TriSensor will blink white, then become a solid yellow LED, followed by a 2 flashes of white then green LED to indicate a successful inclusion. If the pairing process has failed, the LED will deactivate without flashing white or green.
- Page 5 With your TriSensor now a part of your Z-Wave network and having determined its installation location, it's time to finish its physical installation. There are 2 ways that your TriSensor can be mounted on a wall or ceiling. Most simply it can be placed upon a shelf without the need to attach further accessories.
- Page 6 Tips: We suggest you choose the second method (using screws to affix the Back-Mount Arm) which would be more stable. 2. After you have completed the affixing of Back-Mount Arm, you will need to lock TriSensor to the Back-Mount Arm by screwing TriSensor in.
-
Page 7: Advanced Functions
3. Automatic Wakeup Notification Report The most optimized method is to wait for TriSensor to Wakeup and send the battery report during this time. In order to poll or send a Battery GET command to TriSensor, this sensor will need to report a Wakeup Report to your gateway. - Page 8 During TriSensors normal use, TriSensor will remain in a sleeping state to conserve battery power and will continue to detect motion and report sensors to your gateway, TriSensor needs to be awake or in an active state in order to take in new configurations or commands.
- Page 9 2. Take your Z-Stick to your TriSensor. 3. Press and hold the Action Button on your Z-Stick for 3 seconds and then release. 4. Press the Action Button on your TriSensor 3x times within 2 seconds. The LED on TriSensor will become a solid purple color.
- Page 10 1. Put your primary Z-Wave gateway into unpair mode, your Z-Wave gateway should confirm that it is waiting to remove a device 2. Press the Action Button on your TriSensor 3x times within 2 seconds. The LED on TriSensor will become a solid purple color.
- Page 11 Group Association for direct control. The TriSensor has 2 group control points to directly control Z-Wave devices without your gateway. Below is a table of the available Group Association that you can set to the TriSensor to directly control your Z-Wave Switches and Dimmers from within your gateway.
- Page 12 TriSensor user guide. : Aeotec A Group Association is a specific function in Z-Wave that allows you to tell the TriSensor who it can speak to. Some devices may only have 1 group association meant for the gateway, or multiple group associations that can be used for specific events.
- Page 13 This parameter is configured the threshold value that alarm level for temperature. When the current ambient temperature value is larger than this configuration value, TriSensor will send a BASIC_SET = 0xFF to nodes associated in group 3. If current temperature value is less than this value, device will send a BASIC_SET = 0x00 to nodes associated in group 3.
- Page 14 Green Blue Yelllow Pink Cyan Purple Orange 14. Battery report LED. It is possible to change the color of what the LED blinks when your TriSensor sends a battery report. Parameter Size Value Description Disable [Default] Green Blue https://aeotec.freshdesk.com/support/solutions/articles/6000195459-trisensor-user-guide- 14/18...
-
Page 15: Temperature Controls
29-1-2019 TriSensor user guide. : Aeotec Yelllow Pink Cyan Purple Orange 15. Wakeup report LED. This setting changes the color of the LED when your TriSensor sends a wakeup report. Parameter Size Value Description Disable [Default] Green Blue Yelllow Pink... - Page 16 29-1-2019 TriSensor user guide. : Aeotec Parameter # Size Value Description 1-32767 Automatic report set in seconds. DEFAULT = 3600 30. Temperature Offset Value. The current measuring temperature value can be offset by a + and - a value by this setting. The scale can be decided by Parameter Number 14.
- Page 17 4) The value of k is then multiplied by 1024 and rounded to the nearest whole number. 5) Set the value you got in 4 to this parameter and push the setting to your TriSensor. For example, Vm = 300, Vs = 2600, then k = (2600 / 300) * 1024 k = 8.6667 * 1024 = 8874.7 ≈...
- Page 18 29-1-2019 TriSensor user guide. : Aeotec https://aeotec.freshdesk.com/support/solutions/articles/6000195459-trisensor-user-guide- 18/18...
Need help?
Do you have a question about the TriSensor and is the answer not in the manual?
Questions and answers