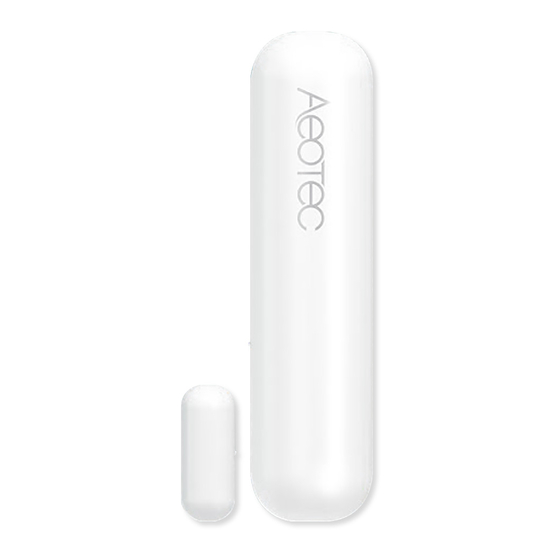
Aeotec Door / Window Sensor 7 User Manual
Hide thumbs
Also See for Door / Window Sensor 7:
- Quick start manual (11 pages) ,
- User manual (9 pages) ,
- User manual (10 pages)
Table of Contents
Advertisement
Quick Links
1.8.2019
Door / Windows Sensor 7 user guide
Modified on: Mon, 15 Jul, 2019 at 12:56 AM
Aeotec Door / Window Sensor 7.
Aeotec Door / Window Sensor 7 has been crafted to power connected lighting using Z-Wave Plus
powered by Aeotec's Gen5
Sensor 7
(https://aeotec.com/z-wave-door-window-sensor)
To see whether Door / Window Sensor 7 is known to be compatible with your Z-Wave system or not, please reference our Z-Wave
gateway comparison
(http://aeotec.com/z-wave-gateways)
(https://aeotec.freshdesk.com/a/solutions/articles/6000218908-door-window-sensor-7-technical-specifications-)
Familiarize yourself with your Door / Window Sensor 7.
Package contents:
1. Sensor Unit.
2. Cover
3. Big Magnet.
4. Small Magnet.
5. Double-Sided Tape large (×2).
6. Double-Sided Tape small (x2).
7. Screws (×4).
8. Dowels( x4).
https://aeotec.freshdesk.com/support/solutions/articles/6000218764-door-windows-sensor-7-user-guide
(http://aeotec.com/z-wave-gen5)
Door / Window 7 user guide : Aeotec Group
technology and S2 framework. You can find out more about Door / Window
by following that link.
listing. The technical specifications of Door / Window Sensor
(http://aeotec.com/z-wave-plus)
7 can be viewed at that link.
. It is
1/9
Advertisement
Table of Contents

Summary of Contents for Aeotec Door / Window Sensor 7
- Page 1 Sensor 7 by following that link. (https://aeotec.com/z-wave-door-window-sensor) To see whether Door / Window Sensor 7 is known to be compatible with your Z-Wave system or not, please reference our Z-Wave gateway comparison listing. The technical specifications of Door / Window Sensor (http://aeotec.com/z-wave-gateways)
-
Page 2: Quick Start
Ensure correct polarity when inserting the batteries. Improper battery use may damage the product. Door / Window Sensor 7 is intended for indoor use in dry locations only. Do not use in damp, moist, and/or wet locations. It contains small parts; keep away from children. - Page 3 1.8.2019 Door / Window 7 user guide : Aeotec Group Install your Door / Window Sensor 7. The sensor can be mounted either on the moving part or on the fixed part of a door or a window. Mounting can be accomplished either using the tape by peeling off the protection foil or using two screws with the holes inside the battery compartment.
- Page 4 1. Set your Z-Wave controller into pairing mode. 2. Triple-click the tamper switch on Door / Window Sensor 7 - this begins to blink five times 3. After completion of the inclusion, it lights up once before it goes out.
-
Page 5: Screw Terminal
(Open or Close). You must use a NO dry contact device with these terminals. Door / Window Sensor 7 as Dry Contact Sensor. Using configuration commands the source of "open" and "close" events can be chosen between the internal magnet detector or external dry contact connected on terminal #3 and #4. -
Page 6: Scene Controller
This utilizes the Power Level command class to determine the health between the Door / Window Sensor 7 and your Z-Wave gateway. This will tell you if the Door / Window Sensor 7 has a healthy connection to your system and is a great method of debugging connectivity issues. -
Page 7: Parameter Configurations
1. Set your Z-Wave controller into unpair mode. 2. Triple-click the tamper switch on Door / Window Sensor 7 within 1.5 seconds - this will cause the LED to blink five times. 3. After a successful exclusion, it will light up its LED for 2 seconds then deactivate. - Page 8 1.8.2019 Door / Window 7 user guide : Aeotec Group Parameter 5: Group 2 Association Triggers. This parameter defines events that result in sending On/Off commands to devices added to the 2nd Association Group. These commands are sent alternately to switch the devices On and Off. Commands represent the values of BASIC SET command frames.
- Page 9 1.8.2019 Door / Window 7 user guide : Aeotec Group Reporting cancellation of tamper alarm to the controller and 3rd Association Group. Size: 1 Byte, Default Value: 1 Setting Description do not send tamper cancellation report send tamper cancellation report Parameter 13: Central Scene Event functionality.


Need help?
Do you have a question about the Door / Window Sensor 7 and is the answer not in the manual?
Questions and answers