Table of Contents
Advertisement
Advertisement
Table of Contents

Related Manuals for Leviton Vizia RF RZCPG


Summary of Contents for Leviton Vizia RF RZCPG
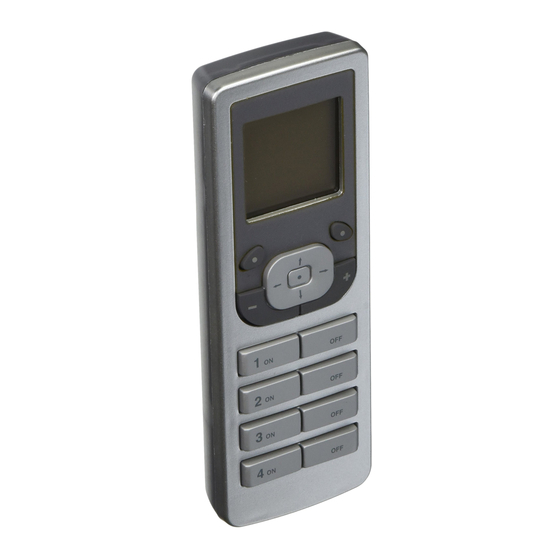
- Page 1 Programmer/Remote Cat. RZCPG USER GUIDE Compatible with enabled products!
-
Page 2: Table Of Contents
TABLE Of CONTENTS INTRODUCTION ............1 MENU NAVIGATION & ICONS ......2–4 STARTUP..............5 INSTALLATION CHECKLIST ........5 Include Dimmers/Switches ........6 TEXT EDITOR ...........6, 7 Include Controller ...........7, 8 Update Controller ..........8, 9 Create Areas ..........9, 10 Set Associations ......... 10, 11 Security .............. 11 Install Complete..........12 MAIN MENU SCREEN ..........13 DEVICE LIST ............13... -
Page 3: Introduction
INTRODUCTION Leviton’s Programmer/Remote, Cat. No. RZCPG, is a multi- functional device. It uses Z-Wave technology to act as a programmer, zone or scene controller, remote and timer for setting up and operating your Vizia RF network. This manual will guide you through the understanding of your RZCPG functions as a setup controller. -
Page 4: Menu Navigation & Icons
MENU NAVIGATION and ICONS Navigating screens and menus on your RZCPG is accomplished using the following buttons: Display (HOME screen 12:00 PM depicted) M on 0 5 .0 1 . 2 0 0 6 Left Default Pr ofil e Soft Key Right Soft Stand By Menu... - Page 5 ( 3 ) Back Who Is Leviton also provides various icons that appear on the screens to provide quick review of the state of your network, selections made and to assist in identification of devices (refer to Icon Description...
- Page 6 ICON DESCRIPTION Undefined device Center button Single choice (radio button) - not chosen Single choice (radio button) - chosen Multiple selection (checkbox) - not selected Multiple selection (checkbox) - selected Remote Control Zone/Scene Controller (Single or Multibutton) Dimmer Switch Thermostat Event is Set Event Disabled or All Events are Disabled Buzzer OFF (indication)
-
Page 7: Startup
(YES). The INSTALL CHECKLIST screen will appear. INSTALLATION CHECKLIST Leviton provides the Installation Checklist as a step by step tool to setup your Vizia RF network and recommends following these steps in order, specifically if you are a first time user. System design will impact... -
Page 8: Include Dimmers/Switches
To use the pre-made Templates, with Template displayed, use the TEXT EDITOR up and down arrow buttons Switch #2 Leviton to select a name. The RZCPG Bedroom offers a list of over 100 commonly used names to choose from. Save? Press... -
Page 9: Include Controller
See Instruction sheet mode. Begin? Press NOTE: Leviton Controllers Return require an inclusion process that differs from Dimmers, Switches and Plug-In Modules. Controllers must be placed into program mode before they can be included into the network (refer to individual device instruction sheet). -
Page 10: Update Controller
If you are unsure about which controller you are updating you can use the "who Is" UPDATE command (see pg. 13). Node Updated! Leviton controllers will blink Node ID #4 during the update process, Room controller confirming you are updating the correct controller. -
Page 11: Create Areas
Continue this process until all of your controllers have been updated. Each time you successfully update your controller it will be removed from the list. Once all of your controllers have been updated, press the right soft key to continue to the NEXT STEP. -
Page 12: Set Associations
Once you have checked the devices for your area press the center button to save. The AREA screen will display with your newly created area and prompt you to continue to create a new area by to select << NEw >> or pressing the center button to continue to the NEXT STEP by pressing the right soft key... -
Page 13: Security
Once you are done press the right soft key (Save) to complete. You will be prompted to continue setting associations or to proceed to the NEXT STEP by pressing the right soft key Security STEP 6 NOTE: The INSTALL INSTALL CHECKLIST CHECKLIST screen will appear 2.
Need help?
Do you have a question about the Vizia RF RZCPG and is the answer not in the manual?
Questions and answers