Ultimaker 3 Extended Instruction Manual
Hide thumbs
Also See for 3 Extended:
- User manual ,
- Original manual (60 pages) ,
- Installation and user manual (50 pages)
Table of Contents
Advertisement
Quick Links
Advertisement
Table of Contents

Related Manuals for Ultimaker 3 Extended


Summary of Contents for Ultimaker 3 Extended
- Page 1 Ultimaker Extented 3 October 2017...
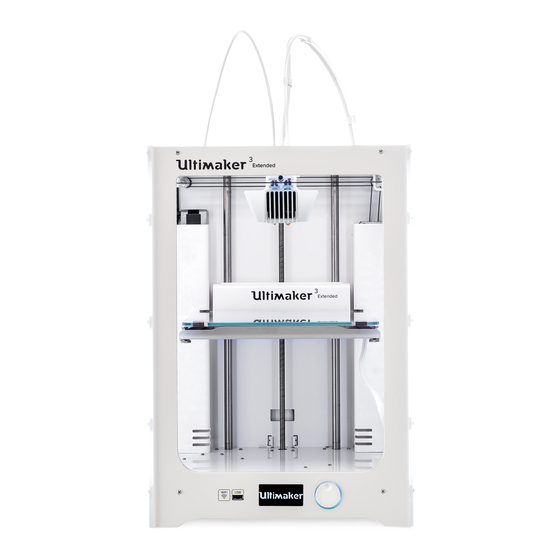
- Page 2 3D PRINT - Ultimaker Extended 3 This instruction manual describes the basic operations of the Ultimaker ex- tended 3 print. System consists of : Ultimaker extended 3 : Fused Deposition Modeling (FDM) Build Volume : 215 x 215 x 300mm Nozzle diameter : two types of print cores —...
-
Page 3: Table Of Contents
Contents 1 Start-up 2 Material 2.1 Unload the material ......2.2 Load/Change the material ..... . 2.2.1 Material 2 . -
Page 4: Start-Up
Chapter 1 Start-up Turn on the printer with the power switch at the back. Make sure that the glass plate is completely clean and free of any materiels and fingerprints. If not, clean the glass plate. Open the two build plate clamps at the front to secure the glass plate . - Page 5 3D PRINT - Ultimaker Extended 3 CHAPTER 1. START-UP Back the glass plate onto the build plate . Close the two build plate clamps at the front to the glass plate Make sure you have enough materials on the spool holder. If not, You need...
-
Page 6: Material
Chapter 2 Material Unload the material Go to the menu ”MATERIAL/PRINTCORE” by rotating and then push- ing the button at the front side of the 3D print. : Rotate button to select the menu - : Push button to confirm Select ”Material 1”... - Page 7 3D PRINT - Ultimaker Extended 3 CHAPTER 2. MATERIAL Go to the menu ”Change” or ”unload” (when you don’t wish to replace the spool). Wait for the print 1 or print 2 core to head up and that the material...
- Page 8 3D PRINT - Ultimaker Extended 3 CHAPTER 2. MATERIAL If you cannot remove the material from the feeder . Push the feeder knob though up and at the same time, pull the material Remove the material from the spool holder...
-
Page 9: Load/Change The Material
Open the print head fan bracket and make sure type of the print cores is com- patible with the material that you want use. Begin to put the material 2 on the spool holder. If you need to change the print core, see the Ultimaker print core manual. -
Page 10: Material 2
3D PRINT - Ultimaker Extended 3 CHAPTER 2. MATERIAL 2.2.1 Material 2 Go to the menu ”MATERIAL/PRINTCORE” by rotating and then push- ing the button at the front side of the 3D print. : Rotate button to select the menu - : Push button to confirm... - Page 11 3D PRINT - Ultimaker Extended 3 CHAPTER 2. MATERIAL : spool holder - : spool material 2. Make sure that the spool material is in clockwise direction. Check the shape of the tip of the material. If it doesn’t look good, cut the tip of the material.
- Page 12 3D PRINT - Ultimaker Extended 3 CHAPTER 2. MATERIAL When using Ultimaker material, Wait until the Ultimaker print detects the material and then select ”confirm”. When using non-Ultimaker material, material is not automatically de- tected. Rotate the button to select the material ”select Material” on the drop- list.
-
Page 13: Material 1
3D PRINT - Ultimaker Extended 3 CHAPTER 2. MATERIAL Confirm by pushing the button when you can see the new material ex- trudes front the print core Wait a moment for the print core 2 to cool down. 2.2.2 Material 1 Go to the menu ”MATERIAL/PRINTCORE”... - Page 14 3D PRINT - Ultimaker Extended 3 CHAPTER 2. MATERIAL : Rotate button to select the menu - : Push button to confirm Select the ”Material 1” and then ”Change”. Select ”Load” when the spool materials is not installed before. : Menu - : Load option - : Change option.
- Page 15 3D PRINT - Ultimaker Extended 3 CHAPTER 2. MATERIAL Place the material through the hole in the spool guide holder. Place the material guide on the spool behind the materiel 2. : Spool holder- : Material 1. Check the shape of the tip of the material. If it doesn’t look good, cut the tip...
- Page 16 Confirm by pushing the button at the front side of the print when you have inserted the materiel. When using Ultimaker material, Wait until the Ultimaker print detects the material and then select ”confirm”. When using non-Ultimaker material, material is not automatically de- tected.
- Page 17 3D PRINT - Ultimaker Extended 3 CHAPTER 2. MATERIAL Wait for the print to load the material into the print core. Wait for the print to head up the print core. Confirm by pushing the button when you can see the new material ex- trudes from the print core Wait a moment for the print core 1 to cool down.
-
Page 18: Build Plate
Chapter 3 Build plate Make sure that the glass plate is completely clean and free of any materials and fingerprints. If not, clean the glass plate. Open the two build plate clamps at the front to secure the glass plate . -
Page 19: Start Printing
Chapter 4 Start printing Download the Cura software : https://ultimaker.com/en/products/ ultimaker-cura-software Open the Cura software Select the Ultimaker Extended 3 print. Load a 3D model. Select the desired print profile and adjust print settings. - Page 20 3D PRINT - Ultimaker Extended 3 CHAPTER 4. START PRINTING Select the right print core for each material. : Print core 1 - : Print core 2 - : Print core selection - : Material selection - : Profile settings - : Infill density -...
-
Page 21: Shutdown
Chapter 5 Shutdown Wait a moment for the build plate is cold down and then remove your model with a spatule to the build plate. The last user have to remove all spools from the 3D print and package the spools.
Need help?
Do you have a question about the 3 Extended and is the answer not in the manual?
Questions and answers