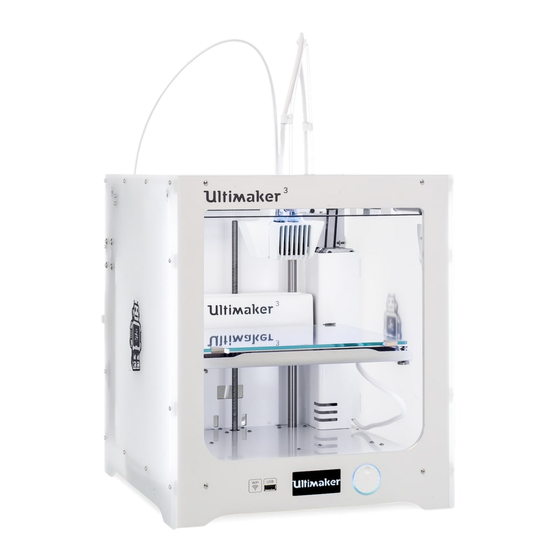
Ultimaker 3 Cleaning
Hide thumbs
Also See for 3:
- User manual ,
- Original manual (60 pages) ,
- Installation and user manual (50 pages)
Advertisement
Cleaning the Ultimaker 3 – Ultimaker Support
Ultimaker
Ultimaker Support
Cleaning the Ultimaker 3
January 28, 2020 09:46
For the best print results it is important to keep the Ultimaker 3 clean while using it.
Therefore it is advised not to use the Ultimaker 3 in a room where it can easily be
covered with dust and to remove small pieces of material that might be in the printer.
Besides this, there are a few parts in the Ultimaker 3 that might require more regular
cleaning.
Clean the glass plate
After printing, there might be excess glue stuck to the glass plate. This can cause an
uneven print surface. Removing a print may also reduce the adhesion quality of a layer
of glue, so it is advised to regularly clean the glass plate and reapply glue.
Before starting a new print, always check the surface of the glass plate. At least once a
month, clean the plate thoroughly by taking the following steps:
Note: Always make sure that the Ultimaker 3 is turned off and build plate has cooled
down.
1. Manually place the build plate at the bottom of the Ultimaker 3
2. Open the build plate clamps at the front, slide the glass plate forward and take it out
of the printer
3.
1 of 6
›
3D Printers
›
Ultimaker 3
Ask our community of experts
Go to our community
© Ultimaker Support
https://support.ultimaker.com/hc/en-us/articles/...
›
Maintenance
12/15/20, 1:51 PM
Advertisement
Table of Contents

Related Manuals for Ultimaker 3


Summary of Contents for Ultimaker 3
- Page 1 For the best print results it is important to keep the Ultimaker 3 clean while using it. Therefore it is advised not to use the Ultimaker 3 in a room where it can easily be covered with dust and to remove small pieces of material that might be in the printer.
- Page 2 Clean the nozzles While using the Ultimaker 3, material can get stuck to the nozzles. Although this will not damage your printer, it is recommended keep the nozzles clean in order to achieve the best print results.
- Page 3 Cleaning the Ultimaker 3 – Ultimaker Support https://support.ultimaker.com/hc/en-us/articles/... Clean the feeders and Bowden tubes After many hours of printing, or when material has been ground down, small filament particles can build up in the feeder. These can end up in the Bowden tubes or print cores, which can impact print quality.
- Page 4 2. Place the print head in the front-right corner 3. Use a fingernail to remove the clamp clips from the tube coupling collets at the print head and feeders 4. Press down on the tube coupling collet in the print head and at the same time, pull the Bowden tube upwards, out of the print head.
- Page 5 Was this article helpful? Update the Ultimaker 3 firmware Ultimaker 3 firmware release notes 4 out of 5 found this helpful Replace the build plate clamps of the Ultimaker 3 5 of 6 12/15/20, 1:51 PM...
- Page 6 Article is closed for comments. Replace the Bowden tubes on the Ultimaker 3 Clean the feeders on the Ultimaker 3 Lubricate the lead screw of the Z motor on the Ultimaker 3 See more Recently viewed articles Ultimaker 3 maintenance schedule ...
Need help?
Do you have a question about the 3 and is the answer not in the manual?
Questions and answers