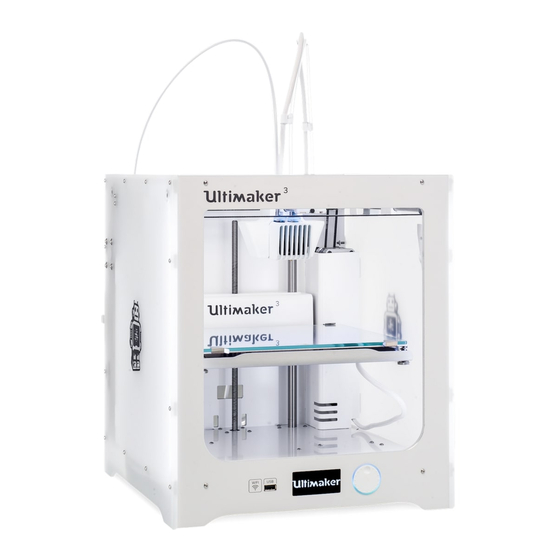
Ultimaker 3 Maintenance
Clean the feeders
Hide thumbs
Also See for 3:
- User manual ,
- Original manual (60 pages) ,
- Installation and user manual (50 pages)
Table of Contents
Advertisement
Quick Links
Clean the feeders on the Ultimaker 3 – Ultimake...
Ultimaker
Ultimaker Support
Clean the feeders on the Ultimaker 3
January 30, 2020 11:34
The feeders forward filament to the print head. To make sure that exactly the right
amount of material is extruded, it is important that the feeder gears can turn smoothly.
After many hours of printing, or when material has been ground down, there is a chance
that there are small filament particles in the feeders. In addition to blowing out the
particles once a month, it is recommended to also clean the inside of the feeders after
one year of printing. In order to do this, the feeders have to be removed from the
printer.
The following steps need to be performed for both feeder 1 and feeder 2:
1. Remove the material by navigating to Material/PrintCore -> Material [x] -> Unload. After
this, turn off the printer
2. Remove the clamp clip from the feeder-end of the Bowden tube, press down on the
tube coupling collet and pull the Bowden tube upwards out of the feeder
3. Reduce the tension of the feeder by turning the bolt in the top of the feeder, until the
indicator is at the highest mark
4. Use the hex screwdriver to loosen the two bolts that hold the feeder to the back panel
and slide the feeder backward away from the printer
1 of 4
›
3D Printers
›
Ultimaker 3
Ask our community of experts
Go to our community
© Ultimaker Support
https://support.ultimaker.com/hc/en-us/articles/...
›
Maintenance
12/15/20, 2:19 PM
Advertisement
Table of Contents

Subscribe to Our Youtube Channel
Summary of Contents for Ultimaker 3
- Page 1 2. Remove the clamp clip from the feeder-end of the Bowden tube, press down on the tube coupling collet and pull the Bowden tube upwards out of the feeder 3. Reduce the tension of the feeder by turning the bolt in the top of the feeder, until the indicator is at the highest mark 4.
- Page 2 Clean the feeders on the Ultimaker 3 – Ultimake... https://support.ultimaker.com/hc/en-us/articles/... 5. Open the feeder by removing the four bolts that hold the housing parts together. Place the two halves in front of you, making sure that all parts are in the back section of the feeder 6.
- Page 3 Clean the feeders on the Ultimaker 3 – Ultimake... https://support.ultimaker.com/hc/en-us/articles/... Was this article helpful? 10 out of 12 found this helpful Comments 0 comments Articles in this section Article is closed for comments. Update the Ultimaker 3 firmware ...
- Page 4 Clean the feeders on the Ultimaker 3 – Ultimake... https://support.ultimaker.com/hc/en-us/articles/... Lubricate the lead screw of the Z motor on the Ultimaker 3 See more Recently viewed articles Replace the Bowden tubes on the Ultimaker 3 Lubricate the lead screw of the Z motor on the Ultimaker 3 ...


Need help?
Do you have a question about the 3 and is the answer not in the manual?
Questions and answers