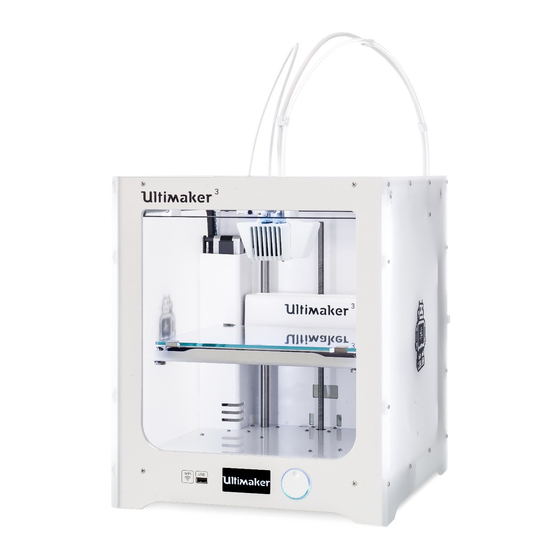
Ultimaker 3 Repair Manual
Hide thumbs
Also See for 3:
- User manual ,
- Original manual (60 pages) ,
- Installation and user manual (50 pages)
Advertisement
Quick Links
Repair manual Ultimaker 3
Replacing
the Olimex
For internal use only
Replacing the Olimex
Important: First make sure you are working ESD safe. The Olimex is
very vulnerable to ESD events. There is a high chance that the Olimex
will be damaged if this repair is not done in an ESD safe way.
Important: Make sure the filament is removed, the Ultimaker is
turned off and the power supply is disconnected before you start the
replacement.
Tip: All orientations are noted as seen from the front of the printer
Note: These instructions are the same for the Ultimaker 3 and
Ultimaker 3 Extended.
Equipment/supplies needed
Tools
•
ESD mat
•
ESD bracelet
•
2.0 hex screwdriver
•
Slotted screwdriver
Parts
•
1x 1782 Olimex board Assembly Ultimaker 3
or
•
1x 1783 Olimex board Assembly Ultimaker 3 Extended
1
Page.
Advertisement

Summary of Contents for Ultimaker 3
- Page 1 Tip: All orientations are noted as seen from the front of the printer Note: These instructions are the same for the Ultimaker 3 and Ultimaker 3 Extended. Equipment/supplies needed Tools •...
- Page 2 • Manually lift the Z stage all the way up. stage all the way down. • Gently place the Ultimaker 3 on its left side. • Grab the motor cover at the top. • Pull it forwards and then to the right to dislodge it from the panels.
- Page 3 Disassembly 5. Remove the Olimex bolts 6. Loosen the Olimex from the bottom panel 7. Remove all cables from the Olimex board • Use the 2.0 hex screwdriver to remove the two M3x25 bolts that • Carefully slide the LAN port out of the back panel. •...
- Page 4 Disassembly • Remove the white camera cable. • Remove the Wifi-Olimex cable from both the small and large • Remove the USB Ulticontroller cable. connector. • Remove the flatwire cables from EXP1 and EXP2. Tip: Before removing the flatwire cables, mark which of the •...
- Page 5 Re-assembly 1. Place the new Olimex board 2. Insert the Olimex bolts through the bottom panel 3. Align the Olimex with the bolts • Take the new Olimex board from the antistatic bag. • Insert the nylon bolt through the hole in the corner from the •...
- Page 6 • Connect the white camera cable to the small connector closest to • Connect the USB Ulticontroller cable with the cable towards the • Connect one end of the Wifi-Olimex cable to the large connector the LAN port. left panel. next to the USB cable.
- Page 7 • Now push the right side of the cover to the left and back. Gently • Turn the Ultimaker 3 upright and move the Z stage all the way apply some pressure so that the cover snaps into place. down.


Need help?
Do you have a question about the 3 and is the answer not in the manual?
Questions and answers