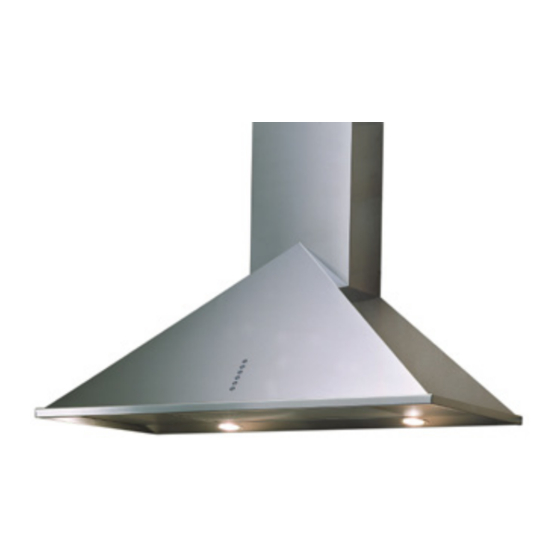
Sirius Range Hoods SU1 Installation Instructions Manual
Classical wall range hoods
Hide thumbs
Also See for SU1:
- Installation instructions manual (32 pages) ,
- Installation instructions manual (16 pages)
Table of Contents
Advertisement
I N S T A L L A T I O N
I N S T R U C T I O N S
CARE AND USE MANUAL FOR:
CLASSICAL WALL RANGE HOODS
Models covered by these instructions:
SU1, SUE1, SU2, SU3, SUE3, SU4, SU5, SU7,
SU18,SU22, SU23,SU25, SU26, SU31, SU36, SU39
* * * B E F O R E I N S T A L L A T I O N * * *
ENSURE THERE IS NO VISIBLE OR HIDDEN DAMAGE SUSTAINED
DURING SHIPPING
* * * S H I P P I N G D A M A G E * * *
MUST BE REPORTED WITHIN 5 DAYS OF RECEIPT
Telephone (Toll Free): 866.528.4987
Fax (Toll Free): 866.365.9204
www.siriushoods.com info@siriushoods.com
Advertisement
Table of Contents

Subscribe to Our Youtube Channel
Summary of Contents for Sirius Range Hoods SU1
- Page 1 CLASSICAL WALL RANGE HOODS Models covered by these instructions: SU1, SUE1, SU2, SU3, SUE3, SU4, SU5, SU7, SU18,SU22, SU23,SU25, SU26, SU31, SU36, SU39 * * * B E F O R E I N S T A L L A T I O N * * *...
- Page 2 W A R N I N G S Thank you for purchasing a Sirius Range Hood. Please read all the instructions in this manual before installing the appliance. Save these instructions for future reference. The appliance is not intended for use by young children or infirm persons without supervision. Young children should be supervised to ensure they do not play with the appliance.
-
Page 3: Table Of Contents
TABLE OF CONTENTS BEFORE YOU BEGIN DUCTING External Venting Requirements Duct Run Calculation ELECTRICAL Electrical Supply INSTALLATION Positioning the Range Hood Marking the Fixing Holes for the Range Hood Fixing the Main Support Bracket Chimney Installation Hanging the Range Hood Connecting Electricity and Ducting Connecting Chimneys Re-Circulating Requirements... -
Page 4: Before You Begin
B E F O R E Y O U B E G I N manufacturer declines responsibility in the event of failure to observe the instructions given here for installation, maintenance suitable operation of product. The manufacturer further declines all responsibility for injury due to negligence and the warranty of the unit automatically expires due to improper maintenance and/or... -
Page 5: Electrical
Maximum Run 6” or 3 1/4 x 10” duct 100 FT Deduct Each 90 elbow used 15FT Each 45 elbow used Each 6” or 3 1/4 x 10” duct Transition used Each 3’1/4 x 10” to 6” Transition used Side Wall with damper 30FT Roof Cap 30FT... -
Page 6: Installation
I N S T A L L A T I O N Positioning the Range Hood Determine the center point of the range hood. This is generally the center of the range. Make a mark on the wall a minimum of 25” above the top of an electric range. -
Page 7: Chimney Installation
the lower two holes, as the range hood will cover these holes once hung on the Support Bracket (“S”). Chimney Installation Locate the bracket (item Y) and position it with the vertical axis (marked on the wall earlier) running through the midpoint of bracket “Y”. This bracket fits onto the ceiling and onto the wall to secure the upper half of the decorative chimney in... -
Page 8: Connecting Electricity And Ducting
Connecting Electricity and Ducting Figure 7 Please refer to the Electrical Supply section on page 2 for the required location of the electrical supply. CAUTION: Make sure the power is turned off at source. Make electrical connections (refer to Fig 7). Ensure that the plastic flaps at the exhaust outlet for the fan move freely and have not become jammed... -
Page 9: Re-Circulating Requirements
Figure 11 Figure 12 Re-Circulating Requirements unit will used re-circulating mode (refer Figure 11), fit the deflector (refer Figure 12) with the screws supplied to the upper telescope chimney. There are holes in the back upper edge of the decorative chimney for this purpose. -
Page 10: Functions
In the event of a range top grease fire, observe the following: Switch OFF the range hood. Turn off the cook top then smother flames with a close fitting lid, cookie sheet or other metal tray. If the flames do not go out immediately: EVACUATE AND CALL THE FIRE DEPARTMENT. -
Page 11: Cleaning The Hood
Cleaning the Filter The aluminium mesh filters should be washed by hand or in the dishwasher as required. Damaged and worn filters must be replaced immediately. (Do not operate blower when filters have been removed). Allow filters to dry before replacing them, otherwise water will be drawn into the blower. -
Page 12: Who Is Covered
WARRANTY SERVICE To qualify for warranty service, you must notify Sirius Range Hoods at the address stated below or call toll free USA or Canada 1-866-528-4987 and provide the model number, description of the fault or defect and original date of purchase.


Need help?
Do you have a question about the SU1 and is the answer not in the manual?
Questions and answers