
Related Manuals for QualGear QG-TM-020-BLK


Summary of Contents for QualGear QG-TM-020-BLK
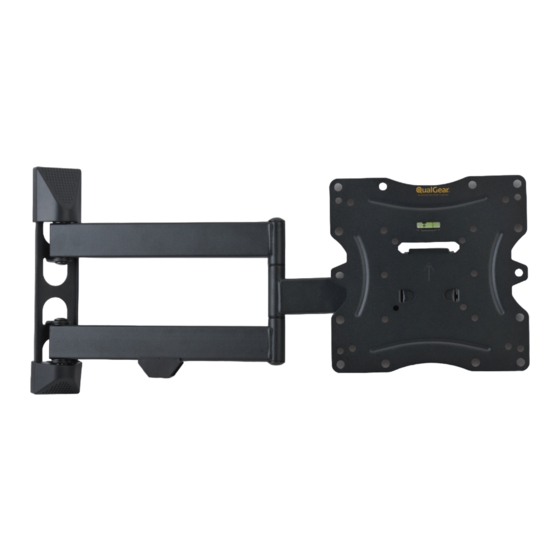
- Page 1 30kg (66lbs) RATED 75x75 | 100x100 | 200x100 | 200x200 1 Year Limited Warranty Version: September 2015 Version: September 2015...
- Page 2 If any parts are missing or damaged, contact your local distributor or WARNING support@qualgear.com for replacement parts and do not start assembly and installation until you receive all the parts. Do not begin to install your QualGear product Tighten screws firmly, but do not over tighten.
- Page 3 Remove the VESA Plate Mounting to a Wooden Stud Wall For concrete or brick NOTE wall mounting, follow Step 2b. Stud Finder VESA Plate Screws Loosen and remove the VESA plate screws on the VESA plate as shown above. VESA Plate Using an edge-to-edge stud finder, find the Using a level, mark the centerline of the stud.
- Page 4 70mm 70mm (2.7") (2.7") Wall Plate ø 10mm (ø 3/8") Mount the wall plate and tighten with the provided lag bolts (A) and D6 washers (C) using a socket wrench. Do NOT use power drill and do NOT over tighten the lag bolts. NOTE Do NOT use concrete / brick anchors (B) for drywalls.
- Page 5 Installing the Decorative Covers Wall Decorative Covers CAUTION! To avoid blocking the input panel on the back of the TV, move the VESA plate up or down to select a different mounting position. Choose the appropriate screws according to the type of your TV, and add shims (E) if necessary, attach the VESA plate to the back of the TV and tighten screws using a screwdriver.
- Page 6 VESA Plate Screws G/ I/ K/ M While holding the TV securely by an assistant, ensure the VESA plate screws are tightened by using a screwdriver. Wall Choose the appropriate screws according to the type of Connect the cables to your TV, your TV, add shims (E) and spacers (D) if necessary, then Tighten all screws but and run the cables through the...
Need help?
Do you have a question about the QG-TM-020-BLK and is the answer not in the manual?
Questions and answers