Advertisement
Quick Links
Advertisement

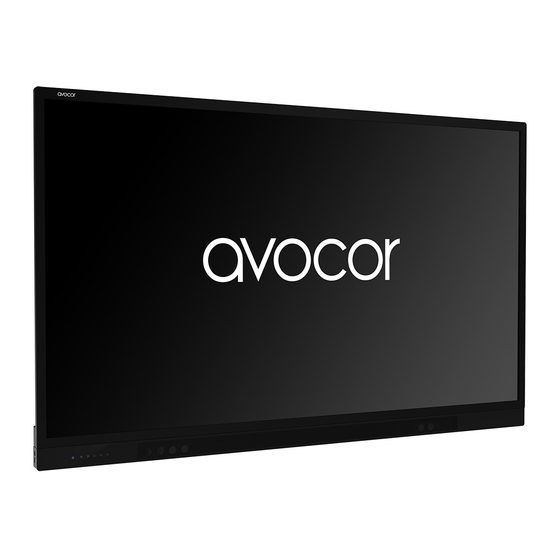
Summary of Contents for AVOCOR AVF-6550
- Page 1 Quick Start Guide AVF-6550, AVF-7550, AVF-8650...
-
Page 2: Table Of Contents
13. Connecting to an external PC using a DisplayPort connection 14. Enabling the Touch System 15. Installing an OPS Module 16. Avocor Note by Nureva Software – EMEA ONLY 17. Qwizdom OKTOPUS Software – EMEA ONLY 18. Qwizdom XIMBUS Software – EMEA ONLY 19. -
Page 3: Contents Of Packaging
Contents of Packaging Avocor Interactive LED Display Accessory Pack Quick Start Guide • Remote Control & 2x AAA Batteries • 2x Touch Stylus • USB Drive • Power Cables – 1x UK Cable 1.8m, 1x European Cable 1.8m & 1x US Cable 1.8m •... -
Page 4: Installation Guide
Step 3. Align the mounting arms with the mounting holes and attach the brackets to the display using the screws removed in Step 2. Caution: Use max 15mm long screws, 8mm Metric - Longer screws will damage the display AVF-6550 AVF-7550 / AVF-8650 v.30_05_2018... -
Page 5: The Display At A Glance
The Display at a Glance Front View Rear View AVF-6550 AVF-6550 v.30_05_2018... - Page 6 AVF-7550 AVF-8650 AVF-7550 / AVF-8650 v.30_05_2018...
- Page 7 Front Control Buttons Descriptions Power To turn on/off the display. Home Switch to the OPS or go back to the previous source Source Source Selection Wireless Presentation Input Selection Volume - To decrease the volume Volume + To increase the volume Green Normal operation Blinking Orange...
- Page 8 AVF-6550 / 7550 / 8650 Display Inputs Rear Ports Side Ports v.30_05_2018...
-
Page 9: The Remote Control
Remote Control Label Description Turns the display on and off. Default set to OPS slot Can be assigned to any input Opens the Source Menu. Navigates through menus and settings. Selects highlighted menu choice Takes the user back one step Decreases the Volume Increases the Volume Opens the display menu system. - Page 10 2. The display will then cycle and shut down. Selecting the Source You can access a number of sources on the Avocor AVF displays including, HDMI, DisplayPort, VGA & OPS. The Source button is located on the Connect & Control Bar or on the Remote Control.
- Page 11 Connecting to an external PC using a HDMI connection In addition to a HDMI connection, a USB touch connection is required when connecting an external PC. Connect the enclosed HDMI cable to the HDMI port of the touchscreen and to the external PC.
-
Page 12: Connecting To An External Pc Using A Vga Connection
Connecting to an external PC using a VGA connection In addition to a VGA connection, a USB touch connection is required when connecting an external PC. Connect the VGA cable to the VGA port of the touchscreen and to the external PC. Connect the enclosed USB cable to the corresponding touch USB port (USB-B) of the touchscreen and to the USB port (USB-A) on the external PC. -
Page 13: Connecting To An External Pc Using A Displayport Connection
Connecting to an external PC using a DisplayPort connection In addition to a DisplayPort connection, a USB touch connection is required when connecting an external PC. Connect a DisplayPort cable to the DisplayPort port of the touchscreen and to the external PC. - Page 14 Enabling the Touch Screen Before setting up your display to support touch screen capability, ensure that: The touch screen controller host computer is turned off. • The display is turned on. • The video output from the computer is connected to a video input on the display. •...
-
Page 15: Installing An Ops Module
Step 5. Ensure the installation is complete before turning on the power. Step 6. Turn on the display. When using an Avocor OPS Pc you should see a green light on the side of the OPS, this will indicate that the OPS PC is switched on and operational. - Page 16 Pen, Finger, or Palm - A key feature of the Avocor Interactive Display range. Content created in Avocor Note by Nureva has been designed to be easily shared with others, either as a complete whiteboard session, pages can also be saved individually as images or the whole file saved as a .PDF file for quick distribution, Pages can also be shared...
- Page 17 40 different languages, OKTOPUS enables teachers to create engaging and interactive lessons. To download Qwizdom OKTOPUS please visit https://qwizdomoktopus.com/avocor/. Speak to your account manager to obtain your Licence Key. For more information on Qwizdom OKTOPUS including the User Guide and FAQ please visit www.qwizdomoktopus.com.
- Page 18 XIMBUS is a convenient and easy-to-use web-based platform, allowing for Lesson Preparation & Presentation, Collaborative Whiteboarding and Integration with Office365 or G-Suite. Microsoft school using Office365, One Drive & Microsoft Teams. Or Google school using G-Suite, Google Drive & Google Classroom. With 4 simple steps to collaboration –...
-
Page 19: Warranty Support
Warranty Support team. Please provide as much information to the support team about the fault and any steps you have taken in trying to try and resolve the fault. Remember the first instance to look for known faults and how to resolve them on the avocor Website www.avocor.com/support. - Page 20 v.30_05_2018...


Need help?
Do you have a question about the AVF-6550 and is the answer not in the manual?
Questions and answers