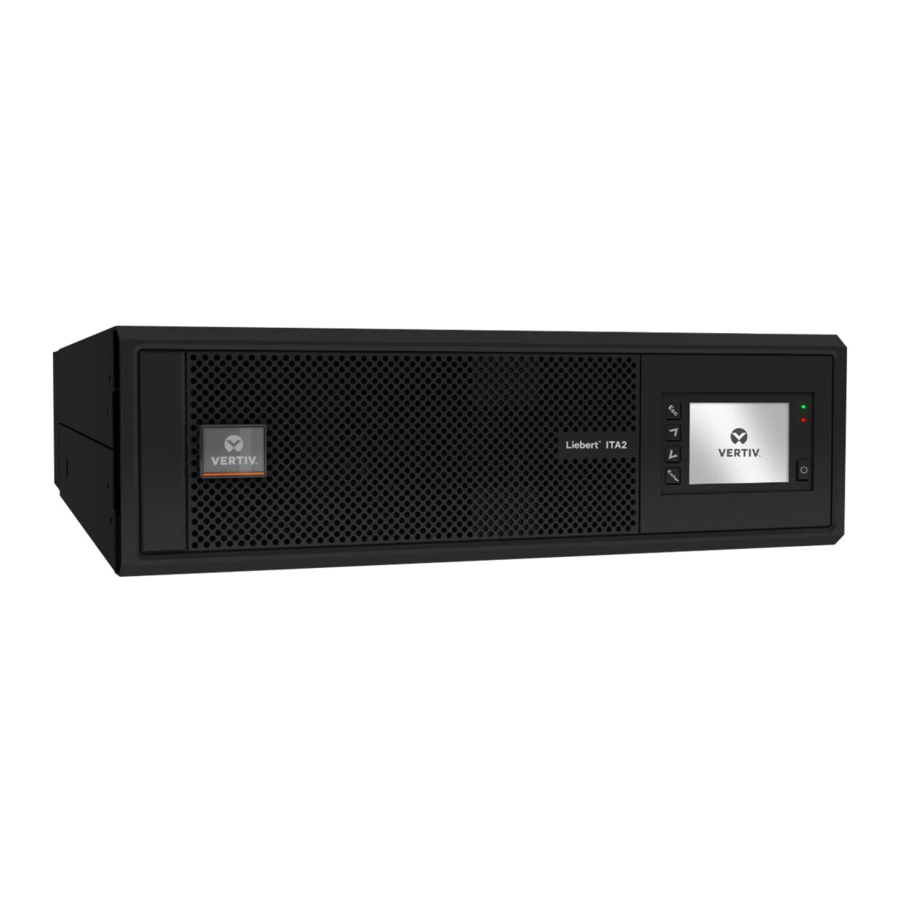
Vertiv LIEBERT ITA2 Quick Start Manual
Hide thumbs
Also See for LIEBERT ITA2:
- User manual (140 pages) ,
- Installer/user manual (82 pages) ,
- Quick start manual (25 pages)
Advertisement
Table of Contents
- 1 Unpacking and Inspection
- 2 Connecting One Battery Cabinet
- 3 Installing Battery Insulating Plates
- 4 Installing the Battery Cabinet—Connecting Battery Cabinet Cables
- 5 The Cable Connections between the Battery Cabinet and the UPS
- 6 Connecting Additional Battery Cabinets
- 7 To Connect Power Cables
- Download this manual
The complete Liebert ITA2 Battery Cabinet user manual is available at Vertiv's Web site,
www.vertivco.com/en-us/products-catalog/critical-power/uninterruptible-power-supplies-ups/
using the QR code, below right.
Unpacking and Inspection
Unpack and inspect the Liebert ITA2 Battery Cabinet.
1.
If any problem is found, file a damage claim with the carrier immediately and send a copy to Vertiv at:
Vertiv
1050 Dearborn Drive
P.O. Box 29186
Columbus, Ohio 43085 USA
2.
Check the contents against the delivery list. If any problem is found, notify your local Vertiv
representative immediately.
Connecting One Battery Cabinet
Do not reverse the polarity of the battery cables. Before replacing the battery cabinet and connecting the battery
cables, ensure the battery breaker on the rear of the battery cabinet is open (Off).
Installing Battery Insulating Plates
The battery terminals need insulating plates to guarantee the sufficient
insulation distance between the battery external cables connection to
protect against faults such as arcing and short circuits.
To install the insulating plates:
1.
Crimp the user external cable on the battery terminals.
2.
Crimp the battery insulating plates, and use the screws to fasten the OT terminals
and insulating plates together onto the terminal block.
NOTE
The installation sequence of the OT terminals and insulating plates must be strictly observed, otherwise the
user external cables connection will be separated.
Installing the Battery Cabinet—Connecting Battery Cabinet Cables
When more than one string is installed, use the factory-provided cable to connect the battery cabinets, use the
factory-provided cable shown in Figure 1, Terminals A of the first string connects to the UPS. Terminal B of the
first string will connect to Terminal A of the second string.
Figure 1
Cables between Liebert ITA2 and battery cabinets
1.
Communication Cable
2. Power Cable (UPS to
Battery String 1)
3. Terminal A of Battery
Module 1
4. Terminal A of Battery
Module 1
5. Terminal A of Battery
Module 1;
6. Battery String 2
7. Terminal B of Battery
Module 2;
8. Battery String 2
Vertiv
| Liebert
®
™
ITA2
®
LIEBERT
ITA2
Quick-Start Guide
1
2
1
7
Battery Cabinet Quick-Start Guide | Rev. 0 | 01/18 |
™
BATTERY CABINET
CABLES FOR UPS TO ONE BATTERY STRING
CABLES FOR ADDITIONAL BATTERY STRINGS
or by
3
4
5
1
Advertisement
Table of Contents

Summary of Contents for Vertiv LIEBERT ITA2
-
Page 1: Unpacking And Inspection
QR code, below right. Unpacking and Inspection Unpack and inspect the Liebert ITA2 Battery Cabinet. If any problem is found, file a damage claim with the carrier immediately and send a copy to Vertiv at: Vertiv 1050 Dearborn Drive P.O. - Page 2 Battery Cabinet 3 13. RJ-45 Communication Cables 14. Communication Port 2 15. Communication Port 1 of Battery Cabinet 1 of Battery Cabinet 1 Vertiv | Liebert ® ™ ITA2 Battery Cabinet Quick-Start Guide | Rev. 0 | 01/18 |...
- Page 3 UPS and is available at Vertiv’s Web site: www.vertivco.com/en-us/products-catalog/critical-power/uninterruptible-power-supplies-ups/ © 2018 Vertiv Co. All rights reserved. Vertiv and the Vertiv logo are trademarks or registered trademarks of Vertiv Co. All other names and logos referred to are trade names, trademarks or registered trademarks of their respective owners.


Need help?
Do you have a question about the LIEBERT ITA2 and is the answer not in the manual?
Questions and answers