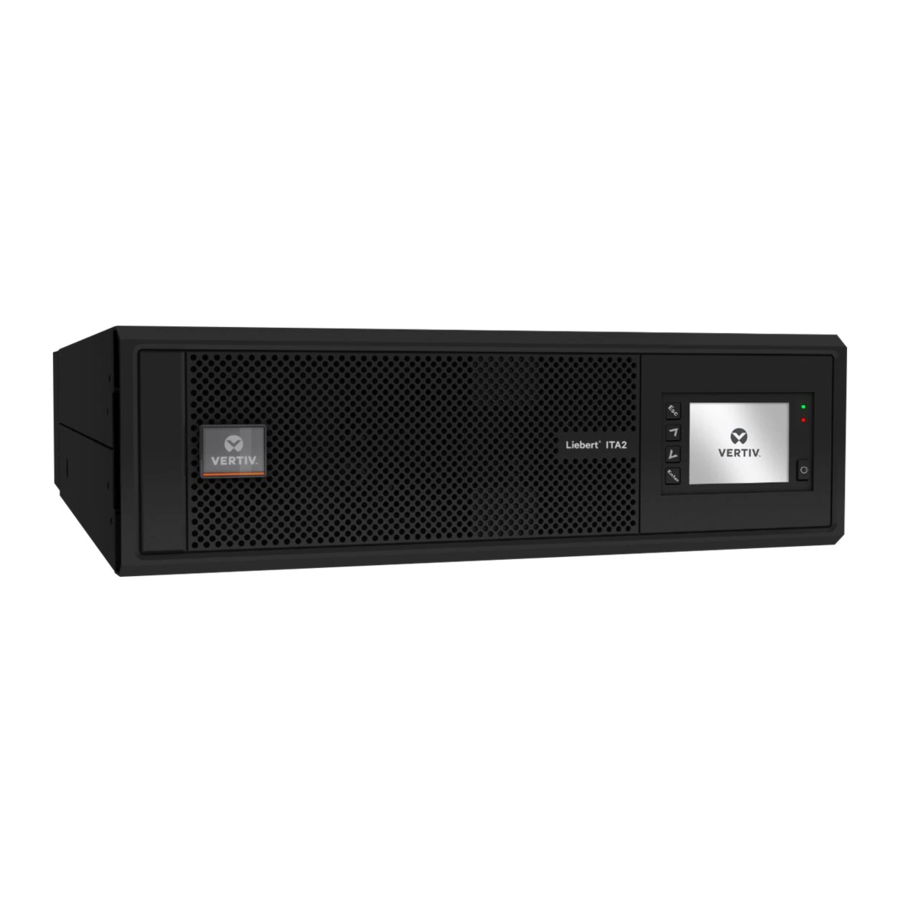
Vertiv LIEBERT ITA2 Quick Installation Manual
Battery cabinet
Hide thumbs
Also See for LIEBERT ITA2:
- User manual (140 pages) ,
- Installer/user manual (82 pages) ,
- Quick start manual (25 pages)
Advertisement
VERTIV™ LIEBERT® ITA2
BATTERY CABINET
Quick Installation Guide
IMPORTANT: Before installing,
connecting to supply or operating
your Liebert ITA2 Battery Cabinet,
please review the Safety and
Regulatory Statements sheet. For
detailed installation, operating,
maintenance and troubleshooting
information visit the Liebert ITA2
product page for the Liebert ITA2
Battery Cabinet Installer/User
Guide available at www.Vertiv.com
or use the QR code below.
INSPECT THE BATTERY
CABINET
Inspect the cabinet for any signs of
obvious damage. If damage is
visible, do not proceed. File a
damage claim with the carrier
immediately and send a copy to:
Vertiv
1050 Dearborn Drive
P.O. Box 29186
Columbus OH 43085
Attn. Traffic Department
Insulating Plates
INSTALL THE BATTERY
INSULATING PLATES
NOTE: Only on UPS models with
terminal block battery connectors.
Do not reverse the polarity of the
battery cables.
IMPORTANT! Before connecting the
battery cables, ensure that the
battery breaker on the rear of the
battery cabinet is open (Off).
1.
Connect the ground wire (PE)
to the ground screw on the
rear of the UPS.
2.
Place the battery cable ring
lug on the terminal block, add
the insulating plate, then insert
the screw and tighten to
30 lb.- in. torque.
3.
Repeat Step 2 for each
terminal-block connection:
battery +, battery neutral, and
battery –).
1
SL-26257QS_REV2_06-20
Advertisement
Table of Contents

Summary of Contents for Vertiv LIEBERT ITA2
- Page 1 Safety and Regulatory Statements sheet. For detailed installation, operating, maintenance and troubleshooting information visit the Liebert ITA2 product page for the Liebert ITA2 Battery Cabinet Installer/User Guide available at www.Vertiv.com or use the QR code below. INSTALL THE BATTERY...
- Page 2 LIEBERT® ITA2 BATTERY CABINET Quick Installation Guide CONNECTING 3U CABINET 5. Connect the 6. Close Breakers. SYSTEMS communication cable. When connections are complete, close the battery Connect to Communication Each battery string is made up of output breaker(s). Port 2 on the first cabinet in the two battery cabinets that are previous string to connected to the UPS in parallel.
- Page 3 LIEBERT® ITA2 BATTERY CABINET Quick Installation Guide CONNECTING 2U CABINET 7. Close Breakers. DIP Switch SYSTEMS When connections and DIP switch settings are complete, Each battery string is made up of close the battery output two battery cabinets that are breaker(s).
- Page 4 To contact Vertiv Technical Support: visit www.Vertiv.com © 2020 Vertiv Group Corp. All rights reserved. Vertiv™ and the Vertiv logo are trademarks or registered trademarks of Vertiv Group Corp. All other names and logos referred to are trade names, trademarks or registered trademarks of their respective owners. While every precaution has been taken to ensure accuracy and completeness herein, Vertiv Group Corp.


Need help?
Do you have a question about the LIEBERT ITA2 and is the answer not in the manual?
Questions and answers