Advertisement
Quick Links
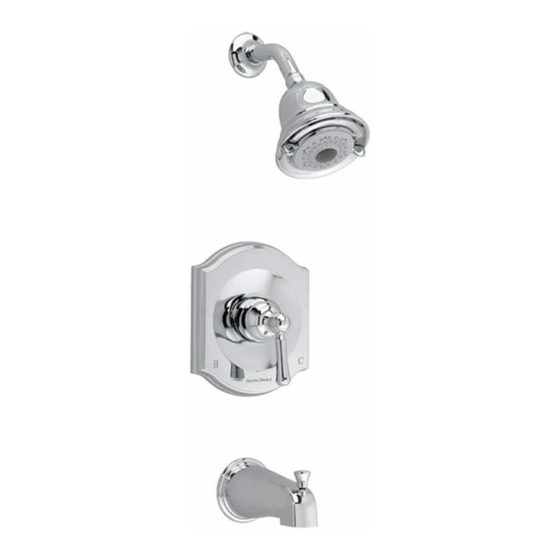
PORTSMOUTH™
IN WALL PRESSURE BALANCING
BATH AND SHOWER TRIM KIT
Thank you for selecting American-Standard...
the benchmark of fine quality for over 100 years.
To ensure that your installation proceeds smoothly--
please read these instructions carefully before
you begin.
Recommened Tools
Phillips Screwdriver
Flat Blade Screwdriver
ROUGHING-IN DIMENSIONS
To assure proper positioning in relation to wall,
note roughing-in dimensions.
FINISHED WALL
125mm
(4-7/8")
REF.
216mm
(8-1/2")
"SEE ILLUSTRATION"
74" FOR HEAD CLEARANCE
(188 cm)
18" OPTIONAL
(45,7 cm)
5-1/8" REF.
(130 mm) REF.
BOTTOM OF TUB
Installation
Instructions
T415.50X
T420.50X
Tubing Cutter
5/64"
Hex Wrench
1-5/8" TO 3"
(41mm TO 76mm)
1/2" NPT
(12,7 mm) NPT
OPTIONAL TO FINISHED FLOOR
USUALLY BETWEEN 65'' AND 78''
REF.
SHR
7-5/8"
(195 mm)
TUB
1-1/2" REF.
(38mm) REF.
1/2" COPPER
4" (102 mm)
TOP OF TUB RIM
Series
Adjustable Wrench
Channel Locks
SWEAT
INLETS (STOPS)
INLETS 1/2" NPT
3-3/8"
ESCUTCHEON T415
3-3/8"
OUTLETS
1/2" NPT
6-1/2"
(165 mm)
7-5/8" DIA.
(195 mm)
THREADED INLETS
l d
C o
t
H o
T 4 1 5
Certified to comply with ANSI A112.18.1
M 9 6 5 0 2 8 R E V . 1 . 2
Plumbers' Putty or Caulking
INLETS
1/2" NOM.
COPPER
INLETS
SWEAT
4-1/16"
SHR. 1/2" NOM.
COPPER SWEAT
SWEAT
INLETS
TUB 1/2" NOM.
COPPER SWEAT
5-7/8"
SHR. 1/2" NOM.
COPPER SWEAT
TUB 1/2" NOM.
COPPER SWEAT
ESCUTCHEON T420
3-3/8"
7-13/16"
OUTLETS
(198 mm)
1/2" NPT
1/2" NPT
THREADED INLETS (STOPS)
T 4 2 0
2"
4-1/16"
4-1/16"
INLETS
1/2" NOM.
COPPER
SWEAT
5-7/8"
INLETS
Advertisement

Related Manuals for American Standard PORTSMOUTH T415.50X Series


Summary of Contents for American Standard PORTSMOUTH T415.50X Series
- Page 1 Installation Instructions T415.50X T420.50X PORTSMOUTH™ Series IN WALL PRESSURE BALANCING BATH AND SHOWER TRIM KIT Thank you for selecting American-Standard... the benchmark of fine quality for over 100 years. To ensure that your installation proceeds smoothly-- please read these instructions carefully before you begin.
- Page 2 ROUGHING-IN Turn off water at CAUTION main supply. When soldering, remove PLASTER GUARD, CARTRIDGES and CHECK STOPS (IF PRESENT). When finished soldering, NOTE flush valve body, replace cartridges, check stops (if present) and plaster guard to continue installation. Use thread sealant or Teflon tape on threaded connections.
- Page 3 ADJUST HOT LIMIT STOP HOT LIMIT SAFETY STOP ADJUSTMENT By restricting handle rotation and limiting the amount of hot water allowed to mix with the cold, the HOT LIMIT SAFETY STOP reduces risk of accidental scalding. To set the maximum hot water temperature of your faucets, all you need to do is adjust the setting on the HOT LIMIT SAFETY STOP .