Sign In
Upload
Download
Table of Contents
Contents
Add to my manuals
Delete from my manuals
Share
URL of this page:
HTML Link:
Bookmark this page
Add
Manual will be automatically added to "My Manuals"
Print this page
×
Bookmark added
×
Added to my manuals
Manuals
Brands
Sage Manuals
Coffee Maker
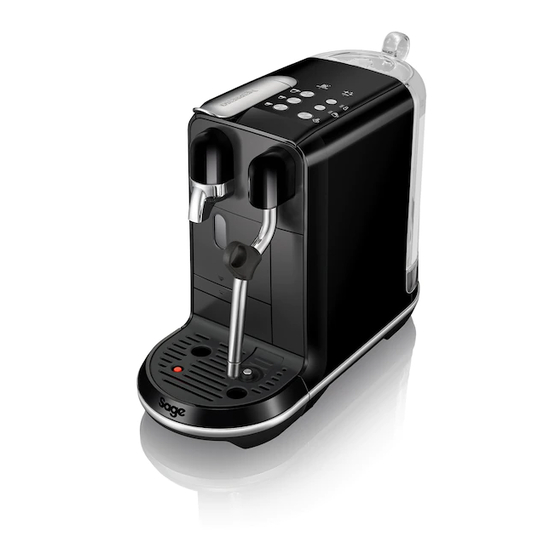
CREATISTA UNO
User manual
Sage CREATISTA UNO User Manual
Nespresso machine
Hide thumbs
1
2
3
4
Table Of Contents
5
6
7
8
9
10
11
12
13
14
15
16
17
18
19
20
21
22
23
24
25
26
27
28
29
30
31
32
page
of
32
Go
/
32
Contents
Table of Contents
Troubleshooting
Bookmarks
Table of Contents
Nespresso Creatista uno
Packaging Content
Creatista uno
Specifications
Table of Contents
Safety Precautions
Machine Overview
First Use
Regular Coffee Preparation
Milk Coffee Preparation
Latte Macchiato Preparation
Adjusting Regular Coffee Drinks
Reset to Factory Settings
Emptying the System
Energy Saving
Daily Cleaning
Steam Wand Cleaning
Descaling
Water Hardness
Troubleshooting
Troubleshooting Milk Froth Preparation
Contact Nespresso Club
Disposal and Environmental Protection
Limited Guarantee
Advertisement
Quick Links
1
Machine Overview
2
Reset to Factory Settings
3
Daily Cleaning
4
Steam Wand Cleaning
5
Descaling
6
Troubleshooting
Download this manual
CREATISTA UNO
MY MACHINE
Table of
Contents
Previous
Page
Next
Page
1
2
3
4
5
Advertisement
Table of Contents
Troubleshooting
Troubleshooting
25
Troubleshooting Milk Froth Preparation
26
Need help?
Do you have a question about the CREATISTA UNO and is the answer not in the manual?
Ask a question
Questions and answers
Related Manuals for Sage CREATISTA UNO
Coffee Maker Sage Nespresso Creatista Uno User Manual
(100 pages)
Coffee Maker Sage the Sage Precision Brewer BDC400 Quick Manual
(120 pages)
Coffee Maker Sage Nespresso Vertuo Creatista Manual
(28 pages)
Coffee Maker Sage NESPRESSO Vertuo Creatista SVE850 User Manual
(32 pages)
Coffee Maker Sage Nespresso CREATISTA PLUS Instructions Manual
(30 pages)
Coffee Maker Sage Nespresso My Machine Creatista Plus Manual
(232 pages)
Coffee Maker Sage NESPRESSO CREATISTA PRO SNE900BSS4GUK1 User Manual
(24 pages)
Sage the Barista Express Impress SES876 - Espresso Machine 1850W Manual
(article)
Coffee Maker Sage Oracle Instruction Booklet
(42 pages)
Sage the Barista Express BES875 / SES875 - Espresso Machine 1850W Manual
(article)
Sage the Barista Pro BES878 / SES878 - Espresso Machine 1650W Manual
(article)
Coffee Maker Sage Duo-Temp Pro BES810 Quick Manual
(32 pages)
Sage the Bambino BES450 / SES450 - Semi-automatic Espresso Machine 1600W Manual
(article)
Coffee Maker Sage Bambino Plus User Manual
(108 pages)
Coffee Maker Sage Bambino Plus SES500 Quick Manual
(41 pages)
Coffee Maker Sage BES500 Quick Manual
(192 pages)
This manual is also suitable for:
Sne500
Bne500
Table of Contents
Print
Rename the bookmark
Delete bookmark?
Delete from my manuals?
Login
Sign In
OR
Sign in with Facebook
Sign in with Google
Upload manual
Upload from disk
Upload from URL


Need help?
Do you have a question about the CREATISTA UNO and is the answer not in the manual?
Questions and answers