Table of Contents
Advertisement
Quick Links
Installation instructions
Please follow the installation steps below to ensure your appliance operates correctly.
Dimensions and clearances
• The cooker must be installed no less than 50 mm away from any side walls which exceed the height of the
cooktop.
• The cabinetry surrounding the cooker must be made of heat-resistant material and must be able to withstand
temperatures of 65 °C above room temperature.
• Do not install the cooker near flammable materials (eg curtains).
• If you stand the cooker on a pedestal, make sure you provide safety measures to keep it in place.
https://producthelp.fisherpaykel.com/nz/Cook/Freestanding_Cookers/Induction/OR90SDBSIX2/User_Guide_OR90SDBSIX2/02_Installatio
Locating the area for electrical connection
Updated: Fri, 08 Mar 2019 10:03:53 GMT
Powered by
1
Advertisement
Table of Contents

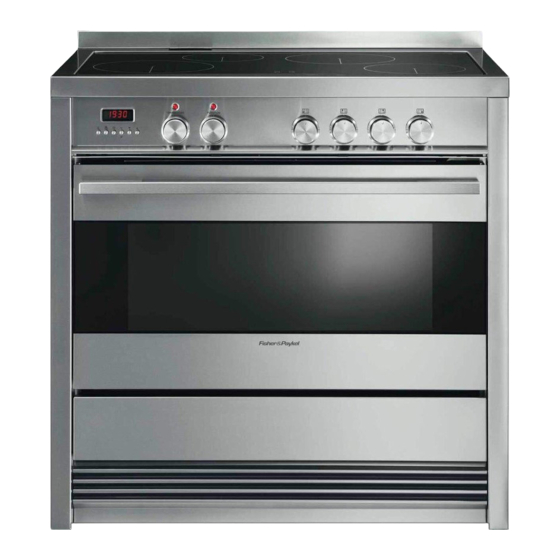
Summary of Contents for Fisher & Paykel OR90SDBSIX2
-
Page 1: Installation Instructions
• Do not install the cooker near flammable materials (eg curtains). • If you stand the cooker on a pedestal, make sure you provide safety measures to keep it in place. Locating the area for electrical connection https://producthelp.fisherpaykel.com/nz/Cook/Freestanding_Cookers/Induction/OR90SDBSIX2/User_Guide_OR90SDBSIX2/02_Installatio Updated: Fri, 08 Mar 2019 10:03:53 GMT Powered by... - Page 2 Fig. 1 Area for electrical connection Fig. 2 Dimensions and distances from cooker https://producthelp.fisherpaykel.com/nz/Cook/Freestanding_Cookers/Induction/OR90SDBSIX2/User_Guide_OR90SDBSIX2/02_Installatio Updated: Fri, 08 Mar 2019 10:03:53 GMT Powered by...
-
Page 3: Levelling The Cooker
• The cooker is already fitted with four levelling feet. • Level the cooker by screwing or unscrewing the feet. • Make sure you follow the instructions in Figs. 3a, 3b, and 3c. https://producthelp.fisherpaykel.com/nz/Cook/Freestanding_Cookers/Induction/OR90SDBSIX2/User_Guide_OR90SDBSIX2/02_Installatio Updated: Fri, 08 Mar 2019 10:03:53 GMT Powered by... - Page 4 • Do not refit the kickstrip until you have installed the anti-tip bracket. Fig. 3b Do not use the supplied nuts for height adjustments between 0 and 8mm Fig. 3c Use the supplied nuts for height adjustments between 8 and 13mm https://producthelp.fisherpaykel.com/nz/Cook/Freestanding_Cookers/Induction/OR90SDBSIX2/User_Guide_OR90SDBSIX2/02_Installatio Updated: Fri, 08 Mar 2019 10:03:53 GMT Powered by...
-
Page 5: Fitting The Anti-Tilt Bracket
3. After attaching the anti-tilt bracket securely, slide the cooker into place. Ensure that the left rear foot slides under the bracket, as shown in Fig.4. 4. Access the bracket by removing the drawer (Fig. 5): https://producthelp.fisherpaykel.com/nz/Cook/Freestanding_Cookers/Induction/OR90SDBSIX2/User_Guide_OR90SDBSIX2/02_Installatio Updated: Fri, 08 Mar 2019 10:03:53 GMT Powered by... - Page 6 Fix the restraining plate by sliding it into place and securing it with the fixing screw and washer supplied. See Fig. 6. Fig. 6 Fixing the restraining plate 6. Replace the drawer (Fig. 7): Fig. 7 Replacing the drawer https://producthelp.fisherpaykel.com/nz/Cook/Freestanding_Cookers/Induction/OR90SDBSIX2/User_Guide_OR90SDBSIX2/02_Installatio Updated: Fri, 08 Mar 2019 10:03:53 GMT Powered by...
-
Page 7: Moving The Cooker
To prevent damaging the adjustable feet or lower trim, ensure the cooker is always lifted by two people. Do not lift the cooker by the door handles. DO NOT DRAG the cooker. Lift the feet clear of the floor. Fig. 8 Correctly lifting the cooker. https://producthelp.fisherpaykel.com/nz/Cook/Freestanding_Cookers/Induction/OR90SDBSIX2/User_Guide_OR90SDBSIX2/02_Installatio Updated: Fri, 08 Mar 2019 10:03:53 GMT Powered by... -
Page 8: Fixing The Backguard
2. Remove the two spacers “A” and the screw “B” from the rear of the cooktop. 3. Assemble the backguard as shown and fix it by screwing the central screw “B” and the spacers “A”. https://producthelp.fisherpaykel.com/nz/Cook/Freestanding_Cookers/Induction/OR90SDBSIX2/User_Guide_OR90SDBSIX2/02_Installatio Updated: Fri, 08 Mar 2019 10:03:53 GMT... -
Page 9: Connecting The Power Supply Cable
5. Strain the feeder cable and block it with cable clamp ‘E’ (by screwing screw ‘D’). 6. Close the terminal block cover (check the two hooks ‘A’ are correctly hooked). https://producthelp.fisherpaykel.com/nz/Cook/Freestanding_Cookers/Induction/OR90SDBSIX2/User_Guide_OR90SDBSIX2/02_Installatio Updated: Fri, 08 Mar 2019 10:03:53 GMT Powered by... -
Page 10: Voltage And Power Consumption
If the power supply cable is damaged, it must be replaced only by an authorised service agent in order to avoid a hazard. Voltage and power consumption 220-240/380-415 V 3N~ 50/60 Hz 48, 17 A (230 V) 11080W (diversity not applied) https://producthelp.fisherpaykel.com/nz/Cook/Freestanding_Cookers/Induction/OR90SDBSIX2/User_Guide_OR90SDBSIX2/02_Installatio Updated: Fri, 08 Mar 2019 10:03:53 GMT Powered by... -
Page 11: Feeder Cable Section
• In Australia and New Zealand: this cooker must be connected to electrical supply using V105 insulated cable. • 220-240 V~ 3 x 6 mm2 (*) • 380-415 V 3N~ 5 x 2,5 mm2 (*) • 380-415 V 2N~ 4 x 6 mm2 (*) https://producthelp.fisherpaykel.com/nz/Cook/Freestanding_Cookers/Induction/OR90SDBSIX2/User_Guide_OR90SDBSIX2/02_Installatio Updated: Fri, 08 Mar 2019 10:03:53 GMT Powered by... - Page 12 * Connection with wall box connection. • Diversity factor applied. • A diversity factor may be applied to the total loading of the appliance only by a suitably qualified person. https://producthelp.fisherpaykel.com/nz/Cook/Freestanding_Cookers/Induction/OR90SDBSIX2/User_Guide_OR90SDBSIX2/02_Installatio Updated: Fri, 08 Mar 2019 10:03:53 GMT Powered by...
-
Page 13: Wiring Diagram
GIR Rotisserie motor LF Oven lamp V Oven fan motor TR Oven lamps transformer CF Cooling fan motor S1 Thermostat pilot lamp M Terminal block S2 Line pilot lamp T Earth connection https://producthelp.fisherpaykel.com/nz/Cook/Freestanding_Cookers/Induction/OR90SDBSIX2/User_Guide_OR90SDBSIX2/02_Installatio Updated: Fri, 08 Mar 2019 10:03:53 GMT Powered by...


Need help?
Do you have a question about the OR90SDBSIX2 and is the answer not in the manual?
Questions and answers