Table of Contents
Advertisement
Quick Links
Advertisement
Table of Contents

Summarization of Contents
Safety and Warnings
Electrical Shock Hazard
Warnings about potential electric shock during installation and operation.
Cut Hazard
Warnings about sharp edges on the appliance.
Tipping Hazard
Warnings about the risk of tipping and the need for an anti-tip device.
General Installation Warnings
Guidelines for safe installation, servicing, and handling of the appliance.
Important Handling Advice
Advice on handling the heavy cooker to prevent damage.
Installation Components and Tools
Supplied Installation Parts
Lists components provided for installation, including anti-tip bracket and fasteners.
Required Installation Tools
Lists essential tools not supplied with the appliance for installation.
Product Information and Preparation
Model Identification
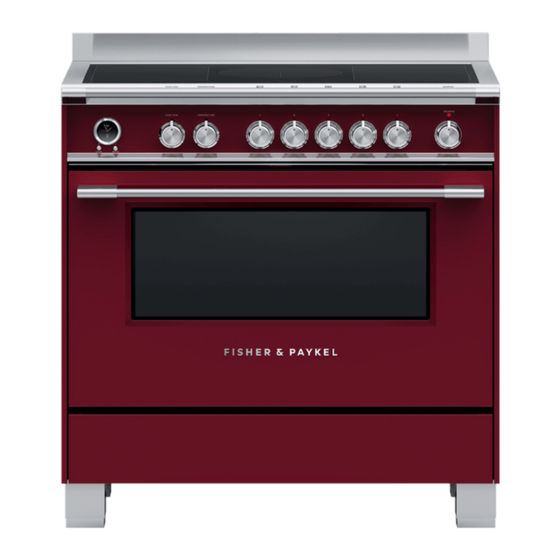
Lists specific model codes for the OR90 induction cookers.
Unpacking and Inspection
Instructions for inspecting and unpacking the cooker before installation.
Dimensions and Clearances
Product Dimensions
Specifies all external measurements of the cooker for placement.
Clearance Dimensions
Specifies required clearances around the cooker for safe operation and installation.
Installation Procedures
Fitting Optional Backguard
Steps to attach the optional backguard to the cooker.
Electrical Supply Location
Specifies dimensions and locations for the electrical supply connection.
Ventilation Requirements
Specifies required clearances for ventilation hoods above the cooker.
Fitting and Levelling Adjustable Feet
Instructions for attaching and levelling the cooker using adjustable feet.
Moving the Cooker Safely
Guidelines for safely lifting and moving the cooker during installation.
Installing the Anti-Tip Bracket
Detailed steps for securing the cooker to prevent tipping.
Fitting the Lock Pin
Instructions for fitting the lock pin to secure the anti-tip bracket.
Electrical Connection
Electrical Connection Requirements
Critical safety and connection requirements for the main electrical supply.
Feeder Cable Connection
Instructions for connecting the power supply cable to the cooker terminals.
Connection Diagrams
Illustrates wiring for single, two, and three-phase electrical connections.
Final Checks and Documentation
Installation Final Checklist
A checklist of general, electrical, and operational items to verify post-installation.
Installation Record Keeping
Fields for recording installation details for future reference.


Need help?
Do you have a question about the OR90SDI6X1 and is the answer not in the manual?
Questions and answers