Table of Contents
Advertisement
Advertisement
Table of Contents

Subscribe to Our Youtube Channel
Related Manuals for Belling CH772TX


Summary of Contents for Belling CH772TX
- Page 1 Belling CH77TX Date: 16/08/18...
- Page 2 NZ - New Zealand DE - Germany NL - Netherlands AU - Australia ES - Spain To contact Belling about your appliance, please call: Warranty Registration Customer Care Helpline 0800 952 1068 0344 815 3746 in case of difficulty within the UK...
- Page 3 INTRODUCTION This user guide book is designed to help you through each step of owning your new product. Please read it carefully before you start using your appliance, as we have endeavored to answer as many questions as possible, and provide you with as much support as we can. General information, spares and service information is available from our website.
- Page 4 SAFETY WARNING • If the hob surface is cracked, broken or shattered, switch off the appliance to avoid the possibility of electric shock and call for a service engineer’s visit. • During use the appliance becomes hot. Care should be taken to avoid touching heating elements.
- Page 5 • Always switch off your appliance and allow it to cool down before you clean any part of it. • Although every care has been taken to ensure this appliance has no sharp edges. We recommend that you wear protective gloves when installing and moving this appliance.
-
Page 6: Getting To Know Your Product
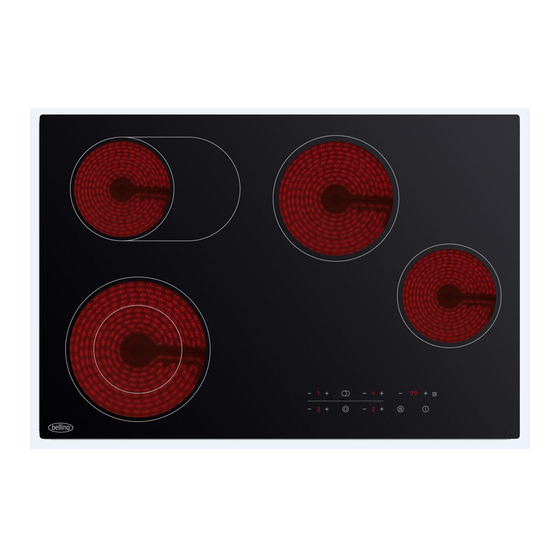
USING YOUR APPLIANCE Getting to know your product Note: Your appliance layout may differ depending on the model. Control Panel Hob functions Dual zone controls Timer regulating controls Keylock control Power regulating controls Power regulating controls On/Off control... -
Page 7: Touch Controls
Before using the Hob • Read this guide, taking special note of the ‘Safety Warnings’ section. • Remove any protective film that may still be on your ceramic hob. Touch controls Use the flat of your finger, not the tip. The controls respond to touch, so you don’t need to apply any pressure. -
Page 8: Start Cooking
Start cooking After switching the hob on, the buzzer will beep once. All the indicator lights, light up for a second and go out, to indicate that the ceramic hob is now in standby mode. 1. Touch the On/Off Key for 1 second a beep sounds and the cook zone displays become illuminated. - Page 9 Using the Dual zone function • The function only works in the top left and bottom left cooking zones. • The dual cooking zone has two cooking areas that you can use a central section and an outer section. You can use the central section (A) independently or both sections (B) at once. Top left zone Bottom left zone 1.
-
Page 10: Timer Control
Locking and unlocking the Controls • You can lock the controls to prevent unintended use (for example children accidentally turning the cooking zones on). • When the controls are locked, all the controls except the On/Off control are disabled. To lock 1. -
Page 11: Using The Timer As A Minute Minder
Using the Timer as a Minute Minder If you are not selecting any cooking zone 1. Make sure the hob is turned on. Note: you can use the minute minder even if you’re not selecting any cooking zone. 2. Touch the “-“ or “+” controls of the timer. The minute minder indicator will flash. -
Page 12: Setting The Timer To Turn One Cooking Zone Off
Setting the timer to turn one cooking zone off 1. First select the cooking zone you wish to use and select a power level for that cooking zone. Make sure that you have touched the “-“ or “+” key of the relevant cooking zone immediately before using the timer controls. -
Page 13: Over Temperature Protection
Note: • The red dot showing next to the cooking zone power level indicator shows which cooking zone is currently being controlled by the timer. • If you want to change the time after the timer is set, please start again from step 1. Over-Temperature Protection A temperature sensor measures the temperature underneath the glass. -
Page 14: Heat Settings
Heat Settings The settings below are guidelines only. The exact setting will depend on several factors, including your cookware and the amount you are cooking. Experiment with the Ceramic hob to find the settings that best suit you. Heat setting Suitability •... - Page 15 CLEANING YOUR APPLIANCE Do’s Note: Always switch off your appliance and allow it to cool down before you clean any part of it. Note: Please take extra care when cleaning over the symbols on the control panel, as this can lead to them fading.
-
Page 16: Installation
Installation Preparing the worktop cut out Cut out the work surface according to the sizes shown in the drawing. For the purpose of installation and use, a minimum of 5cm space shall be preserved around the hole. Be sure the thickness of the work surface is at least 30mm. Please select heat-resistant work surface material to avoid larger deformation caused by the heat radiation from the hotplate. -
Page 17: Before Locating The Fixing Brackets
Before locating the fixing brackets The unit should be placed on a stable, smooth surface (use the packaging). Place the hob in a work surface cut out. Secure by screwing four brackets on the bottom of the hob (see picture) after installation. Locate the 4 screw holes (C) on the base of the appliance (D). Attach the 4 retaining brackets (B) to the base of the appliance (D) using the 4 screws (A), after connecting the connection cable and placing the appliance into the worktop cut out. -
Page 18: Connecting The Hob To The Mains Power Supply
Connecting the hob to the mains power supply WARNING: This appliance must be earthed. Yellow / Green Black Brown Blue Yellow / Green Black Brown Blue 1. If the cable is damaged or needs replacing, this should be done by an after-sales technician using the proper tools, so as to avoid any accidents. -
Page 20: Technical Data
TECHNICAL DATA Hob Details Cooking hob CH772TX Cooking Zones 4 Zones Voltage & Power 1 220-240V~ 6500-7800W Product Size L x W x H(mm) 770 x 520 x 55 Building-in Dimensions A x B (mm) 750 x 495 Weight and Dimensions are approximate. Because we continually strive to improve our products we...
Need help?
Do you have a question about the CH772TX and is the answer not in the manual?
Questions and answers