Advertisement
Advertisement
Table of Contents

Related Manuals for Fanco Urban 2 Series


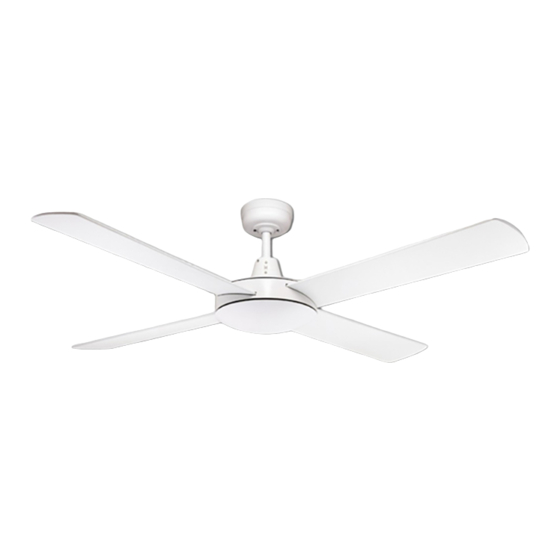
Summary of Contents for Fanco Urban 2 Series
- Page 1 Urban 2 Series Ceiling Fan Instruction Book...
- Page 2 ONLY install the wall controller kit that comes supplied by Fanco within package. DO NOT control operation of fan and light with any other wall control than what was approved by Fanco and supplied within this package, as this will void warranty.
- Page 3 PARTS LIST DESCRIPTION QUANTITY Motor assembly Instruction manual Screw kit Balancing kit Hanging bracket Wall control kit Page 2...
- Page 4 HOW TO ASSEMBLE Secure the hanger bracket to ceiling beam or a suitable piece of timber inserted between the ceiling beams. Fanco recommends the bracket to be attached with two long screws as supplied within the package. (See Fig.1) Place fan into hanger bracket and align Ball Joint Slot with hanger bracket as illustrated. (See Fig.2) After wiring is completed, attach the canopy to the hanger bracket by pushing upwards and twisting anti- clockwise.
- Page 5 USE IN ALL SEASONS Always ensure fan is set to ‘OFF’ and blades are still, prior to changing direction of blades. Reverse switch on fan should ideally be set on ‘FORWARD’ (down position) during warmer season to move blades in a clockwise direction & ‘REVERSE’ (up position) during cooler seasons to make the fan rotate in an anticlockwise direction (See Fig.6) Fig.6 Fig.7...
- Page 6 WIRING INSTRUCTIONS Page 5...
Need help?
Do you have a question about the Urban 2 Series and is the answer not in the manual?
Questions and answers