Table of Contents
Advertisement
Quick Links
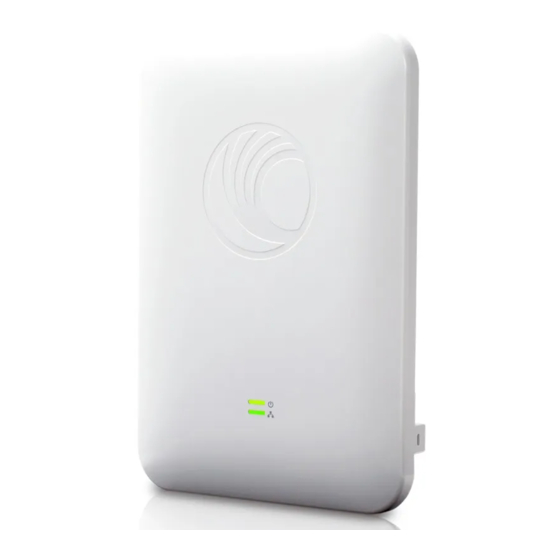
cnPilot
e501S
™
90/120° Sector
802.11ac Outdoor WLAN Access Point with Integrated
90°/120° Antenna & IP67 Industrial Grade Gigabit WiFi
Quick Start
Guide
Model: cnPilot e501S
STEP 4
Cable gland components
Cap
Plastic
Seal
Body
Gland Assembly
Components
Cable gland assembly sequence
1. Pass cable through cap.
2. Put seal over the cable.
3. Insert seal into the plastic.
4. Insert seal into body.
5. Assemble cap and body.
6. Assembled cable gland.
Introduction
This guide provides quick installation steps for cnPilot E501S
Access Points (APs).
Package Contents
Pole mounting bracket
Radio holder
Hose clamp
PoE Injector
Power Cord
E501S Access Point
(Qty. 2)
Tool Requirements
Cable gland
Wall mounting kit
M12 x 60 Bolt
M12 Nut & Washer
(Qty. 2)
(Qty. 4)
Tools Required
• Phillips screwdriver
(Wall Mounting)
• Flat head screwdriver
(Pole Mounting)
• 12 mm wrench
(Pole Mounting)
STEP 5
(Pole Mount)
Insert RJ45 to radio housing and the lock cable gland to
radio housing with 1.5Nm to 2Nm torque.
For suggested Lightning Protection Deployment visit
http://bit.ly/cnPilot_Lightning
STEP 1
(Pole Mount)
Assemble the radio holder to the pole mounting bracket
and secure it with M8 nuts by applying 3.0 Nm torque.
STEP 6
(Radio alignment)
Align Radio to required angle by tilting up and down.
The maximum radio tilting angle is ± 40°, with an
incremental of 10°.
STEP 2
(Pole Mount)
Insert hose clamps through pole mounting bracket and
clamp to pole by applying 3.0 Nm torque.
Wall Mounting
108
100
Drill 4 holes of Ø6mm (Ø0.25"Inch) on wall. Press fit
plastic anchor and assembly fastener. Leave 5mm to
6mm gap between wall and fastener head.
Use the four mounting slots given on the back of the
radio to mount to the wall.
STEP 3
(Pole Mount)
Align the radio chassis with the guide rails of radio
holder and slide it downwards until it clicks into place.
JOIN THE CONVERSATION
community.cambiumnetworks.com
Advertisement
Table of Contents

Summary of Contents for Cambium Networks cnPilot e501S
-
Page 1: Quick Start Guide
(Pole Mount) (Pole Mount) (Pole Mount) cnPilot e501S ™ This guide provides quick installation steps for cnPilot E501S Access Points (APs). 90/120° Sector Package Contents 802.11ac Outdoor WLAN Access Point with Integrated 90°/120° Antenna & IP67 Industrial Grade Gigabit WiFi... - Page 2 (1) this device may not cause interference, and (2) this device must accept any event shall Cambium Networks be liable for any injury or damage caused during the against harmful interference in a residential installation. This equipment generates, uses and can interference, including interference that may cause undesired operation of the device.


Need help?
Do you have a question about the cnPilot e501S and is the answer not in the manual?
Questions and answers