Do you have a question about the DIQ/S 282 and is the answer not in the manual?
Questions and answers
Isaac Odhiambo Rimba
January 23, 2025
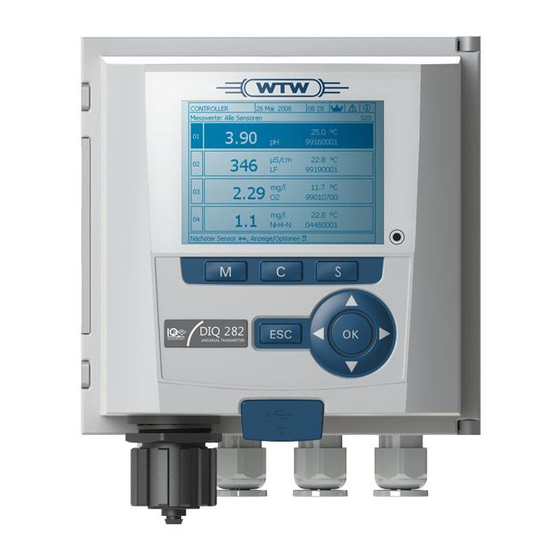
**** getting higher readings on my meter, howcan i correct the measured value? Currently it is showing 17.67mg/l and the range should be between 1-3mg/l
1 comments:
Mr. Anderson
February 10, 2025
To correct the measured value on your WTW DIQ/S 282 meter, follow these steps:
1. Check Sensor-Sensor Link: - Open the *Settings* menu with ``. - Navigate to *System settings -> Sensor-sensor link* and check if any correction is applied from another sensor. - If needed, erase the link by selecting the sensor, highlighting *Erase link*, and confirming with ``.
2. Verify Calibration: - Perform a calibration check to ensure the sensor is properly calibrated.
3. Adjust Nominal Value and Proportional Range (Xp): - Ensure the nominal value is set correctly within the measuring range. - Adjust the proportional range (Xp) settings if necessary.
4. Inspect Sensor Condition: - Clean or replace the sensor if it is dirty or faulty.
5. Check Electrical Connections: - Ensure proper wiring and power supply connections.
If the issue persists, consider resetting the device or consulting the manual for further troubleshooting.


Need help?
Do you have a question about the DIQ/S 282 and is the answer not in the manual?
Questions and answers
**** getting higher readings on my meter, howcan i correct the measured value? Currently it is showing 17.67mg/l and the range should be between 1-3mg/l
To correct the measured value on your WTW DIQ/S 282 meter, follow these steps:
1. Check Sensor-Sensor Link:
- Open the *Settings* menu with `
`.`.
- Navigate to *System settings -> Sensor-sensor link* and check if any correction is applied from another sensor.
- If needed, erase the link by selecting the sensor, highlighting *Erase link*, and confirming with `
2. Verify Calibration:
- Perform a calibration check to ensure the sensor is properly calibrated.
3. Adjust Nominal Value and Proportional Range (Xp):
- Ensure the nominal value is set correctly within the measuring range.
- Adjust the proportional range (Xp) settings if necessary.
4. Inspect Sensor Condition:
- Clean or replace the sensor if it is dirty or faulty.
5. Check Electrical Connections:
- Ensure proper wiring and power supply connections.
If the issue persists, consider resetting the device or consulting the manual for further troubleshooting.
This answer is automatically generated