Advertisement
Table of Contents
Installation Instructions
1. Before stretching, allow the Auger to relax to its free length.
2. The amount of stretch required is 2'' per 50' (50 mm per 15.2 m) of Actual Auger length.
For Example:
If the system has an Actual length of 300' (91.4 m) of Auger, the required Auger stretch is 12'' (305 mm)
3. Cut the Auger and file the end smooth so that there are no sharp edges.
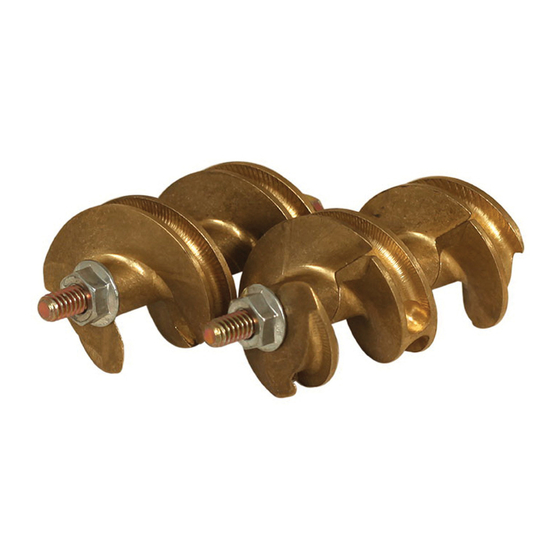
4. Screw the Auger Connector into one end of the Auger. Feed the Auger into second groove of the Auger
Connector as shown in Figure below.
5. Untwist the other end of the Auger 1-1/2 turns so that when it is threaded into the other end of the Auger it will
return to the relaxed state. Auger ends must be overlapped—Not Butted, when threaded into the track of
Connector.
6. Stretch the Auger and twist the Auger ends together. Both ends of the Auger should be even with the end of the
Connector, as shown below.
7. Tighten each Set Screw until it touches the Auger. Then tighten 1/2 turn. If Auger can be unscrewed by hand
then tighten an additional 1/4 turn. DO NOT TIGHTEN MORE THAN 3/4 TURN.
8. File both ends of the Auger so that they are the same diameter as the rest of the Auger.
Be careful not to over-tighten the Set
Screws and deform the Auger. Over-
tightening the Set Screws may cause
the Auger to jam in the Power Units.
1
Auger Connector
even with End of Auger
(Both Ends of each Auger)
September 2018
Auger Connector (P.N. 50479) Installation
Round Music Wire Auger
Revisions to this Manual
1
2
Important! Feed Auger into Second groove
of the Auger Connector as shown.
Key
Description
1
Auger
2
Auger Connector Brass
Part No.
50220-X
50479
MA2451C
Advertisement
Table of Contents

Summary of Contents for Chore-Time Auger Connector
- Page 1 3. Cut the Auger and file the end smooth so that there are no sharp edges. 4. Screw the Auger Connector into one end of the Auger. Feed the Auger into second groove of the Auger Connector as shown in Figure below.
- Page 2 Description of Change Added (50479) and “Music” to description 33351 Added back page For additional parts and information, contact your nearest Chore-Time distributor or representative. Find your nearest distributor at: www.choretime.com/contacts Chore-Time Group, A division of CTB, Inc. PO Box 2000...


Need help?
Do you have a question about the Auger Connector and is the answer not in the manual?
Questions and answers