TYAN Transport GX18 Quick Installation Manual
Hide thumbs
Also See for Transport GX18:
- Specification (2 pages) ,
- Service engineer's manual (46 pages) ,
- Service engineer's manual (33 pages)
Advertisement
1. Screws List
2. Installing HDD
Step 1:
Right: M3 x L4
Remove the cover and unscrew the HDD
Middle: #6 x 32 x L5
tray.
Left: M5 x L4
3. Installing PCI-E Card
Step 1:
Use a screw driver to release the screw
securing the bracket.
5. Rack Mounting
Step 1:
Measure the distance of inner side between the
front and rear mounting brackets in the rack. Secure the
mounting plate to the chassis with two screws for each
side.
Transport GX18 Quick Installation Guide
Step 2:
Take out the HDD tray and
insert the SATA HDD into the tray.
Step 2:
Follow the directions below to take off the
bracket.
Step 2:
Lift and mount the chassis into the rack. Secure
the chassis with two screws onto each side of the rack.
Step 3:
Screw the SATA HDD to the tray.
Step 3:
Install the PCI-E riser card into the
PCI-E 8x slot.
Step 3:
Secure the mounting plate with 2 screws
onto each side of chassis.
Step 4:
Connect the SATA HDD cable and power
cord.
Step 4:
Connect the PCI-E card with the riser
card .
Step 4:
Secure the mounting plate with 2 screws onto each back side of the rack.
Document # D1771-100
Step 5:
Put down the HDD tray and push
it backward to lock. Screw the HDD tray
to the chassis.
Step 5:
Screw to secure the PCI-E card.
Advertisement
Table of Contents

Related Manuals for TYAN Transport GX18


Summary of Contents for TYAN Transport GX18
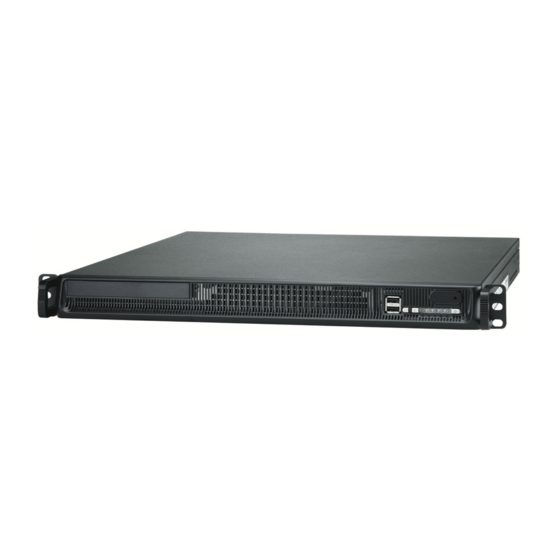
- Page 1 Transport GX18 Quick Installation Guide Document # D1771-100 1. Screws List 2. Installing HDD Step 1: Step 2: Step 3: Step 4: Step 5: Right: M3 x L4 Screw the SATA HDD to the tray. Remove the cover and unscrew the HDD...
- Page 2 Green slot Power Supply Trophy NR18 3.5” HDD x 1 SATA or IDE Button Power on x 1 Transport GX18 2.5” HDD x 2 SATA only Reset x 1 CD-ROM x 1 Slim-Type Alarm Reset x 1 CPU Sockets Processor USB 2.0 x 2...
Need help?
Do you have a question about the Transport GX18 and is the answer not in the manual?
Questions and answers