Advertisement
Quick Links
D 00056
ASSEMBLY INSTRUCTION
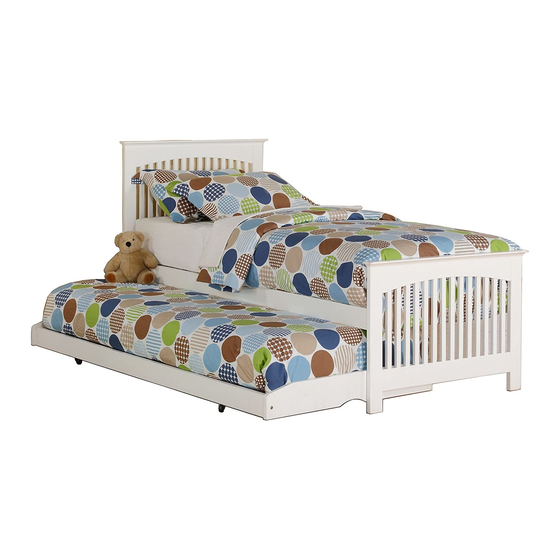
WOODEN GUEST BED
IMPORTANT: READ THESE INSTRUCTIONS CAREFULLY BEFORE ASSEMBLING OR
USING BED FRAME.
PLEASE KEEP THESE INSTRUCTIONS FOR FUTURE REFERENCE.
HEALTH & SAFETY:
DO NOT jump on this bed frame.
DO NOT use this bed frame if any parts are missing, damaged or worn.
DO NOT use this bed frame unless all fixings are secured.
Please keep small parts out of reach of children.
Always use on a level, even surface.
WARNING: If this bed is placed on a non-carpeted floor you must place some protection under all
legs to stop the bed frame from moving. If this is not adhered to there is no guarantee if the bed
frame collapses.
CARE & MAINTENANCE:
Assemble in the room of use.
Periodically check all screws & fixings to ensure they are secure.
DO NOT push the bed frame as this will damage the legs.
Always lift the bed with two people to reposition.
Keep any sharp objects away from the frame.
1/5
Advertisement

Subscribe to Our Youtube Channel
Related Manuals for Birlea Toronto Bed


Summary of Contents for Birlea Toronto Bed
- Page 1 D 00056 ASSEMBLY INSTRUCTION WOODEN GUEST BED IMPORTANT: READ THESE INSTRUCTIONS CAREFULLY BEFORE ASSEMBLING OR USING BED FRAME. PLEASE KEEP THESE INSTRUCTIONS FOR FUTURE REFERENCE. HEALTH & SAFETY: DO NOT jump on this bed frame. DO NOT use this bed frame if any parts are missing, damaged or worn. DO NOT use this bed frame unless all fixings are secured.
-
Page 2: M8 Flat Washer
PART LIST HARDWARE LIST PART DESCRIPTION PART DESCRIPTION TOP FRAME HEADEND M8 x 20mm Bolt FOOTEND M4 x 32mm CSK Screw SIDE RAIL M8 FLAT WASHER SLAT TRUNDLE TRUNDLE ENDBOARD CASTER WHEEL TRUNDLE SIDE RAIL M6 x 50 mm Bolt TRUNDLE LEG BAR M4 x 32mm CSK Screw TRUNDLE SLAT... - Page 3 Step 1 : Attach the side rail (3) to the headend (1) using 2 pieces of hardware A & C each side but do not fully tighten (left 10mm space ) using hardware M . Place the side rail brackets over the bolts as shown – when the bolt ends of the side rail(3) are attached , tighten securely using hardware part M , repeating for both sides DO NOT use any power tools as this may damage the frame and will invalidate any claim Step 2 : Attach the slat (4) to the side rail (3) using hardware part (B) and fully tighten using...
- Page 4 Step 3 : Push hardware part E firmly into the holes on the trundle side rail (6) CAUTION : When the leg ties are cut , the legs spring back DO NOT use any power tools as this may damage the frame and will invalidate any claim Step 4 : Attach the leg bars (7) using hardware parts N &...
- Page 5 Step 5 : Insert hardware part I into the holes in the side rail (6) until fully inserted then attach the end boards (5) to the trundle side rail(6) using hardware K, F & J , tighten using hardware L. DO NOT use any power tools as this may damage the frame and will invalidate any claim Attach the slat (8) to the trundle side rail (6) using hardware part G and fully tighten Step 6 :...
Need help?
Do you have a question about the Toronto Bed and is the answer not in the manual?
Questions and answers