Table of Contents
Advertisement
Quick Links
Advertisement
Table of Contents

Subscribe to Our Youtube Channel
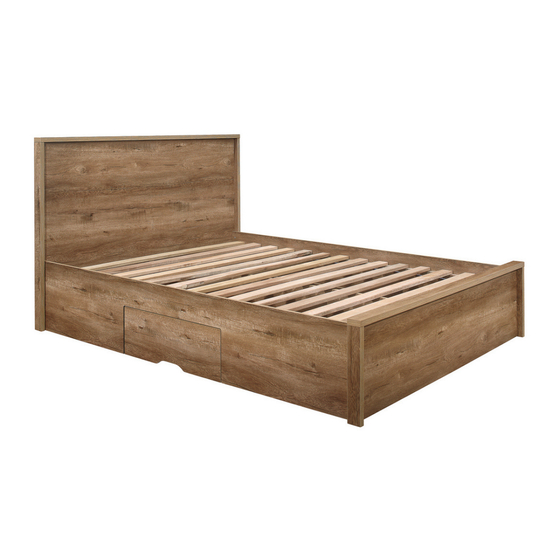
Summary of Contents for Birlea 135CM STOCKWELL BED RUSTIC OAK EFFECT
- Page 2 Periodically check all screws & fixings to ensure they are secure. DO NOT push this product as this will cause damage. Always lift this product with two people to reposition. Keep any sharp objects away from this product . Page of 7 www.birlea.com...
- Page 3 Vendor: S000350 Parts List Hardware List (BOX 3) Part Descripion Qty Part Description Headboard panel Cam lock Tailstock panel Minifix screw Headboard & tailstock bone Plastic cap Headboard bone (Left) M8 x 30mm Wood Dowel Headboard bone (Right) Allen key M4 Tailstock bone (Left) M3.5 x 16mm C.B Screw Tailstock bone (Right)
- Page 4 Vendor: S000350 Step 1: Prepare these parts for assembly using hardware parts A1, A2, B, C, I and K. DO NOT use any power tools as this may damage the frame and will invalidate any claim. Page of 7...
- Page 5 Vendor: S000350 Step 2: Fix hardware J1 into panel (11), (12), (13) and (14) using hardware D with a screwdriver (not provided). DO NOT use any power tools as this may damage the frame and will invalidate any claim. D x 12 ( L/R ) J1 x 4 Step 3: Attach panel (3), (4) and (5) to panel (1) using hardware A1 and A2 with a screwdriver (not provided).
- Page 6 Vendor: S000350 Step 5: Attach panel (11) and (12) to panel (8) and (10) then panel (13) and (14) to panel (9) and (10) using hardware A1 and A2 with a screwdriver (not provided). DO NOT use any power tools as this may damage the frame and will invalidate any claim. A3 x 16 Step 6: Attach panel (8), (9) and (10) to panel (2) using hardware A1 and A2 with a screwdriver (not provided).
- Page 7 Vendor: S000350 Step 8: Attach panel (15) to panel (8) and (9) using hardware E with a screwdriver (not provided). DO NOT use any power tools as this may damage the frame and will invalidate any claim. E x 8 Step 9: Attach panel (20) to panel (16) and (17) using hardware A1 and A2 with a screwdriver (not provided).
- Page 8 If you have any issues with your item please contact the retailer directly you purchased it from who will be able to resolve any issues with Birlea. · Why don't you send us photos of your assembled furniture to info@birlea.com to be shared in our #birleahome feature on instagram. Page...


Need help?
Do you have a question about the 135CM STOCKWELL BED RUSTIC OAK EFFECT and is the answer not in the manual?
Questions and answers