Table of Contents
Advertisement
Quick Links
This Quick Start will provide information needed to get started with GW-7663.
Please also consult the User Manual for detailed information on the setup and use of
GW-7663.
What's In the Box ?
In addition to this guide, the package includes the following item:
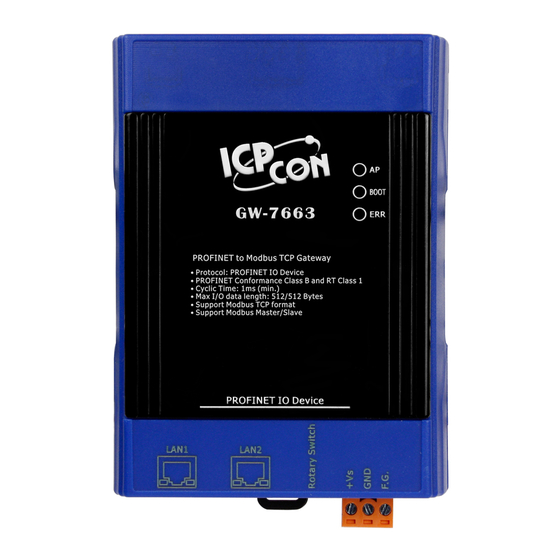
GW-7663 Module
Technical Support
GW-7663 User Manual
CD: \fieldbus_cd\profinet\converter\gw-7663\manual\
ftp://ftp.icpdas.com/pub/cd/fieldbus_cd/profinet/gateway/gw-7663/manual/
PROFINET Website
http://www.icpdas.com/products/Industrial/profibus/profinet_intro.htm
Let's Start
In the following examples the S7-1200 PLC from Siemens is used. The configuration
and communication is done by the program ''Step 7 V11 (TIA PORTAL)'' provided
by Siemens. We will establish a PROFINET IO network.
GW-7663 Quick Start
Product CD
GW-7663 Quick Start (Version 1.00, Aug/2015)
-
PAGE: 1
Advertisement
Table of Contents

Related Manuals for ICP DAS USA GW-7663


Summary of Contents for ICP DAS USA GW-7663
-
Page 1: Technical Support
GW-7663 Quick Start This Quick Start will provide information needed to get started with GW-7663. Please also consult the User Manual for detailed information on the setup and use of GW-7663. What’s In the Box ? In addition to this guide, the package includes the following item:... -
Page 2: Network Configuration
In this example, please follow the below configuration to configure the network. PLC=> GW-7663=> PC=> Device name: plc1 Device name: gw-7663 IP: 192.168.6.210 IP: 192.168.6.211 IP: 192.168.6.212 Mask: 255.255.0.0 Mask: 255.255.0.0 Mask: 255.255.0.0 GW-7663 Quick Start (Version 1.00, Aug/2015) PAGE: 2... - Page 3 1. Click “start->Settings->Network Connections” 2. Double click “Local Area Connection” icon 4. Select “Internet Protocol(TCP/IP)” and 3. Click “Properties” button click “Properties” button 5. Set “Internet Protocol Properties” and then click “OK” button. GW-7663 Quick Start (Version 1.00, Aug/2015) PAGE: 3...
- Page 4 1. Double Click TIA icon to start Step 7 V11 2. Click “Project view” 3. Select “Menu->Options->Install general 4. Select and install GSD file station description file (GSD)” Note: Select the GSD file directory=>Select GSD file of GW-7663=>Click “Install” button GW-7663 Quick Start (Version 1.00, Aug/2015) PAGE: 4...
-
Page 5: Project Setup
Note: Select “Add new device” => Select your PLC module => Click “Add” button 3. Set the device name of PLC to “plc1” 4. Set the IP and mask of PLC and add a new subnet GW-7663 Quick Start (Version 1.00, Aug/2015) PAGE: 5... - Page 6 8. Set the IP of GW-7663 module Note: Select ”PROFINET Interface [X1]” => Note: Select GW-7663 icon => Select ”Properties” => Input IP=192.168.6.212 at ”IP addresses” Select ”General” => Input name = GW-7663 at ”Project GW-7663 Quick Start (Version 1.00, Aug/2015) PAGE: 6...
- Page 7 At this time, the AP LED should turn on, BOOT LED and ERR LED should turn off, it means the connection between PLC and GW-7663 module is established. GW-7663 Quick Start (Version 1.00, Aug/2015)
-
Page 8: Module Configuration
Module Configuration 1. Open Device Advanced Configuration 2. Configure Modbus communication parameters 3. Acts as a Modbus master (Client) 4. Acts as a Modbus slave (Server) GW-7663 Quick Start (Version 1.00, Aug/2015) PAGE: 8...
Need help?
Do you have a question about the GW-7663 and is the answer not in the manual?
Questions and answers