
Subscribe to Our Youtube Channel
Related Manuals for Uniden Guardian G710PTZC


Summary of Contents for Uniden Guardian G710PTZC
-
Page 1: Quick Start Guide
Guardian Pan/Tilt/Zoom Camera G710PTZC Quick Start Guide Mobile Alerts Outdoor Camera Night Vision Motion Detection Customizable Settings No Monthly Fees... - Page 2 To prevent damage to your Guardian G710PTZC camera or injury to yourself or to others, please read and understand the following safety precautions in their entirety before installing or using this equipment.
- Page 3 PACKAGE INCLUDES: (1) PTZ Camera, (1) Wall Bracket, (1) Ceiling Bracket, (1) Power Supply 12V/1A, (1) 100' Cable, (1) Mounting Kit and (1) User Manual PTZ Camera Wall Bracket Ceiling Bracket Power Supply Cables and Mounting Kit...
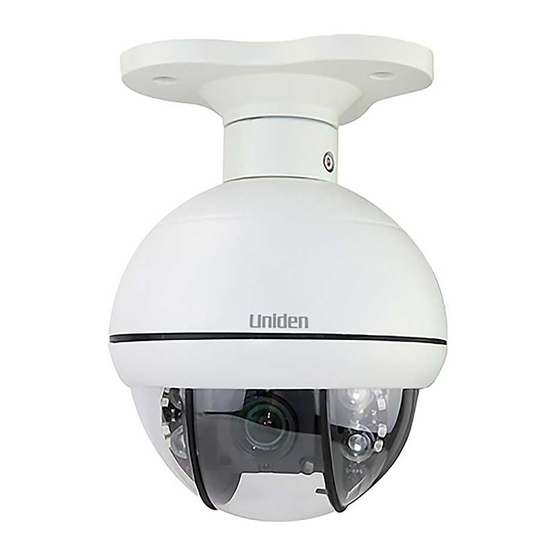
- Page 4 1080P Camera Camera Wide Angle Lens Night Vision LEDs BNC Connector Ceiling and Wall Brackets...
-
Page 5: Features And Specifications
Features and Specifications Product Features PTZ Dome Camera Specifications • High quality video using 1/2.7” CMOS sensor • 1 Camera • Weatherproof IP66 Rating • 1/2.7 CMOS sensor • Approximately 65 ft. night vision range • 1080p resolution • Automatic focus and light levels •... -
Page 6: Setting Baud Rate And Address
SETTING BAUD RATE AND ADDRESS IMPORTANT: You can set your PTZ camera’s address in the admin menu of your DVR. Go to Main Menu > Setup > PTZ. You will see two tabs: Serial Port and Advanced. Under Serial Port, enable PTZ on address "1". If you need to change the physical address of the camera, complete the following directions. -
Page 7: Setting Camera Address
Your camera is set to a baud rate of 2400. This will allow you to effectively control the camera up to 3,000 feet away. Areas with electronic interference may require heavier or shielded cabling. Also, the higher the setting, the shorter the distance control which may be required for some PTZ controllers. -
Page 8: Connecting The Camera
Camera Before you can operate the camera, you must connect it to a system, which can support Guardian G710PTZC operations. There are three sets of connectors including power, video and the bare control wires. This latter connection is covered on the next page. -
Page 9: Ptz Control Connection
PTZ CONTROL CONNECTION In addition to connecting the power and video leads to the camera, you must also connect the two bare wire leads to the RS485 ports in the PTZ controller on the back of the DVR. As seen in the referenced image, the wire leads from the camera are two different colors and are labeled. They are also pre-installed into a block which plugs into a matching receptacle on the extension cable. -
Page 10: Mounting The Camera
Place camera out of reach to avoid damage. Avoid direct exposure to weather. Do not place the camera where rain or snow will hit the lens directly nor should the camera be placed so that the sun or bright light shines directly into the lens. Your camera is weatherproof but it will not work when submerged in water. -
Page 11: Operation
If your home or business is pre-wired with CAT-5 cable, then you can run up to 1000ft. OPERATION You can control your PTZ camera via the Uniden Guardian app or web application. Simply type your IP address to access the login screen. - Page 12 DVR GUIDELINES General Cruise Setup Procedure Each DVR system has different scan setup procedures, but there are some general similarities. Most involve the process of pivoting the camera to the desired starting point and saving that point. Then, by selecting one or more points for the camera to move to in sequence, a scan path is built which is then saved.
-
Page 13: Troubleshooting
Cruise Setup STEP 1: In PTZ control screen (refer to Image 1), click SETUP button STEP 2: Enter as shown in Image 3, click SCAN button and input the proper value in the scan value field. STEP 3: Click START button and enter as shown in Image 1 to set the zoom, focus, direction, etc. Click SETUP button to return to screen as shown in Image 3: STEP 4: Click END button to complete the setup. - Page 14 Control remotely from your smartphone or tablet. FREE Uniden Guardian App - Mobile Remote Access to live video from camera to iPhone®, iPad® and Android™ devices SYSTEM REQUIREMENTS: Network Router with available port. 1080p resolution lets you see so much more!
- Page 15 Need Help? Contact us URL: www.unidensupport.com Phone: (800) 297-1023 Email: custsupport@uniden.com Facebook: https://www.facebook.com/UnidenAmerica Twitter: https://twitter.com/uniden_america...
- Page 16 uniden.com...
Need help?
Do you have a question about the Guardian G710PTZC and is the answer not in the manual?
Questions and answers