Advertisement
Quick Links
Quick-Start Guide
Use this Quick-Start Guide to connect the camera to the network
and for basic installation and setup procedure. For more detailed
instructions refer to the online Owner's Manual on the Uniden
website www.uniden.com.au. This quick start guide is for reference
only. Slight difference may be found in user interface.
In the Box
Model
QSG
Mounting Screw
Kit
Installation
Position Map
Hex wrench
If any item is missing or damaged, contact your place of purchase
immediately. Never use damaged products!
Need help? Get answers at our website:
www.uniden.com.au for Australian model
GNC 701/710
IP Camera
GNC701
1
1
1
1
GNC710
1
1
1
-
1
Advertisement

Related Manuals for Uniden GNC 701


Summary of Contents for Uniden GNC 701
- Page 1 Use this Quick-Start Guide to connect the camera to the network and for basic installation and setup procedure. For more detailed instructions refer to the online Owner’s Manual on the Uniden website www.uniden.com.au. This quick start guide is for reference only.
-
Page 2: Important Safety Instructions
Important Safety Instructions 1. Do not drop, puncture or disassemble the camera. 2. DO NOT expose the camera to excessive water or moisture. 3. Never tug on the power cable to unplug from the power outlet. Always grasp the AC adapter when unplugging. 4. - Page 3 Getting to know your GNC701 Dome cover Audio Input Port Dome enclosure Audio Output Port Power Port Reset Button I/O Port SD Card Slot Network Port...
- Page 4 GNC701 Installation Step 1: Use the included inner hex wrench to unfasten the dome enclosure. Step 2: Install Micro SD card (optional). Step 3: Place and stick the installation position map on the ceiling or the wall to suit your desired location. Step 4: Find and drill the small cross signs on the map to fit three plastic expansion bolts holes.
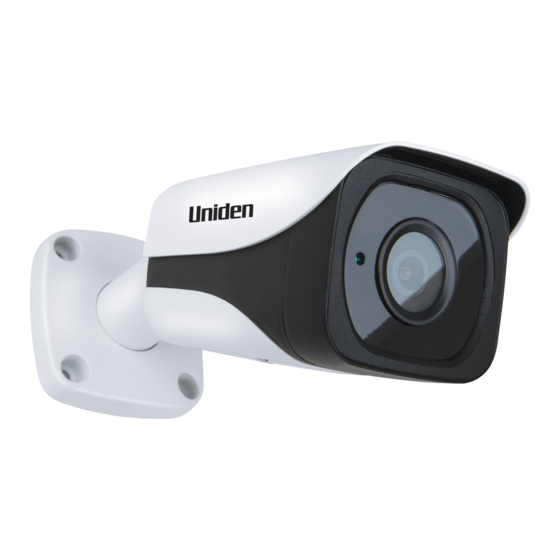
- Page 5 Getting to know your GNC710 Bullet cover SD Card Slot Network Port SD Card (not included) Power Port Cover Plate Reset Button Cover Screw...
- Page 6 GNC710 Installation Step 1: Open the cover plate to insert SD Card (optional) Step 2: Place and stick the installation position map on the ceiling or the wall to suit your desired location. Step 2: Mark and drill holes on the wall or ceiling. Step 2: Insert the expansion bolt into the hole.
- Page 7 Network Port Water Resistant Seal (Optional) If you powered your camera over PoE, you can further protect it from water. You need a cabler installer for this purpose. Step 1: Fix the rubber ring into the network pork. Keep the smaller diameter hole outwards. Step 2: Install the rubber ring into the main body of water resistant connector.
-
Page 8: Reset The Camera
Reset the Camera To reset the GNC 701/710, press and hold the ‘Reset’ button for 10 seconds, then only release the ‘Reset’ button. Troubleshooting If... Try This... The NVR cannot find Make sure your network supports DHCP the camera protocol. - Page 9 Owner’s Manual for GNVR 86xx/87xx/167xx series on the Uniden website www.uniden.com.au to add IP Camera into existing setup . 1. Right click with your mouse on the NVR live view interface to view menu options. Select Remote Device to add GNC 701/710 into the system.
- Page 10 6. Right click the mouse button to exit Remote Device window. This quick start guide is for reference only. User interface may be different from actual product. If there is any unclear or controversy, please visit Uniden website or call Uniden Australia.
-
Page 11: One-Year Limited Warranty
GNC 701/710 Important: Satisfactory evidence of the original purchase is required for warranty service. Please refer to our Uniden website for any details or warranty durations offered in addition to those contained below. Warrantor: The warrantor is Uniden Australia Pty Limited ABN 58 001 865 498 (“Uniden Aust”). - Page 12 Product does not conform with this warranty, you should deliver the Product, together with satisfactory evidence of your original purchase (such as a legible copy of the sales docket) to Uniden at the address shown below. You should contact Uniden regarding any compensation that may be payable for your expenses incurred in making a warranty claim.
Need help?
Do you have a question about the GNC 701 and is the answer not in the manual?
Questions and answers