Weiser SmartCode 5 Installation And User Manual
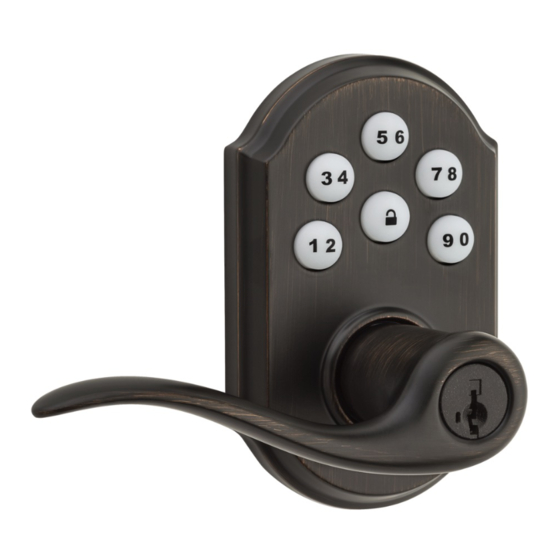
Touchpad electronic lever
Hide thumbs
Also See for SmartCode 5:
- Installation and user manual (8 pages) ,
- Installation manual (2 pages)
Advertisement
Quick Links
64465-001
Rev 01
GED1450
Installation and User Guide
Required tools
4 AA Batteries
Ruler
Phillips head screwdriver
Additional Tools (depending on application)
Hammer
Wood block
1
Prepare the door and check dimensions
If drilling a new door, use the supplied template and the complete
door drilling instructions available at www.weiserlock.com/doorprep.
Measure to confirm that the hole in
A
the door is 2-1/8" (54 mm).
See
note
below*
2-1/8"
54 mm
*If you are installing this lever below
an existing lock or you plan to install a
lock above this lever, make sure that the
distance between holes is at least 6-1/2"
(165 mm).
2
Install the latch and strike
A
Hold the latch in front of the door hole, with the latch
face flush against the door edge.
A
B
Are the latch holes centered in the door hole?
YES
or
No adjustment is required.
Proceed to next step.
Weiser
1-800-501-9471
www.weiserlock.com
Measure to confirm that the backset is
B
either 2-3/8" or 2-3/4" (60 or 70 mm).
b a
2-3/8" or 2-3/4"
60 or 70 mm
C
Adjust the latch face (if needed).
flush
NO
Move the pin to
extend the latch.
A
Parts in the box
Latch
A
A2 A3
Strike
C
Keys
Spindle
E
F2
C
Measure to confirm that the hole in
the door edge is 1" (25 mm).
c k
s e
t
For square corners
Proceed to step 2D.
For round corners
1. Remove square corner faceplate.
A
2. Install round corner faceplate.
Ensure A2
snaps into
A2
place.
For doors without chiseled edge
1. Remove plates.
A
2. Install drive-in collar.
A3
1 / 4
Exterior
Interior
Assembly
Assembly
F
K
Mounting
Fasteners
Plate
G
26298
N
SmartKey
Tool
H
22044
Levers
27526
U
Y2
Y1
Measure to confirm that the door
D
is between 1-3/8" and 1-3/4" (35 mm
and 44 mm) thick.
1"
25 mm
actual
size
N
D
Is the door edge chiseled?
YES
or
chiseled
slant of latch
bolt faces
door frame
N (2x)
E
Install strike on the door frame.
P (2x)
M
L
P
Z
T
64156
V
1-3/8" – 1-3/4"
35 – 44 mm
P
NO
not
chiseled
slant of latch
bolt faces
door frame
wood block
C
door frame
Advertisement

Subscribe to Our Youtube Channel
Related Manuals for Weiser SmartCode 5


Summary of Contents for Weiser SmartCode 5
- Page 1 Assembly Assembly Mounting Fasteners A2 A3 Installation and User Guide Plate 26298 SmartKey Strike Required tools Tool 22044 Weiser 4 AA Batteries Ruler Phillips head screwdriver 1-800-501-9471 Keys Spindle Levers Additional Tools (depending on application) www.weiserlock.com 27526 64156 Hammer Wood block...
- Page 2 actual Install the exterior keypad, mounting plate, and spindle size Install exterior keypad. Route cable through mounting plate. Secure mounting plate with Install spindle. supplied screws. keep parallel to edge of door cable goes rounded edge over latch faces latch T (2x) tighten latch...
- Page 3 For enhanced security, a mastercode may be used when adding and deleting user codes. For more information about the mastercode, download the Programming and Troubleshooting Guide on the SmartCode 5 Lever page at www.weiserlock.com. Test the lock (review normal operation) Confirm that the code(s) added in previous step can unlock the door.
- Page 4 Lock automatically re-locks door 30 seconds after unlocking. Disabled if no Amber Locked A complete Programming and Troubleshooting Guide is available on codes are programmed. the SmartCode 5 Lever page at www.weiserlock.com. Audio Low battery Not used. Battery Replacement Factory Reset If another lock is installed above the lever, remove the interior A factory reset will delete all codes associated with the lock.
Need help?
Do you have a question about the SmartCode 5 and is the answer not in the manual?
Questions and answers