
Related Manuals for Argos Home Cranford 4'6 Bed


Summary of Contents for Argos Home Cranford 4'6 Bed
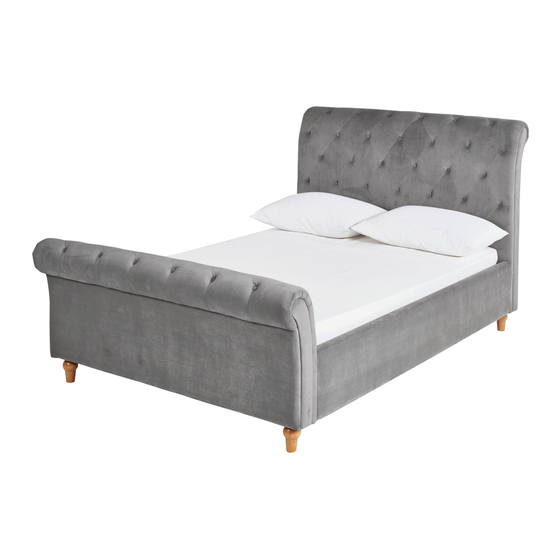
- Page 1 Cranford 4'6 and 5' Bed SKU 7077641 7434583 Care & Instruction Manual Please read and retain these instructions for future reference Issue 1 - 29/05/18...
- Page 2 Safety and Care Advice Important - Please read these instructions fully before starting assembly Check you have all the Assemble the item as close We do not components and tools listed on to its final position (in the same recommend the pages 2, 3 and 4.
-
Page 3: Components - Parts
Components - Parts lf you have damaged or missing components. call the Customer Helpline : 0345 6400 800 INSIDE FRONT Headboard Footboard (4'6 -1480 x 1070mm) (4'6 -1480 x 580mm) (5' -1630 x 1070mm) (5' -1630 x 580mm) INSIDE Side rail Central support (4'6 -1920 x 290mm) (4'6 -1920 x 80mm) -
Page 4: Tools Required
Components - Fittings Spring washer x 20 Flat Washer x 20 M8 x 25mm Allen screw x 12 M8 x 40mm Allen screw x4 M8 Nut x 4 5mm Allen key x 1 Spanner x 1 Tools required Ruler/tape 95 100 105 110 115 120 125 130 135 140 145 150 measure R uler - Use this ruler to help correctly identify the screws 95 100 105 110 115 120 125 130 135 140 145 150 155 160 165 170... - Page 5 Assembly Instructions Attaching feet With help, carefully place headboard footboard flat on the floor with the fixing holes facing up. Note: Ensure the floor is suitably protected to prevent any marking or damage to the components. Screw legs to the underside of headboard as shown.
- Page 6 Assembly Instructions Attaching side rails a: Loosely screw fixings into headboard and footboard shown. Note: Do not screw fully in. b: With help, raise headboard into the standing position. Hang the metal brackets on the end of side rails over screws in the headboard as shown.
- Page 7 Assembly Instructions Preparing support legs Assemble support legs to the underside of central support using fixings as shown. Note: Ensure the holes in central support are facing up as shown. Locating central support Assemble central support in between the headboard and footboard, using fixings as shown.
- Page 8 Assembly Instructions Assembling slats Assemble single plastic slat caps onto one end of bentwood slats Fit bentwood slats into both side rails by locating single slat caps into the holes. Fit bentwood slats into both sides of double slat caps , before pushing caps into the holes in...
Need help?
Do you have a question about the Cranford 4'6 Bed and is the answer not in the manual?
Questions and answers