Advertisement
To install the SFP interface safely into the HSD62x series cameras, follow these instructions. For safety information,
please refer to the Outdoor IP PTZ dome with D/N and Wide Dynamic Range (Siqura HSD62x Series) Safety
Instructions delivered with the camera. Failure to comply with any precaution, warning, or instruction noted there is in
violation of the standards of design, manufacture, and intended use of the module. Siqura assumes no liability for the
customer's failure to comply with any of these safety requirements.
To install the SFP adapter
1.
Unscrew the captive mounting screws and remove the RJ-45 end cap cover (pictured below).
2.
Align the connector and insert the SFP end cap and screw in the captive mounting screws.
3.
Insert the SFP connector.
4.
Align the mounting bracket with the 22-pin connector as indicated by the red alignment sticker.
Be sure to follow the HSD62x safety instructions with regards to optical safety and fiber handling
Important:
precautions.
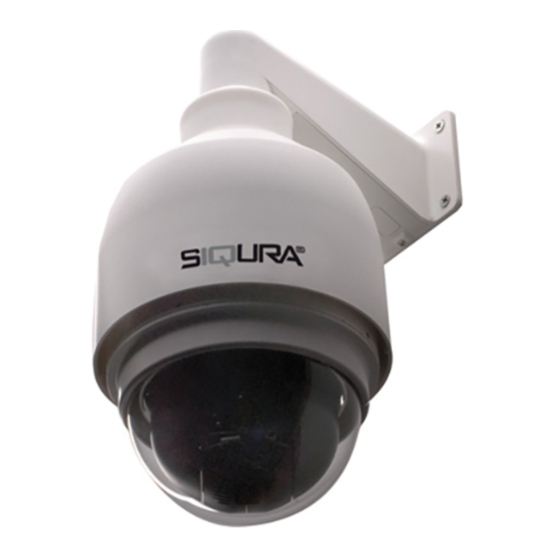
IP PTZ dome with SFP Interface
(Siqura HSD 62x Series)
SFP Adapter Installation Instructions
Advertisement
Table of Contents

Subscribe to Our Youtube Channel
Summary of Contents for Siqura HSD 62 Series
- Page 1 Instructions delivered with the camera. Failure to comply with any precaution, warning, or instruction noted there is in violation of the standards of design, manufacture, and intended use of the module. Siqura assumes no liability for the customer’s failure to comply with any of these safety requirements.
- Page 2 Siqura HSD62x SFP Installation Instructions To mount the HSD62x camera Make a hole in the wall or metal access plate for the cables and secure the supplied cable gland in the wall. Ensure that the weather resistant gasket is correctly attached to the mount.


Need help?
Do you have a question about the HSD 62 Series and is the answer not in the manual?
Questions and answers