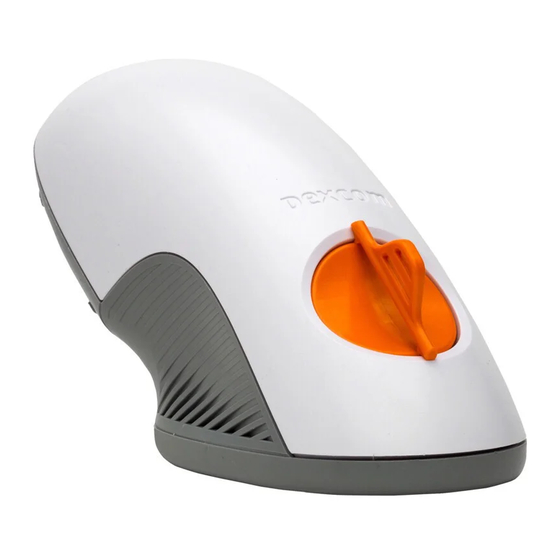
Dexcom G6 Instructions For Use Manual
Hide thumbs
Also See for G6:
- User manual (360 pages) ,
- Instructions for use manual (104 pages) ,
- Start here manual (20 pages)
Subscribe to Our Youtube Channel
Summary of Contents for Dexcom G6
- Page 1 START HERE Set up Your smart phone Receiver Sensor Transmitter Instructions For Use...
- Page 2 • Sensor applicator inserts sensor under (inside) your skin Transmitter • Sends glucose information from sensor to display device All graphics are representational. Your product may look different. Review the Safety Statement in Using Your G6, Chapter 2, before using your G6.
- Page 3 Want to set up both? Pick one to set up first and turn to that tab. The last step shows you how to set up the second display device. Do not use both tabs. For other ways to learn how to set up your G6: • Watch the tutorial online at: dexcom.com/IFU/g6/international...
- Page 5 Transmitter Your smart phone Sensor Set Up App...
- Page 6 When prompted: • Send your data to the cloud. This lets you use: • Share: Send your G6 data to followers. • CLARITY: Reflect on data with doctors; see patterns (may not available in all regions). • Enter your Sensor code (from the sensor applicator you will insert).
- Page 7 During warmup: • No G6 readings, alarm/alerts • Keep smart device within 6 meters of transmitter Wait 2 hours • When sensor warm-up is complete, tap OK to see the home screen • Now you get G6 readings, alarm/alerts...
- Page 8 Step 2: See Using Your G6 Learn how to: • Read your home screen • Use alarm and alerts • Make treatment decisions • Troubleshoot issues Step 3: Optional – Set up Receiver Turn on the receiver by pressing and holding the power button down for 2-3 seconds.
- Page 9 Receiver Sensor Transmitter Set Up Receiver...
- Page 10 Take receiver out of box Turn on receiver Press and hold power button for 2-3 seconds. Follow onscreen instructions When prompted, enter your: • Sensor code (from the sensor applicator you will insert) • No sensor code? See Using Your G6, Appendix A Troubleshooting...
- Page 11 • Serial Number (SN) from: Transmitter box Back of transmitter You are done with this step when you see this screen:...
- Page 12 Step 2: Use Applicator to Insert Built-in Sensor Take applicator with built-in sensor out of sensor box Choose sensor site 18 years and older 2-17 years Use applicator to insert built-in sensor Wash and dry hands; clean Use applicator with sensor sensor site with alcohol wipe code entered during display device setup...
- Page 13 Remove both adhesive Move applicator to sensor site backings; do not touch adhesive Place adhesive on skin Fold and break off safety guard Press button to insert Discard applicator (follow local guidelines)
- Page 14 Step 3: Attach Transmitter Take transmitter out of box Snap in transmitter Clean transmitter with alcohol Insert transmitter tab into slot Snap transmitter firmly into Rub around patch 3 times place (listen for the click)
- Page 15 Tap Start Sensor to begin 2-hour warmup During warmup: • No G6 readings, alarm/alerts • Keep receiver within 6 meters of transmitter Wait 2 hours • When complete, tap Next to go to home screen • Now you get G6 readings, alarm/alerts...
- Page 16 Step 5: See Using Your G6 Learn how to: • Read your home screen • Use alarm and alerts • Make treatment decisions • Troubleshoot issues Step 6: Optional - Set up App Download the app onto your smart device and open it.
- Page 19 Dexcom, Dexcom G4 PLATINUM, Dexcom G5 Mobile CGM System, Dexcom G6, Dexcom Share, Dexcom Care are either registered trademarks or trademarks of Dexcom, Inc. in the United States and/or other countries. Bluetooth is a registered trademark owned by Bluetooth SIG. Apple is a registered trademark owned by Apple Inc.
- Page 20 Dexcom, Inc. 6340 Sequence Drive San Diego, CA 92121 USA +1.858.200.0200 dexcom.com Outside US: Contact your local Dexcom representative EC REP MediTech Strategic Consultants B.V. II Fiore Building B, 3rd Floor Avenue Ceramique 227 NL - 6221 KX Maastricht Tel. +31.43.306.3320 Fax (NL): +31.85.208.5746...


Need help?
Do you have a question about the G6 and is the answer not in the manual?
Questions and answers
How do I set up new patch and transmitter to my Dexcon 6
To set up a new patch and transmitter for the Dexcom G6, follow these steps:
1. Attach the Transmitter:
- Remove the transmitter from the box.
- Wipe the back of the transmitter with an alcohol wipe and let it dry.
- Avoid touching or scratching the metal contacts.
2. Insert the Transmitter:
- Slide the narrow end of the transmitter into the narrow end of the holder.
- Press the wide end until it clicks into the holder.
3. Secure the Patch:
- Rub your fingers around the transmitter three times to secure the adhesive.
- If the patch starts peeling, use an overpatch or medical tape for extra support.
4. Start the Sensor on the Receiver:
- Wait up to 30 minutes for pairing.
- Tap "Start Sensor" to begin the 2-hour warmup period.
- Keep the receiver within 6 meters of the transmitter.
5. Complete Setup:
- After warmup, tap "Next" to access readings and alerts.
- Optionally, download and set up the Dexcom app on your smart device.
Following these steps ensures proper installation and function of your Dexcom G6 system.
This answer is automatically generated