Advertisement
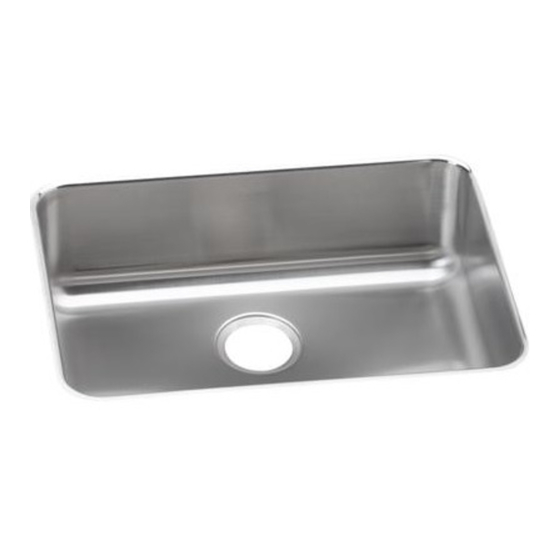
ELUH2317 Series Undermount Stainless Steel Sinks
with 1/2" Reveal Countertop Installation
1) ELKAY RECOMMENDS THAT UNDERMOUNT SINKS SHOULD BE INSTALLED BY A PROFESSIONAL
EXPERIENCED INSTALLER.
2) WARNING: THE ENCLOSED CUTOUT TEMPLATE WILL CREATE A COUNTERTOP OPENING THAT
WILL EXPOSE APPROXIMATELY 1/2" OF SINK RIM LEDGE. IT IS RECOMMENDED THAT YOU DIS-
CUSS THIS WITH YOUR CUSTOMER AND AGREE THAT THIS FINISHED APPEARANCE IS THE
DESIRED EFFECT. ELKAY IS NOT RESPONSIBLE FOR IMPROPER SINK OR COUNTERTOP INSTAL-
LATIONS. DUE TO THE AESTHETIC QUALITIES OF THE CONVERGING BOWL RADII, THE TEMPLATE
FURNISHED WITH EACH SINK PROVIDES THE ONLY OPENING RECOMMENDED FOR INSTALLATION
OF ELKAY UNDERMOUNT SINKS. SEE ILLUSTRATION BELOW.
3) ELKAY UNDERMOUNT SINKS SHOULD ONLY BE FASTENED TO A SOLID SURFACE COUNTERTOP
(I.E. GRANITE/CORIAN /SILESTONE ).
4) ELKAY IS NOT RESPONSIBLE FOR SINK OR COUNTERTOP IF DAMAGED DURING INSTALLATION.
5) METAL EDGES MAY BE SHARP - USE CAUTION WHEN HANDLING.
6) FOLLOW ALL LOCAL PLUMBING AND BUILDING CODES.
7) INSPECT SINK FOR DAMGAGE PRIOR TO BEGINING INSTALLATION.
INSTALLING SINK (CABINETS 30 INCHES WIDE AND WIDER)
1. Position template on countertop. Locate the
template front to rear,so that sink will not inter-
fere with the cabinet.
2. Trace a line around the template. Cut along the
inside of this line to provide opening.
3. Locate and drill the mounting holes (following
the countertop manufacturer's instructions) as
shown below.Holes should allow even spacing
of mounting brackets around the sink.Type of
fasteners to be as recommended by countertop
supplier.
Installation Instructions
ATTENTION INSTALLER:
®
®
COUNTERTOP
MOUNTING
BRACKET
(NOT FURNISHED)
1/2" COUNTERTOP REVEAL
4. Fasten mounting brackets (optional accessory-
LKUCLIP8) to countertop loosely.
5. Using a good quality silicone caulk, apply a bead
evenly all around the top of the sink flanges.
6. Position and align sink over the countertop
opening. Press silicone onto countertop.
7. Tighten fasteners until mounting brackets are
snug against sink.
8. Check alignment of sink to countertop opening.
9. Tighten down fasteners evenly. Be careful not to
overtighten. Remove excess silicone.
APPROX. 1/2"
SILICONE CAULK
(NOT FURNISHED)
SINK
1-1/8"
Advertisement
Table of Contents

Related Manuals for Elkay ELUH2317 Series


Summary of Contents for Elkay ELUH2317 Series
-
Page 1: Installation Instructions
LATIONS. DUE TO THE AESTHETIC QUALITIES OF THE CONVERGING BOWL RADII, THE TEMPLATE FURNISHED WITH EACH SINK PROVIDES THE ONLY OPENING RECOMMENDED FOR INSTALLATION OF ELKAY UNDERMOUNT SINKS. SEE ILLUSTRATION BELOW. 3) ELKAY UNDERMOUNT SINKS SHOULD ONLY BE FASTENED TO A SOLID SURFACE COUNTERTOP ® (I.E. GRANITE/CORIAN /SILESTONE ). - Page 2 Installation Instructions INSTALLING SINK (CABINETS 27 INCHES WIDE) 1. Position template on countertop. Locate the 5. Insert fasteners loosely, all around the sink. template front to rear and left to right, so that sink will not interfere with the cabinet. 6.
- Page 3 Your sink is designed to serve as many things but not as a cutting board or chopping block. This type of use will • Do…Use an Elkay bottom grid or rinsing basket to lead to deep scratches in the sink finish and will dull “protect”...
- Page 4 Elkay warrants to the original purchaser of an Elkay stainless steel sink that All incidental or consequential damages are specifically excluded. No Elkay will, at its option, replace or repair, without charge, such product if it additional warranties, express or implied are given, including but not fails due to a manufacturing defect for a lifetime of normal residential use.
Need help?
Do you have a question about the ELUH2317 Series and is the answer not in the manual?
Questions and answers