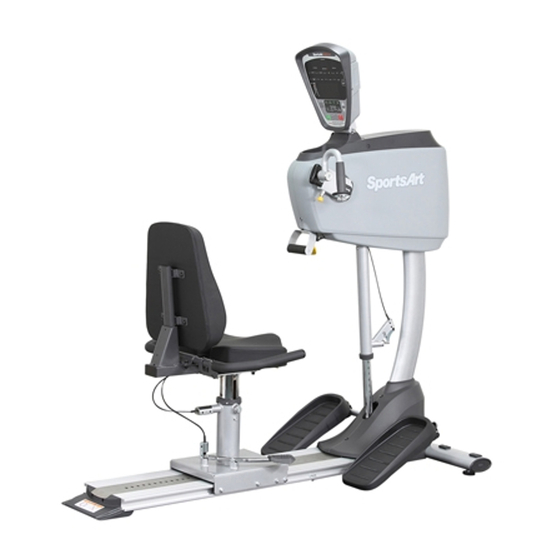
SportsArt Fitness UB521M Owner's Manual
Hide thumbs
Also See for UB521M:
- Owner's manual (39 pages) ,
- Owner's manual (41 pages) ,
- Owner's manual (18 pages)
Table of Contents
Advertisement
Quick Links
Download this manual
See also:
Owner's Manual
Advertisement
Table of Contents

Summary of Contents for SportsArt Fitness UB521M
- Page 1 UB521M Platform Owner’s Manual Sports Art Industrial Co., Ltd. ISO 9001/14001 Certified 2015.11 No. 11, Gong Huan Rd. Tainan City, Taiwan R.O.C. www.gosportsart.com...
-
Page 2: Table Of Contents
UB521M PLATFORM OWNER’S MANUAL CONTENTS 1. INTRODUCTION ................2. SAFETY PRECAUTIONS ..............3. LIST OF PARTS ................4. ASSEMBLE THE PRODUCT ............STEP 0 Preparation: Move Out the Seat ..........STEP 1 Install the Left/Right Platform ........... STEP 2 Wheelchair Installation ............. 10 STEP 3 Seat Base Installation and Removal ........ -
Page 3: Introduction
1. INTRODUCTION Congratulations on the purchase of a high quality SportsArt product, the UB521M Platform. Constructed of high quality materials and designed for years of reliable usage, this product was made for physical therapy, physical rehabilitation, and commercial fitness venues. -
Page 4: Safety Precautions
DO NOT use it outdoors or near water. ● Follow instructions to assemble this product carefully. ● Check the UB521M Platform before every use. Make sure all parts are assembled, and all fasteners are tightened. DO NOT use the UB521M Plat- form if the unit is not fully assembled or if fasteners are loose or worn. - Page 5 La sécurité a été un facteur important dans la conception du Système de Soutien du Poids Corporel SportsArt Fitness UB521M Platform. Toutefois, lors de l’utilisation du UB521M Platform, vous devez porter une attention particulière à la sécurité. ● Par mesure de sécurité, utilisez cet appareil uniquement selon les instructions, et n’installez que des pièces détachées SportsArt sur ce produit.
-
Page 6: List Of Parts
3. LIST OF PARTS Assembly Parts Name Qty. No. Name Qty. Left platform Platform connector Right platform Hardware kit Right positioner board Stopper plate Left positioner board Components in the Hardware Kit Name Qty. Specification Notes Washer Mushroom top inner hex screw M6*L12 Washer Mushroom top inner hex screw... -
Page 7: Assemble The Product
4. ASSEMBLE THE PRODUCT (a) Contact your SportsArt representatives on all materials damaged in shipment. (Note: Shipping damages are the responsibility of the carrier.) (b) Unpack and verify contents of boxes according to the list of parts to check if any parts are missing. (c) Follow instructions below to assemble this product carefully. -
Page 8: Step 1 Install The Left/Right Platform
STEP 1 Install the Left/Right Platform Please follow instructions (a) through (e) to install the platforms. (a) Remove the rear leveler (52) and the nut (51) from the end cover. The nut (51) will not be needed. (b) Align the platform connector (A5) with the screws hole at the bottom (Make sure the direction is correct.) and secure it with the rear leveler (52) as shown. - Page 9 STEP 1 Install the Left/Right Platform (Continued) (c) Install the stopper plate (A7) into the groove of the unit and secure it with screws (34) as shown. (Note: Follow the same procedure on another side of the unit as well.) (d) Secure the right positioner board (A3) with screws (31) as shown.
- Page 10 STEP 1 Install the Left/Right Platform (Continued) (e) Set the right platform (A2) flat on the floor and align with the screws hole in the right positioner board (A3) and secure them with screws (32) in area A. Do not tighten screws yet. Tighten screws in area B first and then in area A.
-
Page 11: Step 2 Wheelchair Installation
Pull the strap ends to adjust strap length. After securing the straps, adjust the position of the product’s body and display as necessary. Note: Please refer to UB521M owner’s manual. -
Page 12: Step 3 Seat Base Installation And Removal
To remove the seat base, lift the lever and pull the seat base out from the end of the glide track. Note: Please refer to UB521M owner’s manual. -
Page 13: Maintenance
5. MAINTENANCE This section covers maintenance topics, including instructions on replacing a fuse and lubricating the walk belt, along with the presentation of a maintenance schedule, maintenance task list, one-year maintenance log, and electronics block diagram. MAINTENANCE Safety Precautions ● Please follow standard safety precautions when servicing on this product. ●... -
Page 14: Maintenance Schedule
MAINTENANCE Schedule Area Day Week Month Quarter year Notes Platform Clean. Screws Inspect and secure loose parts. -
Page 15: Maintenance Task List
MAINTENANCE Task List Like cars, fitness products require maintenance. Regular maintenance extends product life, and failure to maintain products can void the manufacturer’s warranty. Copy the maintenance log sheet, and record maintenance work for each fitness product. Daily tasks 1. Use a clean, lint-free towel, dampened with a mixture of Simple Green® all-purpose cleaner, to thoroughly clean the product exterior. -
Page 16: Maintenance One-Year Maintenance Log
MAINTENANCE One-year Maintenance Log Facility:_______________________ Supervisor:____________________ Product model number:__________ Serial number:_________________ Start date: ____________________ End date:_____________________ Daily Tasks Weeks 1-7 Weeks 8-14 Weeks 15-21 Week 22-28 Completed Daily Tasks Week 29-35 Week 36-42 Week 43-49 Week 50-52 Completed Weekly Tasks Weeks 1-7 Weeks 8-14 Weeks 15-21 Weeks 22-28... - Page 17 your Authorized Distributor...


Need help?
Do you have a question about the UB521M and is the answer not in the manual?
Questions and answers