Advertisement
Quick Links
Advertisement

Subscribe to Our Youtube Channel
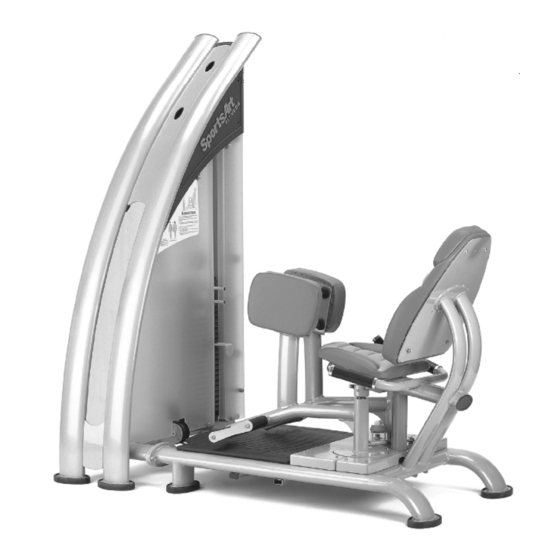
Summary of Contents for SportsArt Fitness A952
- Page 1 A952 OWNER'S MANUAL ASSEMBLY INSTRUCTIONS...
-
Page 2: Safety Instructions
A. SAFETY INSTRUCTIONS ˙ Read all cautions/warnings and obtain proper instruction on use of the machines prior to using. Use appropriate positioning and controlled movements. Assemble and operate the strength on a solid, level surface. Do not use outdoors ˙ or near water. - Page 3 B. Introduction Badge, rear Badge, front Side frame Front cover(B) Usage sticker Rear cover Seat back Selection pin (3.5 Lbs / 5 kgs) Left pad Selection pin (6.5 Lbs / 3 kgs) Cord Stack fork Weight stacks (11 Lbs / 5 kgs) Main frame Front cover(A) Seat...
-
Page 4: List Of Parts
C. List of Parts One double-end open wrench, 8mm x 10mm . One double-end open wrench, 8mm x 17mm 3. One double-end open wrench, 12mm x 15mm . One double-end open wrench, 17mm x 23mm One hex key wrench, M4 6. - Page 5 D. STEP BY STEP INSTRUCTION: 1. Hold the side frame during assembly, then connect the frame to the side frame. Secure screws as shown in Fig.1. Fig.1 2. Fix the belt with open-end wrench (10 mm & 12 mm) as shown in Fig.2. Fig.2...
- Page 6 3. After assemble the belt, please check the belt to see if it located inside the pulley. Belt Fig.3 4. Assemble the foot mat as shown in Fig.4 and faster 4 screws by hex key wrench. Fig.4...
- Page 7 5. Assemble the plate and secure screws by hex key wrench as shown in Fig.5. NOTE: To avoid painting off, please make sure the plate not to hit the steel plate during the assembly. Fig.5...
-
Page 8: Belt Adjustment
E. BELT ADJUSTMENT: 1. If the belt is too tight or too loose, first loosen nut A as shown then adjust nut B. If the belt length is too long, adjust downward; if the belt length is too short, adjust upward. - Page 9 F. HOW TO USE THE MINOR WEIGHT STACK: 1. To adjust the minor weight stack, insert the upper pin to add 3.5Lbs/1.5kgs or the lower pin to add 6.5Lbs/3kgs. 2. Pull the pin to release the weight. (See fig.7) (3.5Lbs/1.5Kgs) (6.5Lbs/3Kgs) Fig.7...
- Page 10 G. STORAGE TRAY ASSEMBLY: Remove the existing screws and washers from tubing. Place storage tray onto tubing and tighten with the screws and washers that you just removed from step 1. (See Fig. 8) Fig.8...
-
Page 11: Usage Instruction
Usage Instruction:...


Need help?
Do you have a question about the A952 and is the answer not in the manual?
Questions and answers