Sign In
Upload
Download
Table of Contents
Contents
Add to my manuals
Delete from my manuals
Share
URL of this page:
HTML Link:
Bookmark this page
Add
Manual will be automatically added to "My Manuals"
Print this page
×
Bookmark added
×
Added to my manuals
Manuals
Brands
ruegg Manuals
Indoor Fireplace
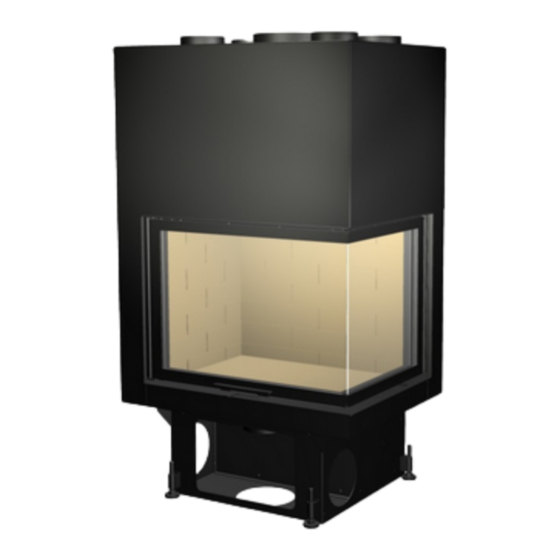
Saphir Front
Installation manual
ruegg Saphir Front Installation Manual
Classic-line; eco-line
Hide thumbs
1
2
3
4
5
6
7
8
9
10
11
12
13
14
15
16
17
18
19
20
21
22
23
24
25
26
27
28
29
30
31
32
33
34
35
36
37
38
39
40
41
42
43
44
45
46
47
48
49
50
51
52
53
54
55
56
57
58
59
60
61
62
63
64
page
of
64
Go
/
64
Contents
Table of Contents
Bookmarks
Table of Contents
Table of Contents
Introduction to the Instructions
Abbreviations
Images
Hatching
Pictograms
Terms
Currently Applicable Regulations
Before Installation
General Points
Location
Combustion Air Intake
Fireplaces with Door A1 / B1 (Self Closing)
Fireplaces with Door A2 / B2 (Not Self Closing)
Air-Flow Management
Operating Modes and Systems
Fireplaces S-Type
Fireplaces K-Type
Appliances on a Socle
Sections for Fireplaces with Self Closing Door (A1/B1)
Sections for Fireplaces Without Self Closing Door (A/B2)
Fitting the Sleeves
Fiiting the Fresh Air Units
External Air Ducts
Flue Gas Evacuation/Chimney Flue
General Guidelines
Minimum Authorised Sections
Thermal Installation
General Guidelines
Thermal Insulating Materials
Inflamable Environment (Inf)
Non Inflamable Environment (Non-Inf)
Substitute Thermal Insulation
Safety Distances
At the Front of the Appliance
Hot Air Vents
Radiation Area
Additional Installation Instructions
Preparation / Functional Test
Protective Wall / Concrete Slab
Thermal Insulation
Air Sleeves
Placing the Fireplace
Connecting up the External Air
Connecting up the Ambient Air
Flue Gas Exhaust Duct
Connecting up the Convection Air
Bearer Frame
Room-Side Facing
Decorative Beams
Chamotte-Lined Fireplaces
Jade Front / Saphir Front
Saphir Giant / Saphir Giant 500
Lumo Front
Jade Tunnel / Saphir Tunnel
Prisma / Prismalo 500
Ellipse
720 Compact
720 Giant
Pi Classic
Pi Compact
Pi-Ccolo Classic
Pi-Ccolo Compact
Thermobrikk ® Fireplaces
Steel Fireplaces
Additional Weights for A1 Appliances
After Installation
Using Your Fireplace for the First Time
Data Plate
Installation with Heat Storage Materials
Air Circulation
Thermal Insulation
Inflamable Environment (Inf)
Non Inflamable Environment (Non-Inf)
Heat Storage Jacket
Casing
Technical Characteristics
Advertisement
Quick Links
1
Images
2
Fireplaces S-Type
3
Prisma / Prismalo 500
4
Technical Characteristics
Download this manual
CLASSIC-LINE
ECO-LINE
CONTENTS
INTRODUCTION TO THE INSTRUCTIONS
Abbreviations
Images
Hatching
Pictograms
Terms
CURRENTLY APPLICABLE REGULATIONS
BEFORE INSTALLATION
GENERAL POINTS
Location
Combustion air intake
Fireplaces with door A1 / B1 (self closing)
Fireplaces with door A2 / B2 (not self closing)
AIR-FLOW MANAGEMENT
Operating modes and systems
Fireplaces S-type
Fireplaces K-type
Appliances on a socle
Sections for fireplaces with self closing door (A1 / B1)
Sections for fireplaces without self closing door (A / B2)
Fitting the sleeves
Fiiting the fresh air units
External air ducts
FLUE GAS EVACUATION / CHIMNEY FLUE
General guidelines
Minimum authorised sections
THERMAL INSTALLATION
General guidelines
Thermal insulating materials
Inflamable environment (inf)
Non inflamable environment (non-inf)
Substitute thermal insulation
SAFETY DISTANCES
At the front of the appliance
Hot air vents
Radiation area
Installation Guide
5
5
6
6
6
7
7
8
9
9
9
10
10
11
11
15
16
17
18
19
20
21
21
24
24
24
25
25
25
26
28
30
31
32
32
33
3
Previous
Page
Next
Page
1
2
3
4
5
Advertisement
Table of Contents
Need help?
Do you have a question about the Saphir Front and is the answer not in the manual?
Ask a question
Questions and answers
Related Manuals for ruegg Saphir Front
Indoor Fireplace ruegg Smart-Line Instruction Manual
(96 pages)
Indoor Fireplace ruegg Saphir Giant Installation Manual
Classic-line; eco-line (64 pages)
Indoor Fireplace ruegg Saphir Tunnel Installation Manual
Classic-line; eco-line (64 pages)
Indoor Fireplace ruegg CLASSIC-LINE Instruction Manual
(28 pages)
Indoor Fireplace ruegg MERKUR K Installation Manual
Smart line/eco line series (36 pages)
Indoor Fireplace ruegg CUBEO Instruction Manual
(188 pages)
Indoor Fireplace ruegg Tilia RIII-F Installation Manual
45x56x46 (24 pages)
Indoor Fireplace ruegg Flex-Line series Installation Manual
(40 pages)
Indoor Fireplace ruegg Premium Series Installation Manual
(36 pages)
Indoor Fireplace ruegg Violino 45x60 Operating Manual
Flex-line (36 pages)
Indoor Fireplace ruegg Premium-Line Cubeo Manual
(136 pages)
Indoor Fireplace ruegg Odeon Instruction Manual
(188 pages)
Indoor Fireplace ruegg CELTIS Instruction Manual
(200 pages)
Indoor Fireplace ruegg ECO Venus Instruction Manual
(128 pages)
Indoor Fireplace ruegg Violino Star Instruction Manual
(152 pages)
Indoor Fireplace ruegg CookCook Instruction Manual
(116 pages)
This manual is also suitable for:
Saphir giant 500
Lumo front
Jade front
Saphir giant
Jade tunnel
Saphir tunnel
...
Show all
Prisma
Prismalo 500
720 compact
720
720 giant
Ellipse
Pi-ccolo classic
Pi classic
Pi compact
Pi-ccolo compact
Table of Contents
Print
Rename the bookmark
Delete bookmark?
Delete from my manuals?
Login
Sign In
OR
Sign in with Facebook
Sign in with Google
Upload manual
Upload from disk
Upload from URL


Need help?
Do you have a question about the Saphir Front and is the answer not in the manual?
Questions and answers