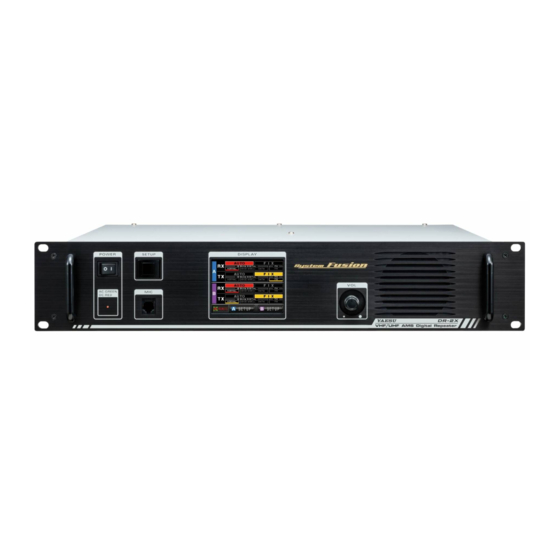
Yaesu DR-2X Installation Instructions Manual
Rx-unit and dsp firmware
Hide thumbs
Also See for DR-2X:
- Operating manual (52 pages) ,
- Operating manual (56 pages) ,
- Setup (13 pages)
Summary of Contents for Yaesu DR-2X
- Page 1 DR-2X/XE Installation Instructions for the DR-2X/XE RX-UNIT and DSP firmware Attention ! This firmware is not compatible with the DR-1X/XE. YAESU MUSEN CO., LTD.
-
Page 2: Supported Operating Systems
How to check the firmware version of the DR-2X/XE Repeater 1. Turn the DR-2X/XE power ON. S E T U P R X x . x x T X . x 2. Touch [A SETUP] or [B SETUP] on the DR-2X/XE LCD screen. 8 4 ... -
Page 3: Important Notes
Important Notes • All responsibility for the use of this software lies with the customer. YAESU MUSEN CO., LTD cannot be held liable in any way for damages or losses, which may be incurred by the customer as a result of using this software. -
Page 4: Using The Programmer
1. Turn the DR-2X/XE [POWER] switch to the “O” (OFF) position. Disconnect the AC or DC power cord from the DR-2X (The DC power cord from the DR-2XE). 2. Remove the rubber cap from the forward left of the top case. - Page 5 6. Connect the SCU-20 PC connection cable to the ACC jack, and connect the AC or DC power cord to DR-2X (The DC power cord to DR-2XE). DC 12 V - 15 V (EU) SCU-20 AC 100 V - 240 V...
- Page 6 8. Replace the rubber cap to the forward left of the top case. 9. To continue installing DSP Firmware, proceed to step 4 of “Installation of the DSP firmware” on the next page. 10. If not using the LAN-UNIT for IMRS (Internet-linked Multi-site Repeater System) function, this completes the RX-UNIT firmware installation process.
- Page 7 3. Through the hole at the rear of the top case, move the slide switch (S6013) toward the “NORMAL” side (“Right” side as shown in figure). NORMAL Switch (S6013) 4. Connect the SCU-20 PC connection cable to the ACC jack on the DR-2X/XE rear panel. DC 12 V - 15 V (EU) SCU-20 AC 100 V - 240 V (USA, EXP, AUS, CHN) 5.
- Page 8 6. Disconnect the SCU-20 programming cable. 7. Turn the DR-2X/XE power ON, and then touch [A SETUP] or [B SETUP] on the LCD, to display the firm- ware version at the center of the screen. If the DSP Version No. has been updated, the firmware update was successfully completed.


Need help?
Do you have a question about the DR-2X and is the answer not in the manual?
Questions and answers