Advertisement
Quick Links
Advertisement

Summary of Contents for Kuat NV BASE 2.0
- Page 1 NV BASE ™...
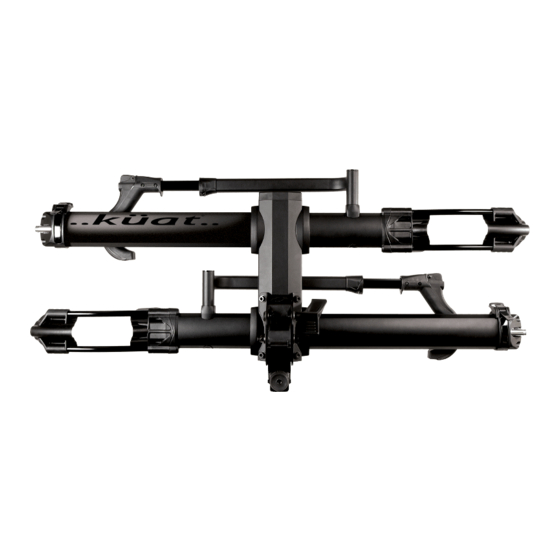
- Page 2 Parts: Pivot Assembly Outer Rear Tire Tray Inner Rear Tire Tray Outer Front Tire Tray Inner Front Tire Tray...
- Page 3 Included in the parts box: 6mm Allen Wrench M8 Lock Washer M8x45 Bolt 8mm Allen Wrench 4x M8 Nut 3x Keys 3x M8x160 Bolts Bottle Opener Rear End Cap Key-chain Hitch Pin and Lock Pivot Lever STEP 1. Insert rear end cap. Part Needed: Rear End Cap...
-
Page 4: Parts Needed
STEP 2. Align the trays with the holes on the cen- ter-beam by matching the coordinating labels. Then alternate between bolts to tighten. Parts Needed: 3x M8x160 Bolts 4x M8 Nut NOTE: The trays with the “..Küat..” Logo will be farthest from the hitch. - Page 5 STEP 3. Press the pivot lever onto the corresponding keyed shaft. Then tighten the bolt with the lock washer to secure the pivot lever. Parts Needed: M8x45 Bolt Pivot Lever M8 Lock Washer NOTE: When positioning the pivot lever there should be about 1in(25.4mm) of space between the lever and the tray.
- Page 6 STEP 4. Insert the rack into the hitch receiver and align the hitch pin holes, then insert the hitch pin and lock. Push or pull the rack in the hitch receiver to remove rattle caused by the hitch pin and turn the knob until tight.
- Page 7 Loading bicycles: STEP 1. Rotate the tire hook outward. Press the button and extend the hook. NOTE: When not in use keep the tire hook rotated inward to avoid damage. STEP 2. Set the bicycle on the rack and place the hook as close to the bicycle’s front fork as possible, then ratchet the hook down onto the tire.
- Page 8 NOTE: To adjust for bicycle fit issues loosen the front cradle bolt with an 8mm allen wrench (Do not fully remove the bolt). Once loose, move the cradle to one of three positions; up, center, or down. Tighten the bolt to secure the cradle in position. Failure to re-tighten bolt can lead to loss of bike.
- Page 9 STEP 4. Pull the lock and cable completely out from the rear tire tray. NOTE: When re-inserting the lock cable ensure cable tip makes contact with magnet in rack. Cable Tip STEP 5. Loop the cable through the rear triangle and insert the lock tip into the lock found on the cable.
- Page 10 STEP 6. When adjusting the pivot position always support the end of the rack before engaging the pivot lever. This will assist with the release of the pivot lever and prevent the rack from falling. NOTE: The rack can tilt down for access to the rear hatch of the vehicle.
-
Page 11: Additional Notes
Additional Notes: NOTE: When loading bicycles with 20”-24” front tires an adapter must be used. Please contact Kuat Racks directly by calling toll free 1(877)822-5828, or by emailing us at info@kuatracks.com and a 20”-24” adapter kit will be provided. 20”-24” Adapter Kit Tips and Tricks. - Page 12 Our “No Worries Warranty” has you covered like the poncho in your backpack or the winch on your bumper, there when you need it. The goal? To ensure your Kuat product performs as intended, over time, every time, for life.
- Page 13 Küat Racks Limited Lifetime Warranty Küat honors the warranty on all Küat brand products for original owners of the product. Warranty is not transferable. If a Küat rack that is covered by the terms of this warranty and is determined by Küat, to be defective, Küat will repair or replace the defective parts.
- Page 14 kuatracks.com info@kuatracks.com 1.877.822.5828...


Need help?
Do you have a question about the NV BASE 2.0 and is the answer not in the manual?
Questions and answers