Advertisement
3M Water Purifier Solutions
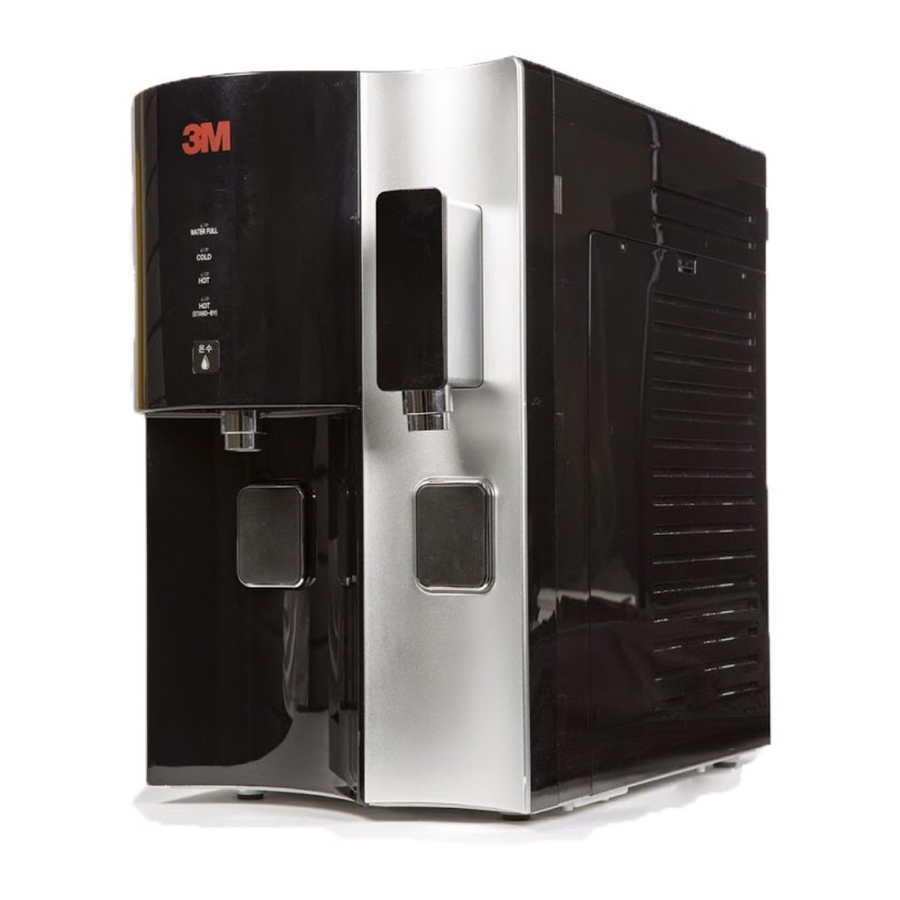
Operating Instructions
3M
TM
Filtered Water Dispenser
HCD-2
Separation Purification Sciences Division
3M Thailand Limited
Design and color may differ from the picture.
●
Unit appearance, specification, etc. are subject to change without
●
prior notice if necessary for improving unit performance.
The rated voltage of this unit is AC 220V/50Hz only.
●
Advertisement
Table of Contents

Related Manuals for 3M HCD-2


Summary of Contents for 3M HCD-2
-
Page 1: Operating Instructions
3M Water Purifier Solutions Operating Instructions Filtered Water Dispenser HCD-2 Separation Purification Sciences Division 3M Thailand Limited Design and color may differ from the picture. ● Unit appearance, specification, etc. are subject to change without ● prior notice if necessary for improving unit performance. -
Page 2: Table Of Contents
Table of contents Safety information WARNINGS NOTICES Water flow schematic diagram Panel functions and control Display settings and functions How to use panel functions Cleaning the water dispenser Maintenance of water dispenser Troubleshooting guide Technical specifications... -
Page 3: Safety Information
Plug the power cord into a 220 V outlet with at least a rating of 10 A and power surge protection. ● Please ensure the power plug and power outlet is clean and dry. ● Damaged parts or machine malfunction are only to be repaired or replaced by 3M authorized ● professionals. To reduce the risks associated with hazardous voltage: Do not operate the machine with wet hands. -
Page 4: Notices
Safety information To reduce the risks associated with hazardous voltage, fire and/or property damage: Do not put water containers, chemicals (volatile materials, organic solvents etc.), small metal objects ● and etc. on top of unit to avoid accidental spillage into the unit to cause electric shock or fire. To reduce the risks associated with fire and/or property damage: Do not place the equipment in an enclosed space where ventilation is difficult, causing overheating ●... -
Page 5: Water Flow Schematic Diagram
Water flow schematic diagram... -
Page 6: Panel Functions And Control
Panel functions and control Water Full LED Indicator Cold Water LED Indicator Cold /Ambient Selection Hot LED Indicator Button with LED indicator Hot (Stand-by) LED Indicator Hot Selection Button Cold /Ambient Water Hot Water Dispenser Dispenser Valve Valve Hot Water Dispenser Cold /Ambient Water Button Dispenser Button... -
Page 7: Display Settings And Functions
Display settings and functions 1. Water Full LED Indicator •Lights up when water tank is full. (Blue LED) 2. Cold Water LED Indicator •Lights up when “COLD” is set. (Blue LED) 3. Hot LED Indicator •Lights up when “HOT” is set. •Red LED : Tank Heating Mode ;... -
Page 8: How To Use Panel Functions
How to use panel functions Tank Heating / Instant Heating Mode 1. Press “HOT SELECTION” button for 10 seconds. 2. Press “HOT SELECTION” button to change modes seconds → Instant Heating → OFF •Tank heating •Tank Heating : Red LED ;... - Page 9 Dispensing Ambient Water 1. Press “COLD/AMBI.” button and see if LED is Green. Ambient water is selected and proceed to dispense water. Dispensing Cold Water 1. Press “COLD/AMBI.” button and see if LED is Blue. Cold water is selected. 2. Press “WATER DISPENSING” button to dispense cold water. Dispensing Hot Water (Tank Heating Mode) 1.
-
Page 10: Cleaning The Water Dispenser
Cleaning the water dispenser Installing the Water Tray Push the centre of water tray until you hear the “clattering” sound. The water tray is now in place. Cleaning the water dispensing spout 1. Turn faucet deco to the left and disconnect it from the body of the dispenser. 2. - Page 11 Cleaning the water tank 1. Shut off source water valve. 2. Turn drain switch to I at the rear of the unit to drain the ambient/cold tank water. •Beeping sound will start, drain the cold/ambient tanks manually. 3. Remove the screw on the back of the unit and detach the water tank cover. Use a soft cloth to clean the water tank.
-
Page 12: Maintenance Of Water Dispenser
Maintenance of water dispenser Section Details The unit can be installed at places with low water pressure that are Location within water quality range. Installation Do not install the unit in the following places: • Anywhere that will expose the unit to direct sunlight Environment •... -
Page 13: Troubleshooting Guide
Troubleshooting guide Issues Checking points Actions Display is not The power plug could be not properly Ensure that the power plug is now switched on or inserted into its socket. inserted properly into its socket. not operational Ensure that the unit is properly con- Ambient and The water supply might be nected to a proper water source and... -
Page 14: Technical Specifications
Technical specifications Filtration System 3M™ AP2-C405-SG Drinking Water Filtration System UV Lamp Up to 99.95% of Protozoan cysts – Cryptosporidium and Giardia Cyst, Lead, Benzene, Toxaphene, P-Dichlorobenzene Removal Capabilities (Tested in accordance to NSF Standard 53) Chlorine Taste and Odor... - Page 15 Limitation of Liability: 3M Thailand Limited will not be liable for any loss or damage arising from this product, whether direct, indirect, special, incidental, or consequential, regardless of the legal theory asserted, including warranty, contract, negligence or strict liability. Some countries do not allow the exclusion of limitation of incidental or...
- Page 16 Separation Purification Sciences Division 3M Thailand Limited 12th Floor, Serm-Mit Tower 159 Asoke-Montri Road Klongtoey Nua, Wattana, Bangkok 10110 Tel: 0 2260 8577 Fax: 0 2261 7535 3M Authorized Distributor/Dealer 3M is a trademark of 3M Company. 3M Company. All rights reserved. Rev,No.00...
Need help?
Do you have a question about the HCD-2 and is the answer not in the manual?
Questions and answers