Advertisement
Quick Links
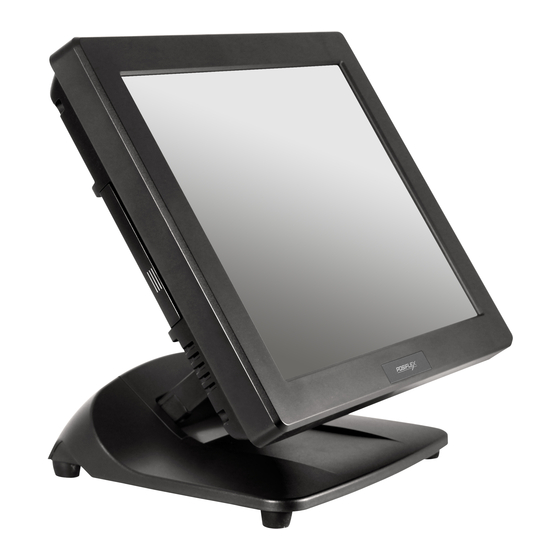
PS-3315/3315E/3316/3316E
Fanless LCD Touch Terminal
User Manual
Product Features
Fanless terminal
Foldable base that allows PS Series to be configured into different
configurations
5-wire resistive touch for PS-3315/3315E/3316/3316E
Integrated structure for side mount upgrade kit: SA-
105/205/305/405/505; back mount display: LM-6807U / 6810U and
PD-360R/360UE/2609UE/6807U; 40-key dynakey attachment with
MSR or RFID option: KP-500
Water resistant structure designed for easy cleaning
13110900070 Ver. F0
Package Contents
PS-3315/3315E/3316/3316E fanless
LCD touch terminal (x 1)
12V/40W Power adaptor (x 1)
Power cord (x 1)
User Manual (x 1)
1
Advertisement


Need help?
Do you have a question about the PS-3315 and is the answer not in the manual?
Questions and answers