Advertisement
USB-EXT
USB over Twisted Pair Extender
Introduction
1
®
The Crestron
USB over Twisted Pair Extender (USB-EXT) delivers
USB signal extension for use in various commercial and residential
applications. The USB-EXT enables wire runs up to roughly 300 ft
(100 m) over a single twisted-pair cable without requiring any
specialized installation.
The USB-EXT is compatible with USB 1.1 and High-Speed USB 2.0,
and it supports almost any USB device, including keyboards and
mice, game controllers, cameras, mobile devices, printers, switches,
and memory devices. Additionally, it is compatible with Windows
™
macOS
software without needing to install any additional drivers.
NOTE: Crestron does not guarantee that the USB-EXT is compatible
with all USB devices.
The USB-EXT is composed of two extender components. The "local"
extender connects to a computer or other USB host, while the
"remote" extender provides connections for USB devices at some
remote location. Linking the two extender components requires only
one run of CAT5 (or better) twisted-pair cable.
The USB-EXT contains a local extender, a remote extender, a power
supply, and a USB cable.
!
CAUTION: The ambient operating temperature is 32º to 122 ºF
(0º to 50 ºC). The extenders may be hot to the touch when operating
at or near the high end of this temperature range.
Mounting
2
After determining where the local computer and the remote USB
device(s) are to be located, place the local and remote boxes of the
USB-EXT on a flat surface near each of the two locations. The rubber
feet help ensure that the units do not shift.
Installing
3
1. Insert one end of the supplied USB cable into the local extender
and the other end into a USB Type A port on the computer.
2. Using CAT5 (or better) cable, connect the Link ports of the local
and remote extenders. Do not connect the Link ports to an Ethernet
LAN or to any other network device.
3. Plug the power adapter into the local extender, and then plug the
24 V power adapter into an AC outlet.
NOTE: If using preinstalled in-wall CAT5 wiring, plug one end
of the CAT5 patch cable (not supplied) into the Link port on the
local extender, and plug the other end of the patch cord into the
wall outlet near the host computer. Plug one end of the second
CAT5 patch cord (not supplied) into the Link port on the remote
extender, and plug the other end of the second patch cable into
the wall outlet near the USB device. Ensure that the two patch
cables and the in-wall cabling do not exceed ~330 ft (100 m).
1
For Regulatory Compliance information,
refer to the latest version of Doc. 7205.
QUICKSTART DOC. 7204B (2031178)
To USB hub or
USB HID devices
®
and
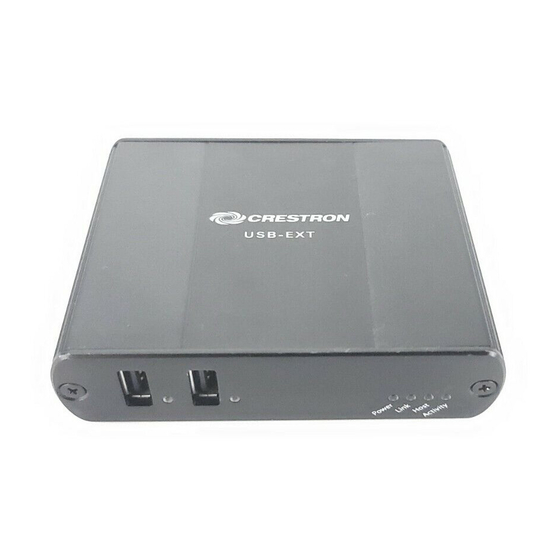
Remote extender (front)
Remote extender (rear)
Connecting a USB Device
4
1. Install any software on the computer that is required to operate the USB device(s). Refer to the documentation for the USB
device(s) for installation instructions.
2. Connect the USB device to either USB port on the front of the remote extender.
3. Check that the device is installed and that it is detected properly by the operating system.
Checking the Installation
5
On the local and the remote units, check that the Power, Host, and Link LEDs are on and that the Activity LED for the connected USB
port is blinking. If any LED does not light, then the cabling between the local and remote units is not properly installed or is defective.
Verify that the device is properly installed on the computer.
For Windows:
Open Device Manager, and then expand the entry for Universal Serial Bus controllers. If the USB-EXT has been properly installed, it
is listed as a "Generic USB Hub."
For macOS:
Open System Profiler. In the left-hand column under Hardware, select USB, and then inspect the right-hand panel. If the USB-EXT
has been properly installed, it is listed as a "Hub" under the USB High-Speed Bus/USB Bus.
If the unit is not detected correctly or fails to detect, consult the Troubleshooting section on the following page.
www.crestron.com
10.16
Specifications subject to
change without notice.
Local extender (front)
Local extender (rear)
CAT5 cable
888.CRESTRON
201.767.3400
From
To computer
power pack
or USB hub
Advertisement
Table of Contents

Related Manuals for Crestron USB-EXT


Summary of Contents for Crestron USB-EXT
-
Page 1: Checking The Installation
LAN or to any other network device. Open Device Manager, and then expand the entry for Universal Serial Bus controllers. If the USB-EXT has been properly installed, it 3. Plug the power adapter into the local extender, and then plug the is listed as a “Generic USB Hub.”... -
Page 2: Troubleshooting
Microsoft Corporation in the United States and/or other countries. Other trademarks and trade names may be used in this document to refer to either the entities claiming the marks and names or their products.
Need help?
Do you have a question about the USB-EXT and is the answer not in the manual?
Questions and answers