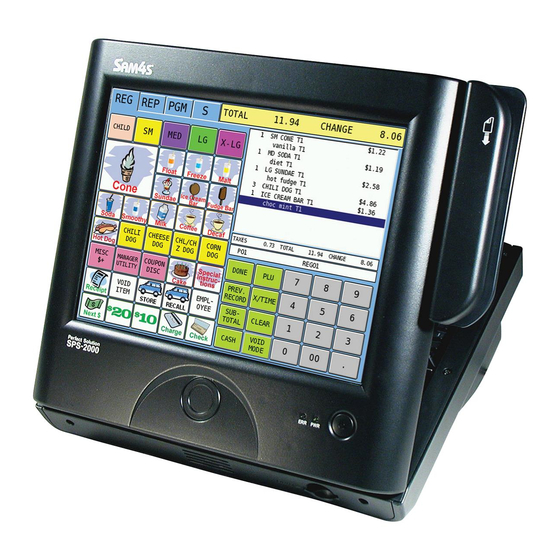
Sam4s SPS-2000 Setup Manual
Hide thumbs
Also See for SPS-2000:
- Program reference manual (195 pages) ,
- Manual (17 pages) ,
- Operator's manual (152 pages)
Advertisement
To setup a registers RS‐232 port to send detail/journal data follow these steps:
1. define new port device:select define port from the S menu. Select a port(1‐6) by pressing the
Serial Port button (top left). Configure the port with the following parameters: Baud Rate‐9600,
Parity‐None, Data Bits ‐8 and Stop Bits‐1. Set cutting after printing to no.
2. configure Printer:Press Device button on the Define Port menu (lower left).Select Printer as the
Device. Select Generic #1 as the printer type Press OK twice.
3. Set journal mode: Select System Option from the PGM menu. Select General Printing options
from the option menu(page down). Select Page#2. Set option 9 –journal :real time/batch to real
time. Press Close twice.
4. Define system Printer:Select Printer and KV routing from the PGM menu. Select system Printer
configuration. Select an available printer (1‐10). Enter printer Descriptor. Press OK. Enter
REG#(this register).Enter PORT#(define in step 1). Press CLOSE.
5. Setup detail routing: Select Detail Printer routing from the Printer and KV routing menu. Enter
the Register#(defined in step 4). Enter the Printer#(defined in step 4). Press CLOSE twice.
6. Connect register to DVR:connect one end of a null modem cable to Prot defined in step 1.
Connect the other end to a serial port on the DVR server.
Note.50 fee is the recommended maximum length for a standard null modem cable. Greater distance
can be achieved by using a 9pin D‐sub to RJ45 adapter and cat 5 cable. Distances of several hundred feet
can be attained.
SAM4S SPS‐2000 REGISTER SETUP GUIDE
Advertisement
Table of Contents


Need help?
Do you have a question about the SPS-2000 and is the answer not in the manual?
Questions and answers