Hach 2100Qis User Manual
Hide thumbs
Also See for 2100Qis:
- Basic user manual (344 pages) ,
- User manual (96 pages) ,
- Service manual (67 pages)
Table of Contents
Advertisement
Advertisement
Table of Contents

Subscribe to Our Youtube Channel
Related Manuals for Hach 2100Qis


Summary of Contents for Hach 2100Qis
- Page 1 DOC022.53.80041 2100Q and 2100Qis 12/2017, Edition 4 User Manual...
-
Page 3: Table Of Contents
Table of Contents Specifications ....................................3 General information ..................................3 Safety information ....................................4 Use of hazard information .................................. 4 Precautionary labels ..................................4 Certification ......................................4 Product overview ....................................5 Product components ..................................5 Installation ......................................6 Install the battery ....................................6 User interface and navigation ............................... - Page 4 Table of Contents Send stored data ....................................12 Advanced operation .................................. 12 Display contrast ....................................12 Power management ..................................12 Set the sound options ..................................13 Security options ....................................13 Turn security options on ................................13 View meter information ..................................13 Calibration ......................................
-
Page 5: Specifications
2100Q: Meets EPA Method 180.1 at 50 °C, noncondensing Lamp source 2100Q: Tungsten filament lamp Storage –40 to 60 °C (–40 to 140 °F), instrument only conditions 2100Qis: Light-emitting diode (LED) Interface Optional USB Range 0–1000 NTU (FNU) Sample required 15 mL (0.5 oz.) Accuracy ±2% of reading plus stray light from 0–1000 NTU (FNU) -
Page 6: Safety Information
Safety information Precautionary labels N O T I C E Read all labels and tags attached to the instrument. Personal injury or damage to the instrument could occur if not observed. A symbol on the The manufacturer is not responsible for any damages due to misapplication or instrument is referenced in the manual with a precautionary statement. -
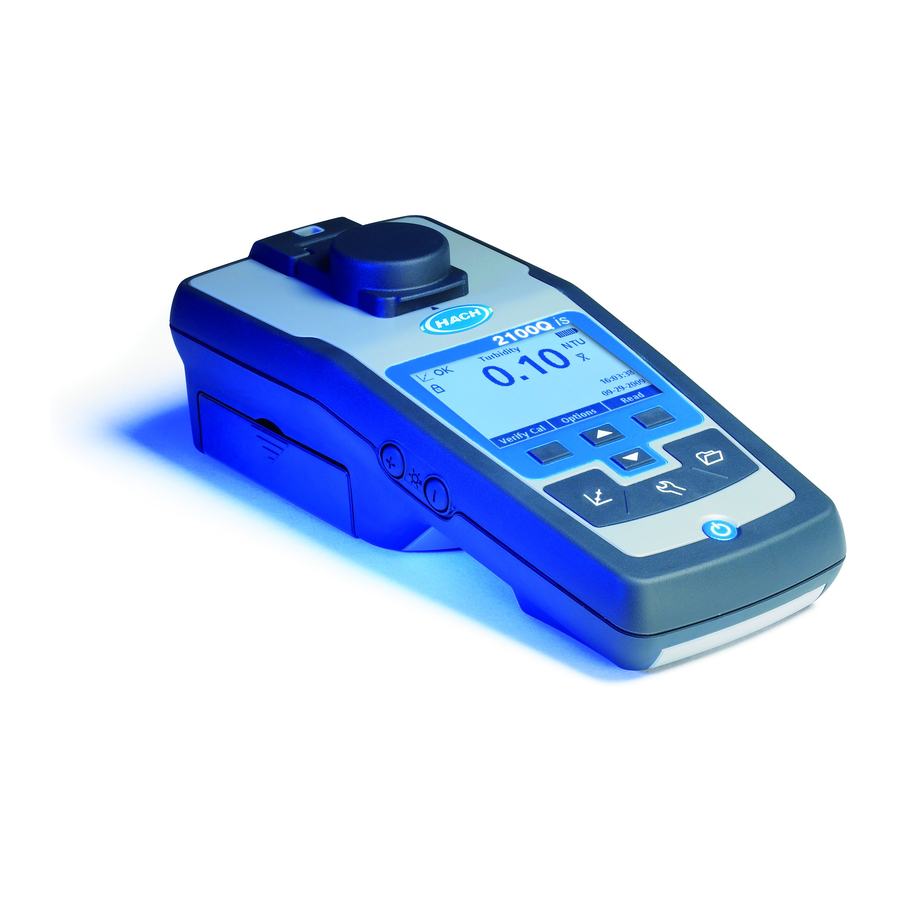
Page 7: Product Overview
Product overview or a sales representative immediately. The 2100Q and 2100Qis portable turbidimeters measure turbidity from 0 to 1000 NTU (FNU). Primarily for field use, the portable meter operates on four AA batteries. Data can be stored and transferred to a printer, computer or USB storage device. -
Page 8: Installation
Install the battery Figure 2 2100Q and 2100Qis components W A R N I N G Explosion hazard. An expired battery can cause hydrogen gas buildup inside the instrument. Replace the battery before it expires. Do not store the instrument for long periods with a battery installed. -
Page 9: User Interface And Navigation
User interface and navigation Figure 3 Battery installation User interface Figure 4 Keypad description 1 SETTINGS key: select menu 5 UP key: scroll through menus, enter options for setting up the meter numbers and letters 2 CALIBRATION key: shows 6 RIGHT key (contextual): read calibration screen, start calibration, turbidity sample, selects or confirms select cal options... -
Page 10: Display Description
Display description Navigation The measurement screen shows the turbidity, unit, calibration status, The meter contains a Settings menu, Reading Options menu, Calibration date and time, operator ID (if setup) and sample ID (if setup). Refer to Options menu and Calibration Verification Options menu to change Figure various options. -
Page 11: Change The Date And Time
1. Select a language from the list. Confirm with OK. 2. Select, create or delete a sample ID: 2. Push Done when the update is complete. Option Description Change the date and time Current ID Select an ID from a list. The current ID will be associated with sample data until a different ID is The date and time can be changed from the Date &... -
Page 12: Turbidity Measurement
Turbidity measurement compartment so the diamond or orientation mark aligns with the raised orientation mark in front of the cell compartment. W A R N I N G Potential explosion and fire hazard. This turbidimeter is designed for water based samples. -
Page 13: Turbidity Measurement Procedure
• Measure samples immediately to prevent temperature changes and settling. Before a measurement is taken, always make sure that the sample is homogeneous throughout. • Avoid sample dilution when possible. • Avoid operation in direct sunlight. Turbidity measurement procedure Note: Before a measurement is taken, always make sure that the sample is homogeneous throughout. -
Page 14: Delete Data Log
Advanced operation 1. Push the DATA MANAGEMENT key. 2. Select View Data Log to view the stored data. Display contrast 3. Push Select to view additional information. Option Description 1. Push the SETTINGS key and select Display Contrast. Reading Log Reading Log—shows the date, time and reading mode 2. -
Page 15: Set The Sound Options
Set the sound options 4. Push the ON/OFF key to turn off and on the meter to activate the password settings. The meter can make an audible sound when a key is pushed, when a reading is complete or when the calibration reminder is due. View meter information 1. -
Page 16: Calibration Standard Overview
Table 1 Calibration overview (continued) Option Description Type of calibration Required standards Cal.Curve Select one of the calibration curves for calibration: ® ™ StablCal RapidCal (0–40 NTU) SDVB (0–1000 NTU) Typically deionized or 20 NTU 100 NTU 800 NTU distilled water ®... -
Page 17: Stablcal ® Rapidcal ™ Calibration
® ™ StablCal RapidCal calibration 1. Push the 2. Push the UP and 3. Select StablCal ® 4. Insert the 20 NTU 5. Push Read. The 6. Push Done to CALIBRATION key to DOWN key to access RapidCal ™ from the list StablCal Standard and display shows review the calibration... -
Page 18: Verification Options
standard solution. Prepare a formazin standard at the same value and Verification options read the value. The Verification Options contain: Set Verification Standard, Set Acceptance Criteria and Verification Reminder. 1. Push the Left key (Verify Cal) and then the UP and DOWN keys. Option Description Set Verification... -
Page 19: Reading Modes
Reading modes Apply silicone oil to a sample cell Sample cells and caps must be extremely clean and free from significant 1. Push the UP or DOWN key to enter the Reading Options menu. scratches. Apply a thin coating of silicone oil on the outside of the 2. - Page 20 1. Fill the clean sample 2. Wipe with lint-free 3. Push the POWER 4. Insert the sample 5. Push the UP and 6. Push Read. The cell to the line with high cloth. Apply a thin film key to turn the meter cell in the instrument DOWN key to access display shows...
-
Page 21: Maintenance
Maintenance Replace the battery W A R N I N G C A U T I O N Explosion hazard. An expired battery can cause hydrogen gas buildup Multiple hazards. Only qualified personnel must conduct the tasks inside the instrument. Replace the battery before it expires. Do not described in this section of the document. - Page 22 20 English...
- Page 23 English 21...
-
Page 24: Troubleshooting
Change the one character. minimum of one least one character. detector. lamp (refer to Replace character. the lamp on page 19). Password incorrect. Incorrect password was Enter the appropriate 2100Qis: Contact Please retry. entered. password. technical support. 22 English... -
Page 25: Replacement Parts And Accessories
Replacement parts (continued) Error/Warning Description Solution Please disconnect the Data storage does not Disconnect the USB Description Quantity Item no. USB cable from your respond while connected cable from the meter and computer. to the meter and the try sending data again. Silicone Oil 15 mL 126936... - Page 26 Accessories (continued) Description Quantity Item no. USB module with USB cable (2x) LZV949.99.00002 StablCal 0.1 NTU Standard 100 mL 2723342 StablCal 0.3 NTU Standard 100 mL 2697943 StablCal 0.5 NTU Standard 100 mL 2698042 StablCal calibration kit 100 mL 2971210 StablCal calibration kit 500 mL 2971200...
-
Page 27: Index
Index meter components ....................5 meter specifications ....................3 meters auto-shutoff ......................12 troubleshooting ....................22 backlight ......................... 12 battery installation ....................6, 19 normal reading ......................17 calibration ....................... 13 contrast, display ...................... 12 operator ID ........................ 9 orientation mark ...................... 17 data, calibration log .................... - Page 28 Index verification ......................16...
- Page 30 Tel. +49 (0) 2 11 52 88-320 SWITZERLAND Fax (970) 669-2932 Fax +49 (0) 2 11 52 88-210 Tel. +41 22 594 6400 orders@hach.com info-de@hach.com Fax +41 22 594 6499 www.hach.com www.de.hach.com © Hach Company/Hach Lange GmbH, 2009, 2013, 2017. All rights reserved. *DOC022.53.80041*...
Need help?
Do you have a question about the 2100Qis and is the answer not in the manual?
Questions and answers