Hach 2100Q User Manual
Hide thumbs
Also See for 2100Q:
- User manual ,
- Basic user manual (344 pages) ,
- User instructions (72 pages)
Table of Contents
Advertisement
Advertisement
Table of Contents

Related Manuals for Hach 2100Q


Summary of Contents for Hach 2100Q
- Page 1 DOC022.53.80041 2100Q and 2100Qis 03/2021, Edition 5 User Manual...
-
Page 3: Table Of Contents
Table of Contents Section 1 Specifications ................................3 Section 2 General information ............................. 4 2.1 Safety information ..................................4 2.2 Use of hazard information ................................4 2.3 Precautionary labels ................................... 4 2.4 Compliance and certification ............................... 4 2.5 Product overview ..................................5 2.6 Product components ................................... - Page 4 Table of Contents 7.4 Send stored data ..................................13 Section 8 Advanced operation ............................13 8.1 Display contrast ..................................13 8.2 Power management .................................. 13 8.3 Set the sound options ................................14 8.4 Security options ..................................14 8.4.1 Turn security options on ..............................14 8.5 View meter information ................................
-
Page 5: Section 1 Specifications
AC 100–240 V , 50/60 Hz (with power or USB/power transmitted light scatter signal. requirement module) 4 AA alkaline batteries Regulatory 2100Q: Meets EPA Method 180.1 Rechargeable NiMH (for use with USB/power Lamp source 2100Q: Tungsten filament lamp module) 2100Qis: Light-emitting diode (LED) Operating Temperature: 0 to 50 °C (32 to 122 °F) -
Page 6: Section 2 General Information
Section 2 General information C A U T I O N Indicates a potentially hazardous situation that may result in minor or In no event will the manufacturer be liable for direct, indirect, special, moderate injury. incidental or consequential damages resulting from any defect or omission in this manual. -
Page 7: Product Overview
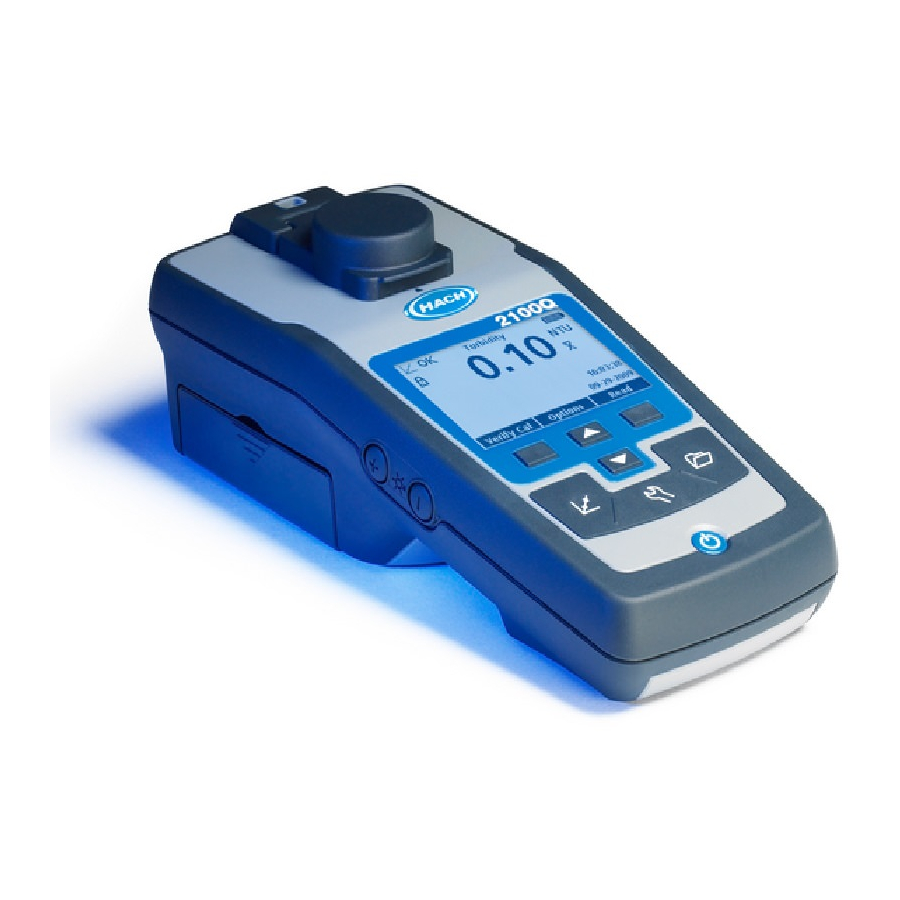
2.5 Product overview Interference-Causing Equipment Regulations. The 2100Q and 2100Qis portable turbidimeters measure turbidity from Cet appareil numérique de classe A répond à toutes les exigences de la 0 to 1000 NTU (FNU). Primarily for field use, the portable meter operates réglementation canadienne sur les équipements provoquant des... -
Page 8: Section 3 Installation
N O T I C E The battery compartment is not waterproof. If the battery compartment 1 2100Q or 2100Qis turbidimeter 6 Silicone oil becomes wet, remove and dry the batteries and dry the interior of the 2 Carrying case 7 20, 100 and 800 NTU StablCal compartment. -
Page 9: Section 4 User Interface And Navigation
Section 4 User interface and navigation The meter can be powered with AA alkaline or rechargeable NiMH batteries. To conserve battery life, the meter will power off after 10 minutes of inactivity, the backlight powers off after 30 seconds. This 4.1 User interface time can be changed in the Power Management menu. -
Page 10: Display Description
4.2 Display description Figure 5 Single screen display The measurement screen shows the turbidity, unit, calibration status, date and time, operator ID (if setup) and sample ID (if setup). Refer to Figure 1 Operator identification 9 NTU (Nephelometric Turbidity Unit) or FNU (Formazin Turbidity Unit) 2 Sample identification 10 Reading mode: Rapidly... -
Page 11: Navigation
4.3 Navigation 1. Select a language from the list. Confirm with OK. 2. Push Done when the update is complete. The meter contains a Settings menu, Reading Options menu, Calibration Options menu and Calibration Verification Options menu to change 5.3 Change the date and time various options. -
Page 12: Use An Operator Id
1. Select Sample ID in the Settings menu. compartment so the diamond or orientation mark aligns with the raised orientation mark in front of the cell compartment. 2. Select, create or delete a sample ID: Option Description Current ID Select an ID from a list. The current ID will be associated with sample data until a different ID is selected. -
Page 13: Turbidity Measurement
• Make sure that the meter is placed on a level, stationary surface during the measurement. Note: Do not hold the meter in the hand during measurement. • Always close the sample compartment lid during measurement, calibration and storage. • Remove sample cell and batteries from the instrument if the instrument is stored for an extended time period (more than a month). -
Page 14: Turbidity Measurement Procedure
6.4.2 Turbidity measurement procedure Note: Before a measurement is taken, always make sure that the sample is homogeneous throughout. 4. Push the Power 5. Gently invert and 6. Push Read. The key to turn the meter then insert the display shows on. -
Page 15: View Data Log
7.2 View data log 7.4 Send stored data The data log contains Reading Log, Calibration Log and Verify Cal log. Data can be stored and transferred to a printer, computer or USB All logs can be sorted by date. storage device. The data will be formatted as an XML file. Install the USB/power module to the meter and to AC power. -
Page 16: Set The Sound Options
8.3 Set the sound options Note: Set the Security to Off to disable the password setting. 4. Push the ON/OFF key to turn off and on the meter to activate the The meter can make an audible sound when a key is pushed, when a password settings. -
Page 17: Calibration Standard Overview
Table 1 Calibration overview (continued) Option Description Type of calibration Required standards Cal.Curve Select one of the calibration curves for calibration: Formazin Typically 20 NTU 100 NTU 800 NTU StablCal RapidCal (0–40 NTU) (0–1000 NTU) deionized or distilled water StablCal (0–1000 NTU) Formazin RapidCal (0–40 NTU) Degrees Typically... -
Page 18: Stablcal Rapidcal Calibration
8.6.3 StablCal RapidCal calibration 1. Push the 2. Push the UP and 3. Select StablCal 4. Insert the 20 NTU 5. Push Read. The 6. Push Done to CALIBRATION key DOWN key to RapidCal from the StablCal Standard display shows review the to enter the access Cal Options... - Page 19 7. Push Store to save the results. After a calibration is complete, the meter automatically goes into the Verify Cal mode, refer to Calibration verification (Verify Cal) on page 18. English 17...
-
Page 20: Verification Options
standard solution. Prepare a formazin standard at the same value and 8.6.4 Verification options read the value. The Verification Options contain: Set Verification Standard, Set Acceptance Criteria and Verification Reminder. 1. Push the Left key (Verify Cal) and then the UP and DOWN keys. Option Description To change the verification standard use the UP... -
Page 21: Reading Modes
8.7 Reading modes 8.8 Apply silicone oil to a sample cell Sample cells and caps must be extremely clean and free from significant 1. Push the UP or DOWN key to enter the Reading Options menu. scratches. Apply a thin coating of silicone oil on the outside of the 2. -
Page 22: Indexing A Single Cell
8.9 Indexing a single cell Precise measurements for very low turbidity samples require the use of a single cell for all measurements or optically matching the cells. Use one cell to provide the best precision and repeatability. When one cell is used, an index or orientation mark (other than the factory-placed diamond) can be placed on the cell so it is inserted into the instrument with the same orientation each time. - Page 23 1. Fill the clean 2. Wipe with lint-free 3. Push the 4. Insert the sample 5. Push the UP and 6. Push Read. The sample cell to the cloth. Apply a thin POWER key to turn cell in the instrument DOWN key to display shows line with high quality...
-
Page 24: Section 9 Maintenance
Section 9 Maintenance 9.3 Replace the battery W A R N I N G C A U T I O N Explosion hazard. An expired battery can cause hydrogen Multiple hazards. Only qualified personnel must conduct the gas buildup inside the instrument. Replace the battery tasks described in this section of the document. - Page 25 English 23...
- Page 26 24 English...
-
Page 27: Section 10 Troubleshooting
Error/Warning Description Solution Refer to the following table for common problem messages or Please check the Signals are too low on 2100Q: The lamp is symptoms, possible causes and corrective actions. lamp! the 90° and 180° defective. Change the detector. -
Page 28: Section 11 Replacement Parts And Accessories
Error/Warning Description Solution Error/Warning Description Solution Error - Security No password is Create a new Delete Last Reading Error in the data Turn the meter off and Please set password created. password. Failed! storage. on. If the error before activating message still occurs, Delete Data Log security... -
Page 29: Accessories
11.1 Replacement parts (continued) 11.2 Accessories (continued) Description Quantity Item no. Description Quantity Item no. Battery set, AA alkaline batteries pkg/4 1938004 StablCal 0.3 NTU Standard 100 mL 2697943 Lamp assy 4653900 StablCal 0.5 NTU Standard 100 mL 2698042 Blank module LZV797 StablCal calibration kit 100 mL... - Page 30 28 English...
-
Page 31: Index
Index auto-shutoff .................... 13 menu navigation ..................9 meter components ................... 5 meter specifications ................. 3 backlight ....................13 meters battery installation ................7, 22 troubleshooting .................. 25 calibration ....................14 normal reading ..................19 contrast, display ..................13 operator ID ..................... 10 data, calibration log ................ - Page 32 Index silicone oil ....................19 sound options ..................14 stored data, send ................... 13 verification ....................18...
- Page 34 Tel. +49 (0) 2 11 52 88-320 SWITZERLAND Fax (970) 669-2932 Fax +49 (0) 2 11 52 88-210 Tel. +41 22 594 6400 orders@hach.com info-de@hach.com Fax +41 22 594 6499 www.hach.com www.de.hach.com © Hach Company/Hach Lange GmbH, 2009, 2013, 2017, 2021. All rights reserved. ...
Need help?
Do you have a question about the 2100Q and is the answer not in the manual?
Questions and answers