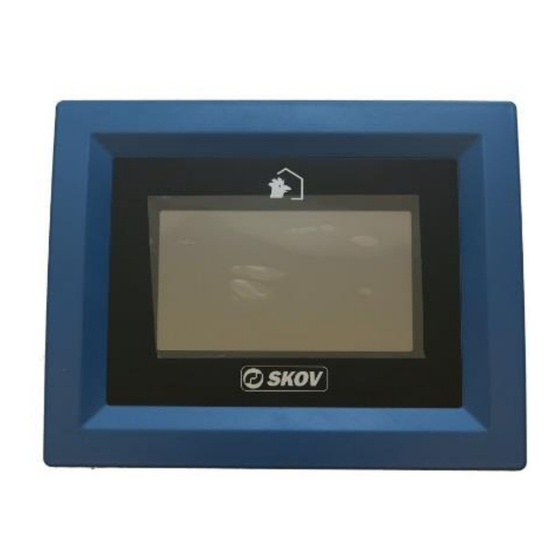
Skov DOL 534 Technical User Manual
Controller in wiring box
Hide thumbs
Also See for DOL 534:
- Technical manual (92 pages) ,
- User manual (88 pages) ,
- Circuit diagrams and cable plans (76 pages)
Advertisement
DOL 534/535/539 in Wiring
Box
Technical User Guide
English: For other language variants of this document we refer to:
Español: Para otras variantes del idioma de este documento, visite:
Français: Pour les versions dans d'autres langues de ce document veuillez consulter:
http://docs.skov.com/1018
2018.05.24 • 604115
Advertisement

Related Manuals for Skov DOL 534


Summary of Contents for Skov DOL 534
- Page 1 DOL 534/535/539 in Wiring Technical User Guide English: For other language variants of this document we refer to: Español: Para otras variantes del idioma de este documento, visite: Français: Pour les versions dans d'autres langues de ce document veuillez consulter: http://docs.skov.com/1018...
- Page 3 Product and Documentation Changes SKOV A/S reserve the right to change this document and the product herein described without further notice. In case of doubt, please contact SKOV A/S. Date of change appears from the front and back of this manual.
-
Page 4: Table Of Contents
Positioning of PCBs ....................6 Mounting of I/O module in more levels ..............6 Protective earthing (PE) ..................7 Cable installation ..................... 8 Protection against direct contact ................9 Mounting the front module ..................9 TECHNICAL DATA ..................10 DOL 534/535/539 in Wiring Box... -
Page 5: Product Description
Technical User Guide 1 Product description The DOL 534/535/539 kit includes CPU, PCB and various parts for installation in a wiring box. Please follow the below mounting and installation guide. The completed cabinet corresponds to the base construction of the plastic cabinet and gathers the electrics in one wiring box. -
Page 6: Positioning Of Pcbs
3. In the left side of the circuit board, mount two 25 mm studs with knee on top of the 13 mm studs. 4. Place the support rail on top of the 25 mm studs with knee. 5. Mount the circuit board with M4 x 8 screws. Figure 3: Mounting in more levels DOL 534/535/539 in Wiring Box... -
Page 7: Protective Earthing (Pe)
2. 150 to 200 mm or slightly more. 3. 1000 mm. Wiring box Door = Screw with galvanic contact to the wiring box. The paint is scraped off to ensure good electric connection. Distribution switchboard Figure 4: Protective earthing (PE) DOL 534/535/539 in Wiring Box... -
Page 8: Cable Installation
Figure 5: Mounting of wires and cables * Last module in the CAN bus communications must be in ON position. The remaining should be OFF. For more information on CAN termination jumpers, see DOL 534/535/539 Technical Manual. DOL 534/535/539 in Wiring Box... -
Page 9: Protection Against Direct Contact
Make the cutout 7” in the door in accordance with the enclosed DOL 539/534/535 template 604141 (from the front of the door). Figure 7: Cutout dimensions 7” Make the cutout 10” in the door in accordance with the enclosed DOL 534/535/539 template 604310 (from the front of the door). Figure 8: Cutout dimensions 10”... -
Page 10: Technical Data
Technical User Guide 3 Technical data Environment Ambient temperature, operation -10 to +55 °C (+14 to 131 °F) Ambient temperature, storage -25 to +60 °C (-13 to +140 °F) Ambient humidity, operation 0-80 % RH DOL 534/535/539 in Wiring Box... - Page 12 SKOV A/S • Hedelund 4 • Glyngøre • DK-7870 Roslev Tel. +45 72 17 55 55 • Fax +45 72 17 59 59 • www.skov.com • E-mail: skov@skov.dk...
Need help?
Do you have a question about the DOL 534 and is the answer not in the manual?
Questions and answers