Table of Contents
Advertisement
Quick Links
Advertisement
Table of Contents

Related Manuals for ADInstruments AD3A02


Summary of Contents for ADInstruments AD3A02
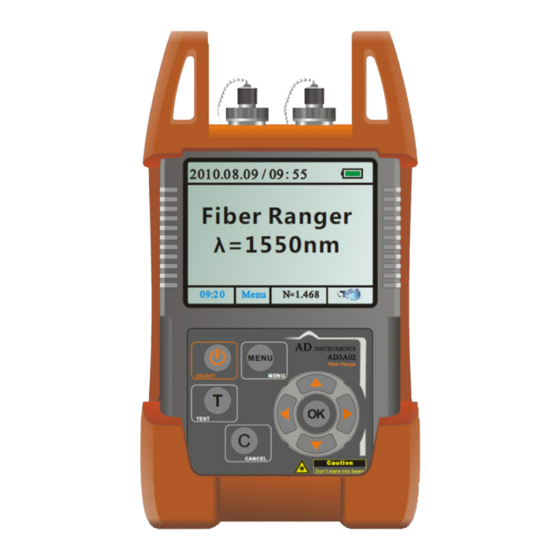
- Page 1 USER'S GUIDE TO THE AD3A02 FIBER RANGER...
-
Page 2: Table Of Contents
CONTENTS PAGE 1 Introduction 2 Specification 3 Warranty 4 Safety Information 4.1 Discharged batteries 4.2 AC operation 5 Preparing for Operation 6 Operation 6.1 Key’s Functions 6.2 Keypress Function 6.3 Menu instroduciton 6.4 Testing Operation 6.5 Maintenance 6.6 Attentions 6.7 Trouble shooting... -
Page 3: Introduction
1. Introduction The AD3A02 fiber ranger is a high performance fiber fault locator which can be used to detect the fiber fault location and display the exact distance on the coloured LCD. The AD3A02 is designed to be palm sized, lightweight, easy carry and simple operated which can be an ideal instrument for fiber installation, detection and maintenance. -
Page 4: Specification
2. Specifications Item / Model No. AD3A02 9/125 μm Single Mode Fiber Type Wavelength 1550 ± 20nm Emitter Type Connector Type FC/PC (interchangeable SC,ST) 10ns/20ns/40ns/80ns/160ns/320ns/640ns/1280ns/ Pulse Width 2560ns/5120ns/10240ns/20480ns Max. Output Power 90 mW Max. Measurement Range 100 Km(Reflection event, >1dB) Reflection event ±... -
Page 5: Warranty
3. Warranty Three Years Limited Warranty AD Instruments products are warranted against the defective components and workmanship for a period of three years from the date of delivery to the original customer. Any product found to be defective within the warranty period would be returned to AD Instruments authorized service center for repair, replacement and calibration. -
Page 6: Safety Information
4. Safety Information Warnings! Never look directly into optical outputs or a fiber while the equipment is on.Invisible laser beam may damage your eyes. Do not short-circuit the terminal of AC adapter / charger and the batteries.Excessive electrical current may cause personal injury due to fumes,electric shock or equipment damage. Connect AC power cord with the equipment and wall socket properly. -
Page 7: Discharged Batteries
4.1 Discharged batteries Remarks: 1) W hen the battery power is almost out, there will be a warning of indicator keeps blinking, then please replace the batteries or plug in AC adapter to charge batteries. 2) Please make sure that you have turned the instrument on before charge the batteries, unplug the AC adapter when the batteries are fully charged. -
Page 8: Ac Operation
If the instrument is mainly used at one location, e.g. in a laboratory or test department, the AC adapter can be used to power it instead of batteries. There is a DC input jack on the left side of the AD3A02 instrument casing into which the output cable of the AC adapter is plugged. -
Page 9: Preparing For Operation
We suggest that you keep the original packing material. Using the original packing material is your guarantee of protecting the instrument during transit. Checking the package contents The standard accessories of AD3A02 are as follows: Main unit User's Guide Quality Check Report... -
Page 10: Operation
6. Operation Instrument Panel can be devided into two parts: First part is LCD display. Second part is Operation keys. Type of fiber connector: FC/PC,SC/PC,ST/PC. -
Page 11: Key's Functions
6.1 Key’s Functions Press the key to power on the unit.The unit will turn off automatically if no keypressing happens in 10 minutes; if pressing down the key for longer than 2 seconds,the unit will be turned on with "auto off" function deactivated;when the unit is in the state of power on, if pressing down the key for longer than 2 seconds,the unit will be shutted down. -
Page 13: Keypress Function
6.2 Keypress Function Turning the instrument on and off: Press the "ON/OFF" key briefly, the instrument powers on. Press the "ON/OFF" key >2second, the instrument powers off. Note: Auto-off function The instrument powers off if no keypress happends in 10 minutes. Press the "ON/OFF"... - Page 14 6.3 Menu Introduction Press MENU to enter the main menu interface 1) Refractive Index Setting 2) Threshold<3&1> 3) Unit Set<m> 4) Load Data 5) Date&time Set 6) Back Light 7) Pulse width set<5120 ns> 8) Help 9) Language Refractive Index Setting: Move the cursor to refractive index setting,press ok to enter the setting menu,press right/left to move the cursor,press up/down to change the index value,press ok to...
- Page 15 Threshold Setting: There are reflection events threshold setting and non-reflective event threshold setting. Place the cursor to threshold setting menu, press the OK key to enter the threshold settings menu, press LEFT / RIGHT to switch between reflection events threshold setting and non-reflective event threshold setting;...
- Page 16 Date&time Setting: Press up/down/right/left to choose the data. Press MENU to edit it, and the search can be started from anywhere by entering a starting number; press "C" to quit the submenu. Or you can set the date and time by using the simulating software on PC.
- Page 17 6.4 Testing O e a Set the appropriate threshold level and pulse width before testing, and then press "T" to start measure. (Hint: threshold level, pulse width, and measure distances are tightly related. Shorter distance should choose the smaller pulse width, while longer distance should choose the bigger pulse width. The pulse width needs to be set according to practical situation.
-
Page 18: Maintenance
6.5 Maintenance: 1) Clean the fiber connector and connecting flange on a regular basis. 2) Use the standard fiber connectors to proceed the test. 3) Please use the dust-proof cap to secure the connector to be scratched or contaiminated everytime when the product is not in operation. -
Page 19: Attentions
6.6 Attentions: 1) Please make sure the fiber connector is clean before test. 2) The batteries and the AC adaptor can work at the same time, but it doesn't work as recharge function in that case, take out the batteries if the batteries needs to be recharge, use the exclusive recharger to recharge batteries. -
Page 20: Trouble Shooting
6.7 Trouble shooting Malfunction Type Possible Cause Recommended solution Remarks Failure to turn on/off No power input Plug in battery or AC DIY Available Battery exhausted Charge battery DIY Available Reverse-installed battery Re-install battery DIY Available (Still doesn't work) Return to factory On&off disorder Low battery Charge battery or use AC power supply...