Advertisement
Quick Links
Megapixel Network Camera
KNC-Ni700HD / KNC-Ni720HD
Installation Guide
Table of Contents
1.INTRODUCTION
2.PACKAGE CONTENTS
3.PRODUCT DESCRIPTION
4.DIMENSIONS
5.INSTALLATION
6.IP ADDRESS ASSIGNMENT
7.TERMINAL BLOCK CONNECTORS
1. Introduction
KNC-Ni700HD, KNC-Ni720HD Installation Guide
This installation guide provides instructions for installing the Network Camera on your
network. For all other aspects of using the product, please see the User's Manual,
available on the CD included in this package, or from http://www.ktnc.co.kr
Installation steps
1. Check the package contents against the list below.
2. Read the product description.
3. Install the hardware.
4. Set an IP address.
5. Set the admin and user ID and password. (See User's Manual)
Im por tant!
This product must be used in compliance with local laws and regulations.
2. Package Contents
KNC-Ni700HD / KNC-Ni720HD
Screw-4ea
L Wrench and RJ45
Service Video Output Test Cable
coupler
M124-Ni700/720HD-001
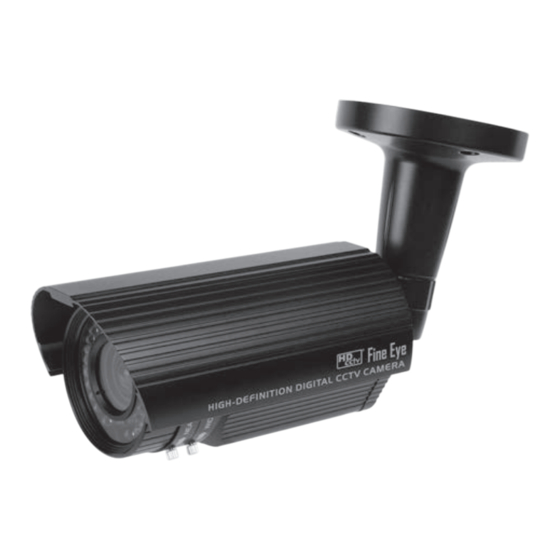
3. Product Description
Description and Function
❶
❷
1. Infrared LED – These LEDs emit infrared radiation.
2. Sensor – Light sensor.
3. Service Video Connector – Outputs video to the monitor.
4. Factory reset – Factory reset button.
5. Status LED – LED to indicate camera status.
6. Network Connector – The Network Camera connects to the network via a standard
network cable, and automatically detects the speed of the local network segment
(10BaseT/100BaseTX Ethernet). PoE Supported.
7. Digital Input – Connects signal from external sensor.
8. Digital Output – Connects signal to external alarm. (Max. current - DC 12V, 70mA)
9. Power Input(DC12V) – Connect DC 12V power..
4. Dimensions
Software CD
Installation Guide
5. Installation
• Camera Mounting Position
❸
90 ˚TLIT
❹
❺
• External Zoom & Focus Adjustment
❻
❼
❽
❾
Opening the window cap to adjust the zoom and focus can cause humidity
problems in the camera. The External Zoom and Focus system with our
state-of-the-art technology provides easy camera installation without
opening the window cap to adjust zoom and focus the lens.
• Connection
Digital Input
Digital Output
1. Connect the camera to the network using a UTP cable (CAT.5).
Power can be supplied via the network cable (PoE)
2. Connect DC 12V to the power terminal. This is not necessary if the Network Camera is
connected to a PoE hub or midspan.
3. Check that the indicator LEDs indicate the correct conditions.
4. Connect the analog monitor to the service video connector for adjusting focus, then press and quickly
release the reset switch for focus assistant mode.
Then you can select normal view or focus view mode using the reset switch.
Caution: When you use focus assistant mode, "Focus View" mode is recommended for more exact focus.
Caution: Focus assistant mode will be automatically exited after 3 minutes for normal operation.
360 ˚PAN
360 ˚PAN
90 ˚TLIT
< Cable Concealed Thru Bracket >
Advertisement

Subscribe to Our Youtube Channel
Related Manuals for KT&C KNC-Ni700HD


Summary of Contents for KT&C KNC-Ni700HD
- Page 1 1. Infrared LED – These LEDs emit infrared radiation. 2. Sensor – Light sensor. KNC-Ni700HD, KNC-Ni720HD Installation Guide 3. Service Video Connector – Outputs video to the monitor. Opening the window cap to adjust the zoom and focus can cause humidity This installation guide provides instructions for installing the Network Camera on your 4.
- Page 2 To make it accessible on the network, the Network Camera must be assigned an IP address. KNC-Ni700HD, KNC-Ni720HD are connected with external equipment as in the following diagram. 2. Enter the IP address or host name of the Network Camera in the Address field of your browser.
Need help?
Do you have a question about the KNC-Ni700HD and is the answer not in the manual?
Questions and answers