Table of Contents
Advertisement
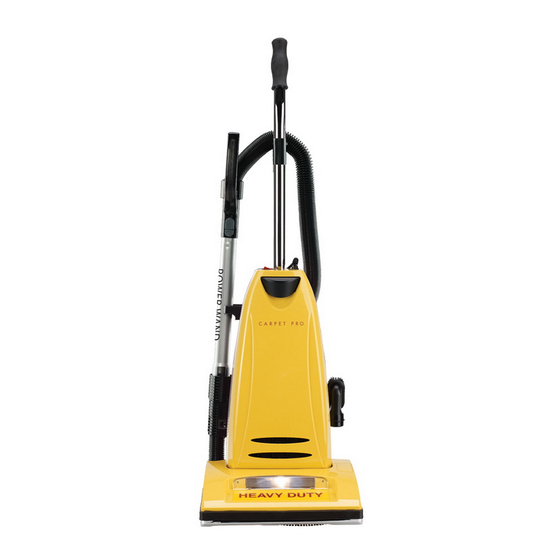
Owner's
Manual
HEAVY DUTY
Model SCBP-1
UPRIGHT VACUUMS
Backpack Vacuum
CPU-1QD
CPU-1
CPU-1T
CPU-2
CPU-2T
YOU HAVE JUST ACQUIRED A HIGH QUALITY VACUUM
CLEANER. PLEASE READ THIS MANUAL CAREFULLY,
BEFORE OPERATING YOUR NEW VACUUM CLEANER.
KEEP MANUAL ON HAND FOR FUTURE REFERENCE.
Save These Instructions
OPERATING INSTRUCTIONS
COMMERCIAL
BACKPACK VACUUM CLEANERS
CONGRATULATIONS
Advertisement
Table of Contents

Related Manuals for Carpet Pro CPU-1QD


Summary of Contents for Carpet Pro CPU-1QD
- Page 1 Owner’s Manual HEAVY DUTY Model SCBP-1 UPRIGHT VACUUMS Backpack Vacuum CPU-1QD CPU-1 CPU-1T CPU-2 OPERATING INSTRUCTIONS CPU-2T COMMERCIAL BACKPACK VACUUM CLEANERS CONGRATULATIONS YOU HAVE JUST ACQUIRED A HIGH QUALITY VACUUM CLEANER. PLEASE READ THIS MANUAL CAREFULLY, BEFORE OPERATING YOUR NEW VACUUM CLEANER.
-
Page 2: Table Of Contents
Customer’s Record The model and serial number of this product may be found on the back of the unit. Register your Carpet Pro vacuum as soon as possible for your protection. Also, note the model and serial numbers of your unit in the spaces provided below, and retain this book as a permanent record of your purchase. -
Page 3: Important Safety Instructions
IMPORTANT SAFETY INSTRUCTIONS READ ALL INSTRUCTIONS BEFORE USING THIS APPLIANCE. When using an electrical appliance, basic precautions should always be followed, including the following: SAVE THESE INSTRUCTIONS. WARNING: To reduce the risk of fire, electric shock or injury: 1. Do not leave appliance unattended when plugged in. Unplug from outlet when not in use and before servicing. -
Page 4: Grounding Instructions
Two-Wire Polarized Cord Two-Wire Polarized Cord MODELS: CPU-1QD, CPU-1 and CPU-1T This product is equipped with a polarized alternating This product is equipped with a polarized alternating current line current line plug (a plug having one blade wider than plug (a plug having one blade wider than the other) . -
Page 5: Parts Identification
Thermal reset Self-adjusting nozzle button instructions Replacement Bags and Filters • Genuine Carpet Pro Vacuum Bags • Genuine Carpet Pro Electrostatic Secondary Filter Part # CPP-3 Part # 06.317 3 per package 1 per package • Genuine Carpet Pro Post Filter •... - Page 6 Thermal reset Self-adjusting nozzle button instructions Replacement Bags and Filters • Genuine Carpet Pro Vacuum Bags • Genuine Carpet Pro Electrostatic Secondary Filter Part # CPP-3 Part # 06.317 3 per package 1 per package • Genuine Carpet Pro Post Filter •...
-
Page 7: How To Assemble And Operate The Vacuum
How to Assemble and Operate the Vacuum How to Attach the Handle to the Vacuum Cleaner The vacuum cleaner and the handle are packed separately. 1. After first removing the handle screw, insert handle into the hole on top of the vacuum cleaner. Make sure that the cord hooks on the handle are positioned to the back of the vacuum cleaner (Fig. -
Page 8: Handle Adjustments
Fig. 4 How to Change the Filters Your Carpet Pro vacuum cleaner is equipped with a secondary filter and a post filter. These filters capture fine dust particles and protect the motor from dirt. It is important to change the filters regularly — approximately once a year, or as needed. -
Page 9: On-Board Tool Cleaning
(from the user’s perspective) near walls or stationary furniture. Automatic Self-Adjusting Nozzle Your Carpet Pro vacuum cleaner is designed with an automatic self-adjusting nozzle. No manual adjustments are required. The height of the nozzle is instantly and automatically adjusted to carpet pile height. This self-... -
Page 10: Thermal Fuse Protection
5. Using a pencil, paper clip, or other pointy object, push the reset button. 6. Plug vacuum cleaner in and begin using. Please return to a Carpet Pro Service Center if the problem continues or if you have any questions. Optional Cleaning Tools/Accessories 7-Piece Deluxe Attachment Kit Part #05.119 (Fig. -
Page 11: How To Replace The Vacuum Belt And Headlight Bulb
Fig. 4 How to Replace the Headlight Bulb How to Replace the Headlight Bulb (Fig. 5) CPU-1QD, CPU-1 and CPU-1T models only 1. Turn the vacuum cleaner over and remove the bottom plate as described in the above section. 2. To remove the bulb, grasp it gently and pull it straight out. -
Page 12: How To Clean The Nozzle Hose
Remove Bottom Plate”). Check nozzle inlet tube for obstructions (Fig. 3). Clear tube and reinstall the bottom plate. Model: CPU-1QD 1. Remove the wand from the wand/hose holder as shown on page 8. 2. Squeeze the tabs on both sides of the quick clean-out port and pull Fig. -
Page 13: Troubleshooting
• Review bag installation correctly (page 6) All other service should be performed at a Carpet Pro service center. For Best Performance • Keep machine and all accessories clean and in good operating condition. • Change vacuum bags when they are 2/3 full to maintain optimum cleaning efficiency. -
Page 14: Warranty
How to Get Service: Warranty service can only be obtained by presenting the vacuum to a Carpet Pro Service Center. A proof-of- purchase and product serial number will be required before service is rendered. THIS WARRANTY IS EXCLUSIVE AND IN LIEU OF ANY AND ALL OTHER WARRANTIES WHETHER WRITTEN, ORAL, EXPRESSED OR IMPLIED, (INCLUDING ANY WARRANTY OF MERCHANTABILITY OR FITNESS FOR A PARTICULAR PURPOSE). - Page 15 Carpet Pro Vacuum Cleaners PO Box 730 Fenton, MO 63026 © 2017 Carpet Pro Vacuum Cleaners...
Need help?
Do you have a question about the CPU-1QD and is the answer not in the manual?
Questions and answers