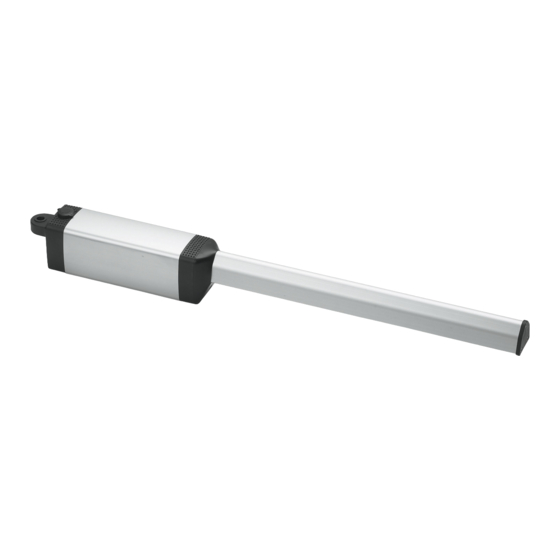
BFT Phobos N BT Installation Manual
Hide thumbs
Also See for Phobos N BT:
- Installation and user manual (29 pages) ,
- Installation manual (24 pages) ,
- Installer's reference manual (19 pages)
Subscribe to Our Youtube Channel
Summary of Contents for BFT Phobos N BT
- Page 1 | (800) 878-7829 COMPATIBLE WITH: COMPATIBLE WITH: ECOSOL LIBRA www.barjaco.com PHOBOS N BT & PHOBOS NL BT INSTALLATION MANUAL VERSION 101115...
-
Page 2: Applications And Capabilities
APPLICATIONS AND CAPABILITIES www.barjaco.com Phobos N BT 32-1/2” OUTSIDE 90° 550 lbs 4” max hinge 10 feet offset* Phobos NL BT 37” OUTSIDE 110° 550 lbs 5” max hinge offset* 16 feet Maximum hinge offset does not apply to push to open applications... -
Page 3: Table Of Contents
C DIMENSION SQUARE WITH THE GATE ..............10 DETERMINING THE BEST GEOMETRY IDEAL GEOMETRY USING THE ARB BRACKETS PHOBOS N BT ARB GEOMETRY PHOBOS NL BT ARB GEOMETRY ..................11 ARB BRACKET LENGHTS ..............12 INSTALLING THE MOUNTING BRACKETS .................. 13 INSTALLING THE ACTUATOR ................ -
Page 4: Important Consumer Information
IMPORTANT CONSUMER INFORMATION PRODUCT PURCHASE AND INSTALLATION This product is intended to only be installed by a qualified professional technician. The warranty on the equipment may become void if not properly installed. Warranty claims should be directed to the company or entity that sold the equipment. -
Page 5: Ul 325 Installation Recommendations
UL 325 INSTALLATION RECOMMENDATIONS www.barjaco.com 1. Install the gate operator only when: a. The operator is appropriate for the construction and the usage class of the gate. b. All openings of a horizontal slide gate are guarded or screened from the bottom of the gate to a minimum of 4' (1.2 m) above the ground to prevent a 2-1/4"... -
Page 6: Installation Safety
INSTALLATION SAFETY WARNING! An incorrect installation or improper use of the product can cause damage to persons, animals or property. • Automation should be installed on a gate which is moving freely. Any issue with the smooth opening of closing of a gate will not be corrected by adding automation. •... -
Page 7: Operational Safety
OPERATIONAL SAFETY The installer is responsible for communicating the following information to the end-user: This product has been designed and built solely for the purpose indicated herein. Uses not contemplated herein might result in the product being damaged and could be a source of danger. The Firm disclaims all responsibility resulting from improper use or any use other than that for which the product has been designed, as indicated herein, as well as for failure to apply Good Practice in the construction of entry systems (doors, gates, etc.) and for deformation that could occur during use. -
Page 8: Installation Checklist
INSTALLATION CHECKLIST CAREFULLY READ ALL SAFETY INFORMATION. Pages 4 - 7 Determine the proper geometry. Pages 9 - 11. Install the Post bracket. Page 12 Install the Gate Bracket. Page 12. Install the magnet holder. Page 12 ... -
Page 9: Defining The Bracket Geometry
DEFINING THE BRACKET GEOMETRY A & B DIMENSIONS - For A and B dimensions, the measurement is taken from the center of the gate's hinge point to the center of the Phobos pivot point. Gate hinge Gate Gate frame post PHOBOS' PIVOT POINT PIVOT POINT For Push-to-Open applications, please call Tech Support at 877-995-8155... -
Page 10: Determining The Best Geometry
If you are welding the post bracket, when possible, use the geometry in table 1: PHOBOS N BT 5-7/8” 5-7/8”... -
Page 11: Arb Bracket Lenghts
ARB BRACKET LENGHTS ARB BRACKET LENGHTS - To achieve the desired ARB length, use all 3 bolts on the holes that are represented by black dots on the illustration of the long bracket piece. Insert them only on the holes that are represented by black dots on the short bracket piece. -
Page 12: Installing The Mounting Brackets
BOLT AND/OR WELD THE POST BRACKET ACCORDING TO YOUR GEOMETRY. BOLT AND/OR WELD THE GATE BRACKET ACCORDING TO YOUR GEOMETRY. Remember to measure the distance to C with a fully closed gate. Phobos N BT gate bracket Phobos N L BT gate bracket WELD OR BOLT 5-3/8”... -
Page 13: Installing The Actuator
INSTALLING THE ACTUATOR WIRE THE MOTORS - Before attaching the actuator to the mounting brackets, wire the motor cable and then install the protective cover as illustrated. WHITE 14 AWG STRANDED BLACK ATTACH THE ACTUATOR - Follow illustrations to install the actuator to the post and gate brackets. -
Page 14: Setting The Limit Switches
SETTING THE LIMIT SWITCHES 1) SET TO MANUAL OPERATION - Disengage the drive gear by using the triangular key and turning clockwise. 2) SET THE CLOSE LIMIT - Push the gate to its fully closed position. Remove the screw that holds the proximity sensor at the front end of the actuator. Slide it back so that the back end of the sensor housing is 3-1/2”... -
Page 15: Maintenance & Troubleshooting
For actuators installed in areas where dirt and dust are a concern, maintenance should be done at shorter intervals. Keep the screw-drive lubricated using BFT grease I101115. Do not apply grease if gears are dirty. If necessary, clean with solvent before applying. - Page 16 We pride ourselves in providing outstanding customer service. BFT is a global company in business since 1980 with subsidiaries in 15 countries worldwide. It is owned since 2004 by Somfy, the world leader in automation for window shades and shutters.


Need help?
Do you have a question about the Phobos N BT and is the answer not in the manual?
Questions and answers